UK based
Prices for UK customers are shown inc 20% VAT
Other countries, inc EU, prices shown are ex VAT.
Bouwhandleiding


KASTENLOK INDEX
GTM 13 ‘Silvolde’


UK based
Prices for UK customers are shown inc 20% VAT
Other countries, inc EU, prices shown are ex VAT.
Bouwhandleiding
KASTENLOK INDEX
GTM 13 ‘Silvolde’
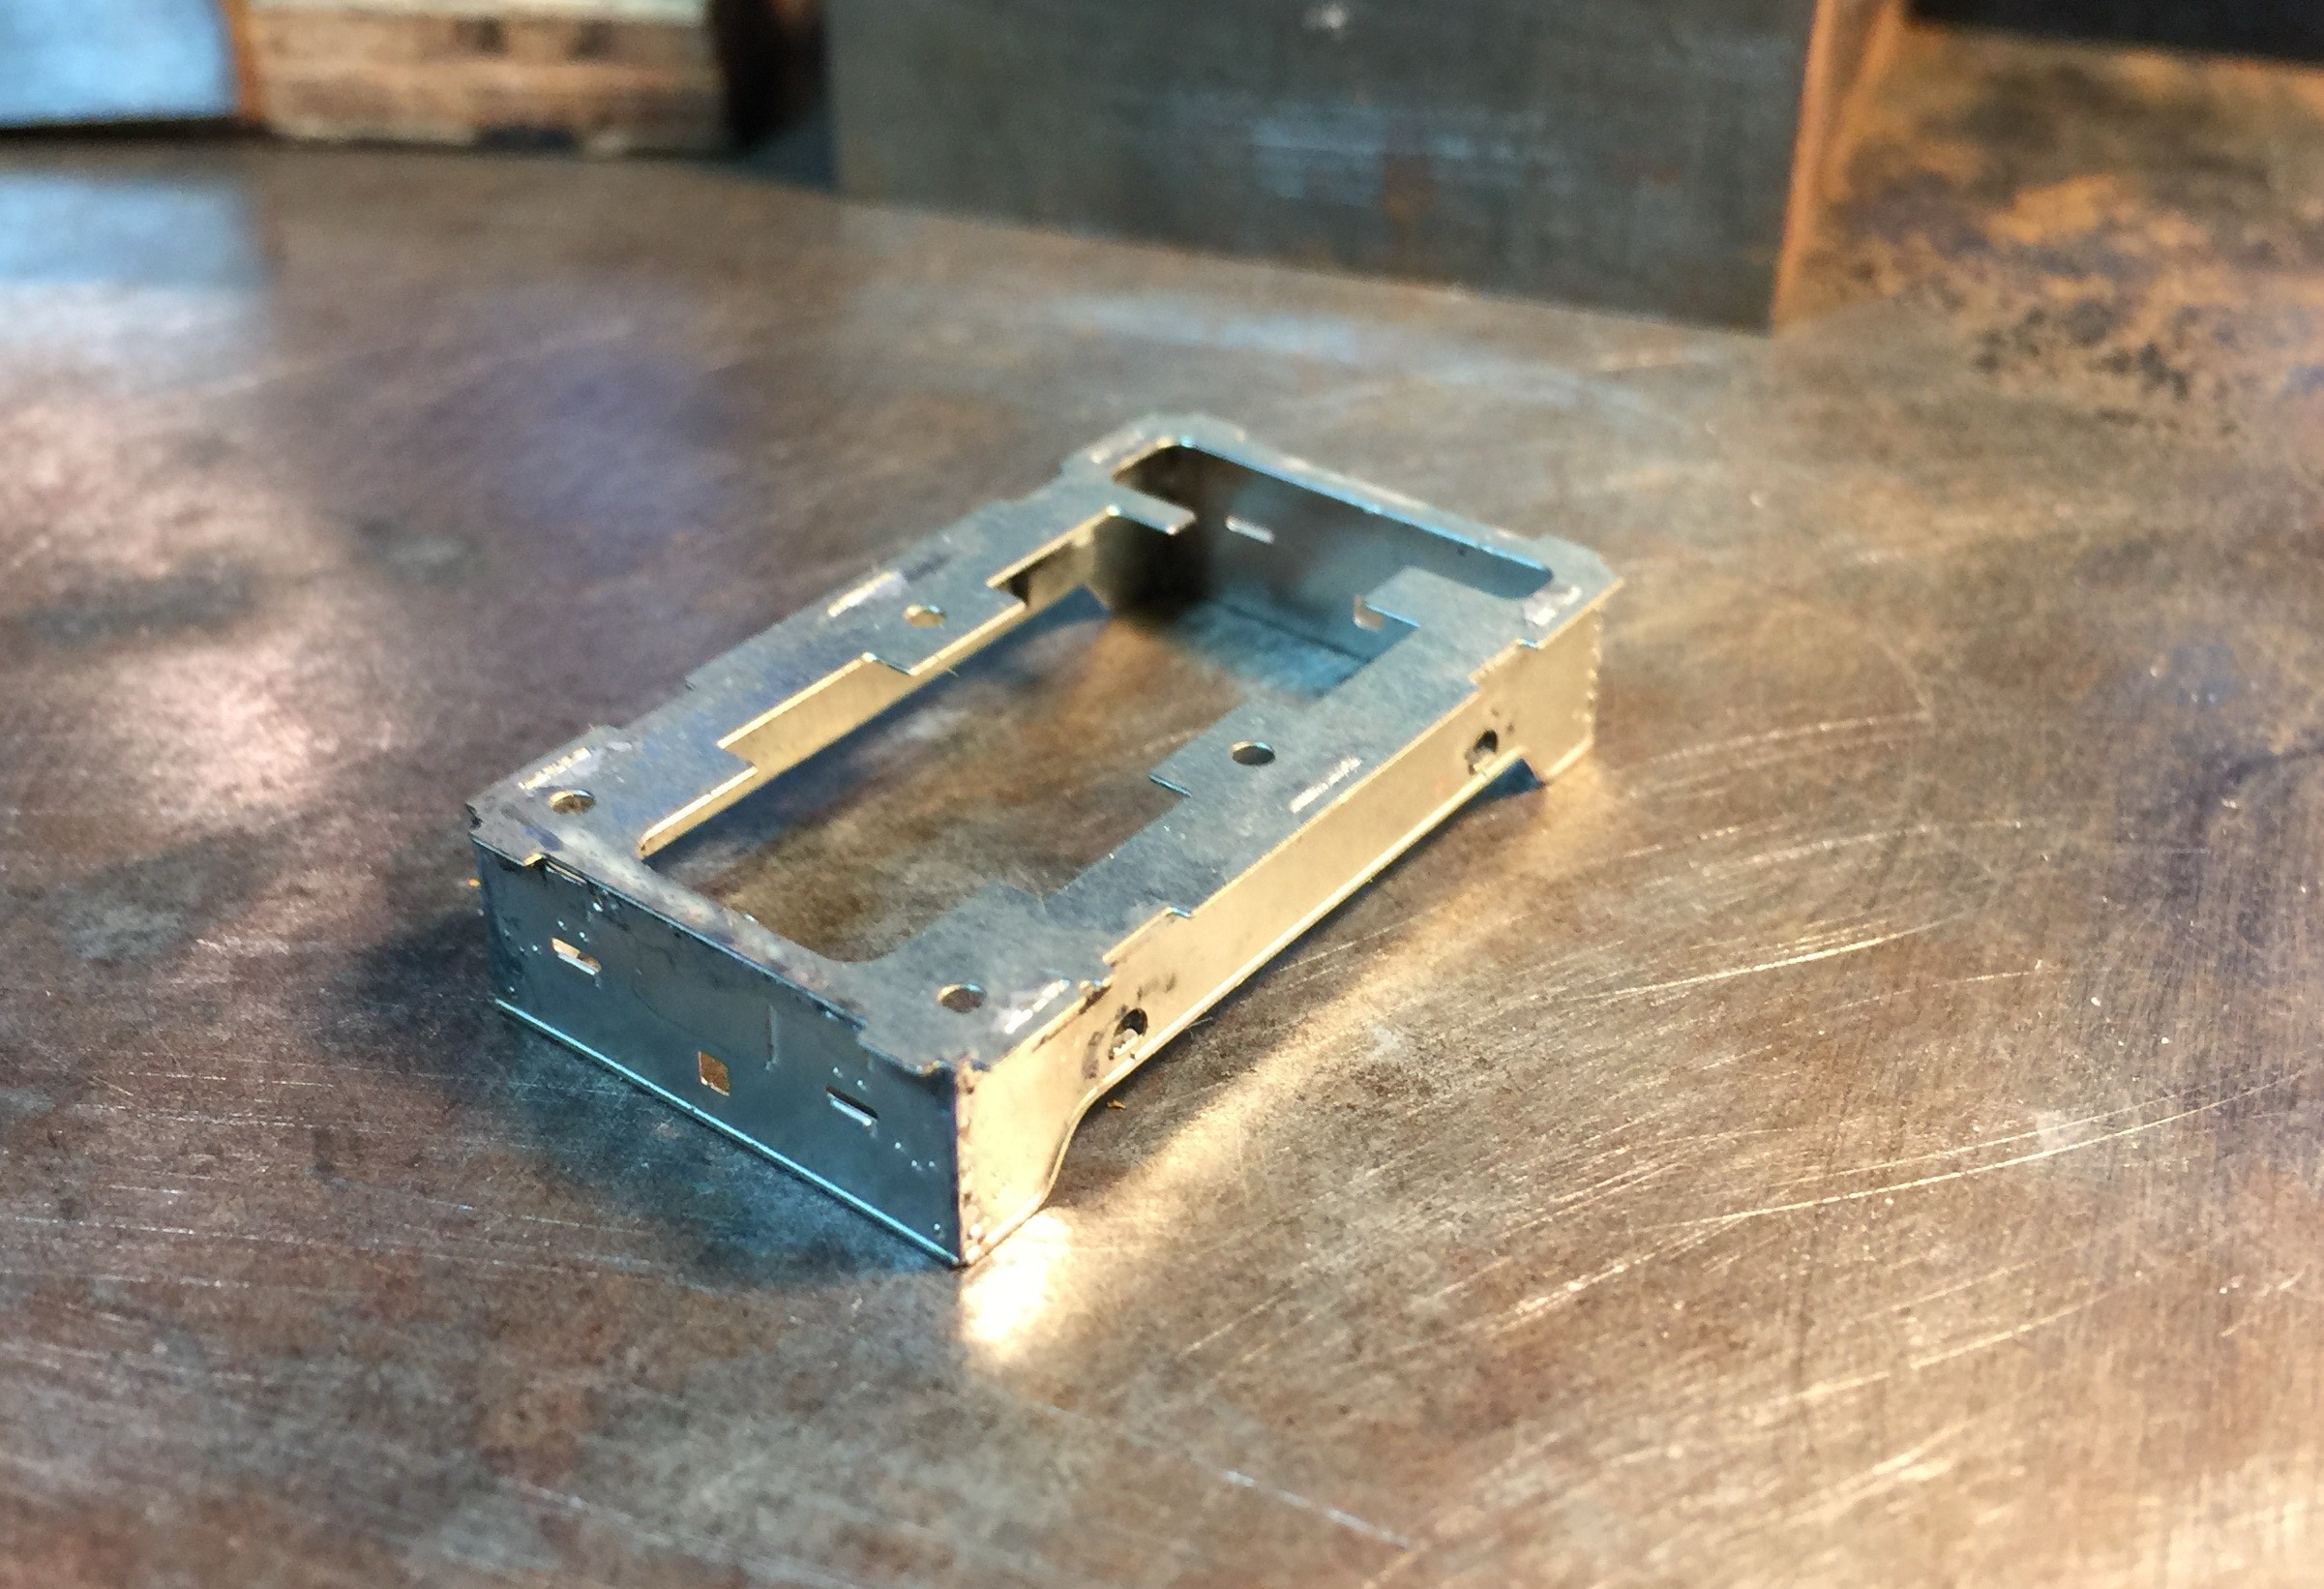
In dit hoofdstuk wordt de kast in elkaar gezet. Begonnen wordt met de onderkant. Hiervoor zijn de volgende onderdelen nodig:
In this chapter the box will be build. First, the bottom part. For this, you need the following items:

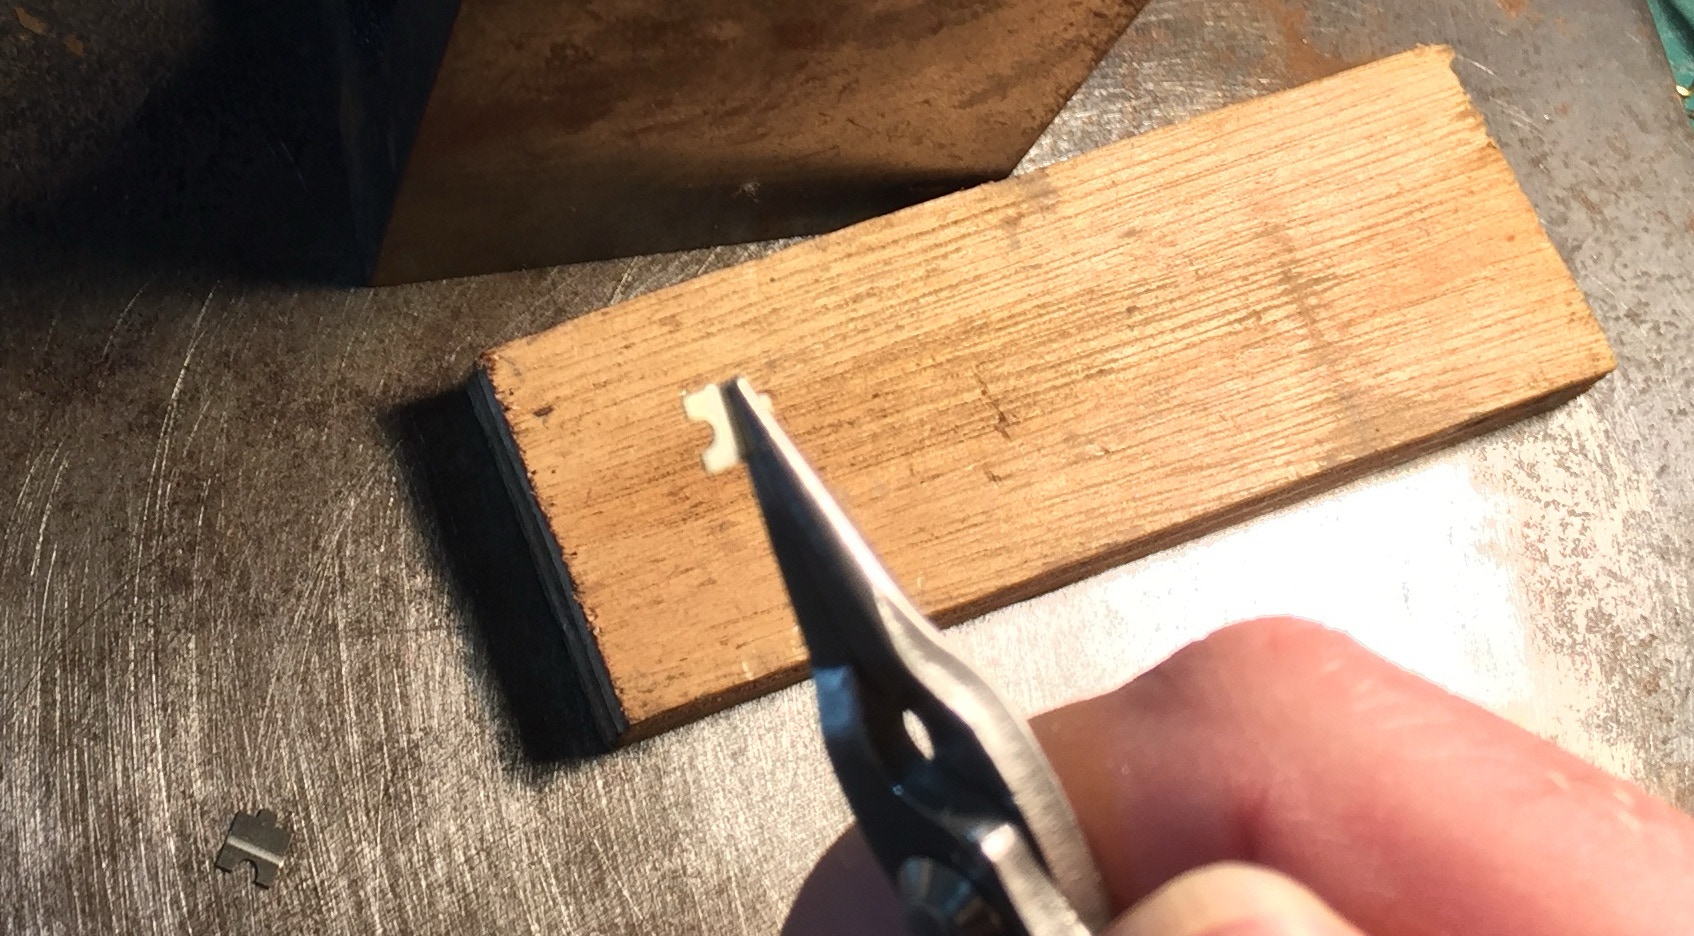
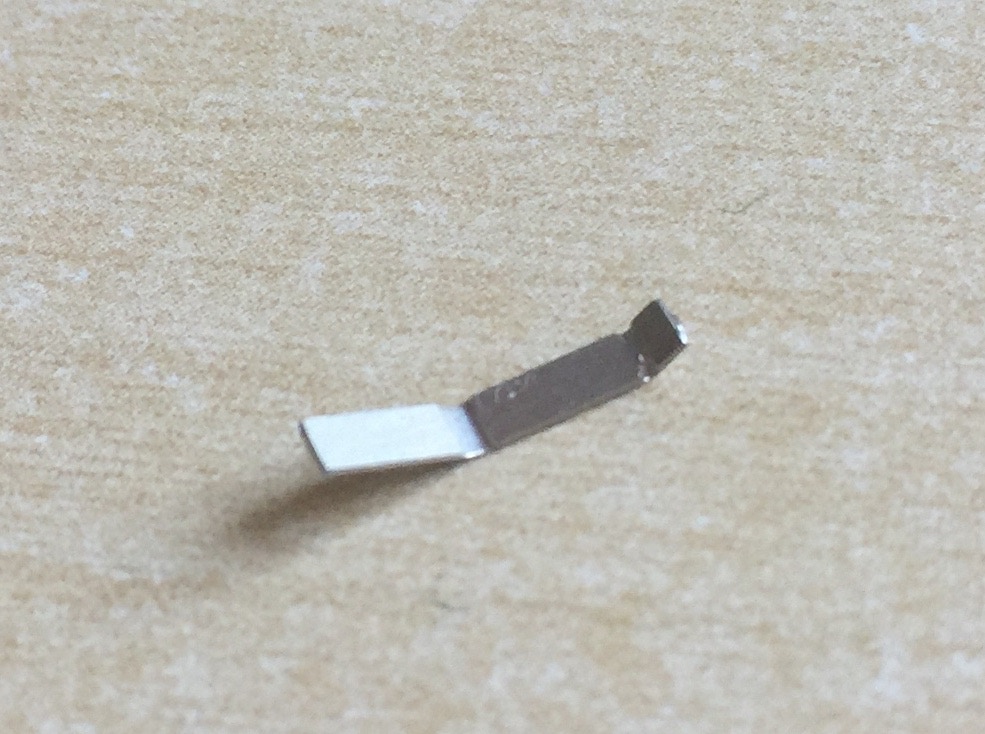
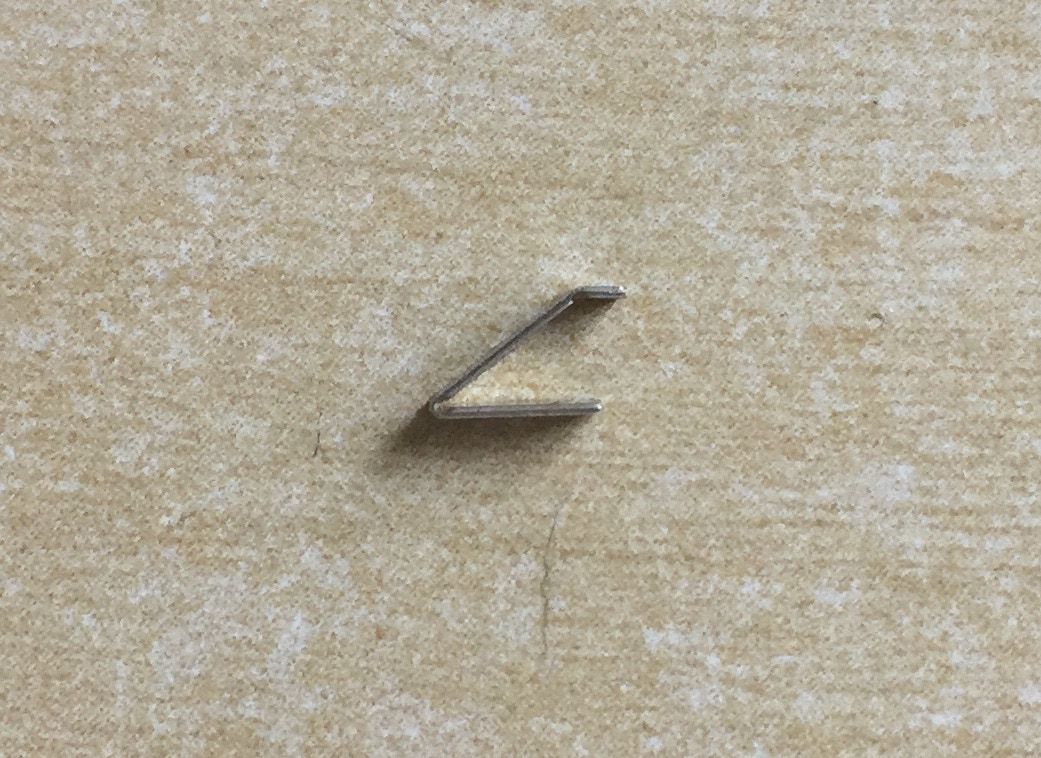
De opstapjes liggen dieper in het frame. Hiervoor zijn de opstapafdekplaatjes (34). Vouw deze volgens onderstaande methode. Bij stap 2, smeer soldeerpasta aan om de halve maan, voordat je ‘m dichtvouwt.
The steps lay deeper in the frame. For this there are step cover plates (34). Fold these according to the steps below. At step 2, before closing the fold, put some solder paste around the half moon.
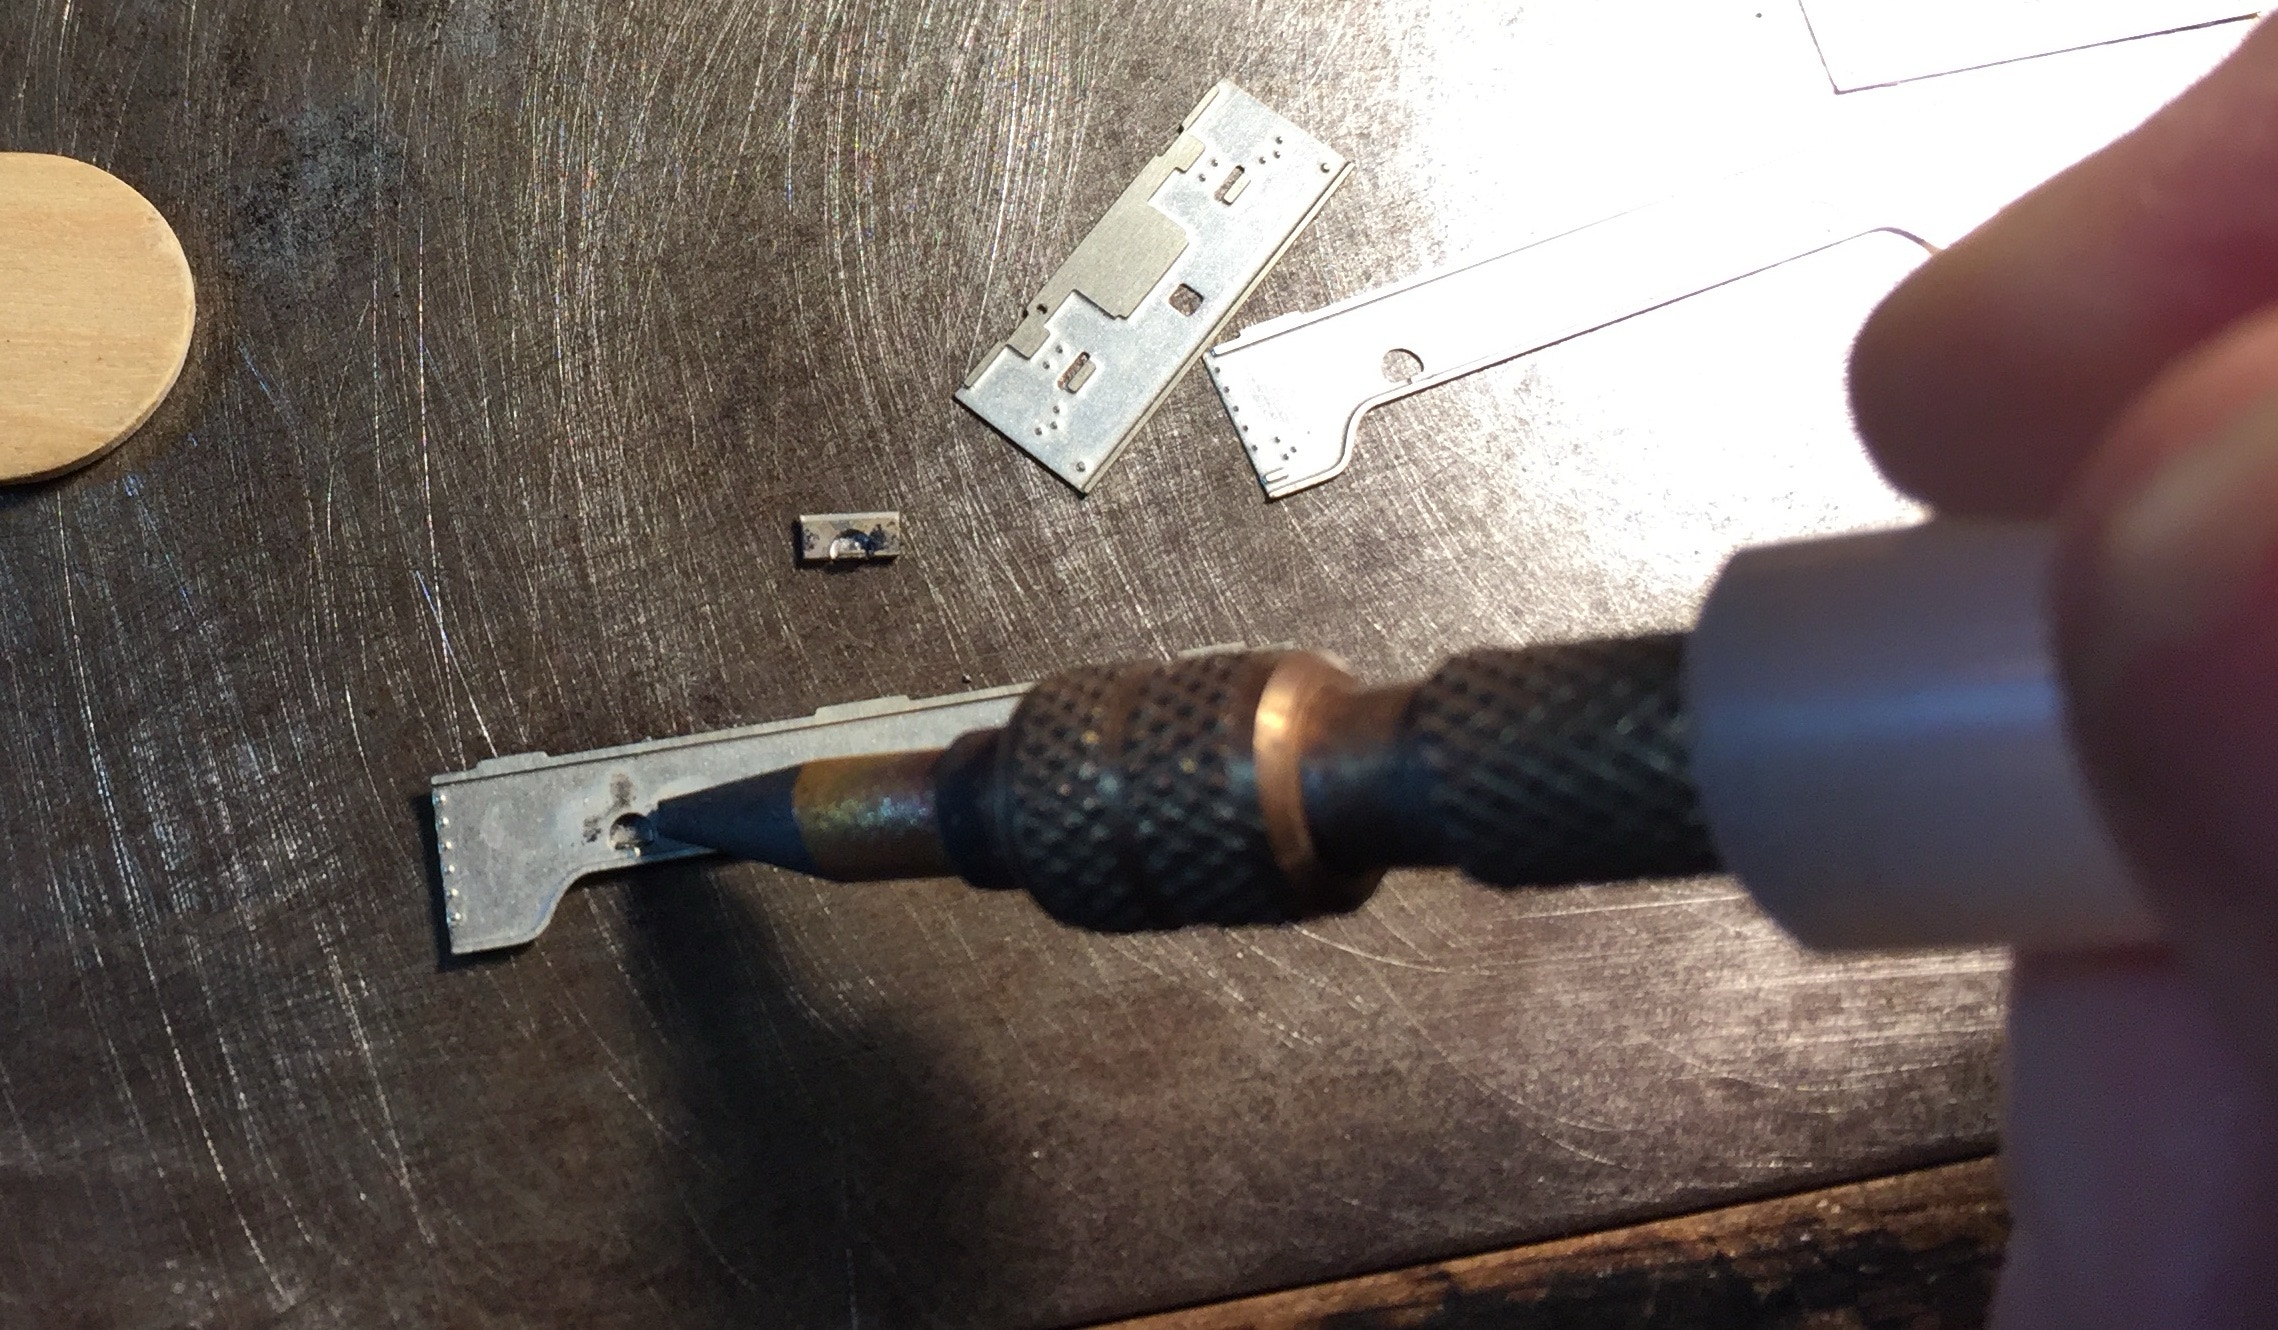
Smeer een beetje soldeerpasta aan de achterkant van een schort (8 en 9) en “plak” een opstapafdekplaatje achter elk gat. Draai het schort om zodat je de buitenkant ziet, controleer of alles recht zit en soldeer het vast.
Put a bit of solder paste on the back of a skirt (8 and 9) and “glue” a step cover plate behind each hole. Turn the skirt, so you see the outside, check if everything is straight and solder in place.
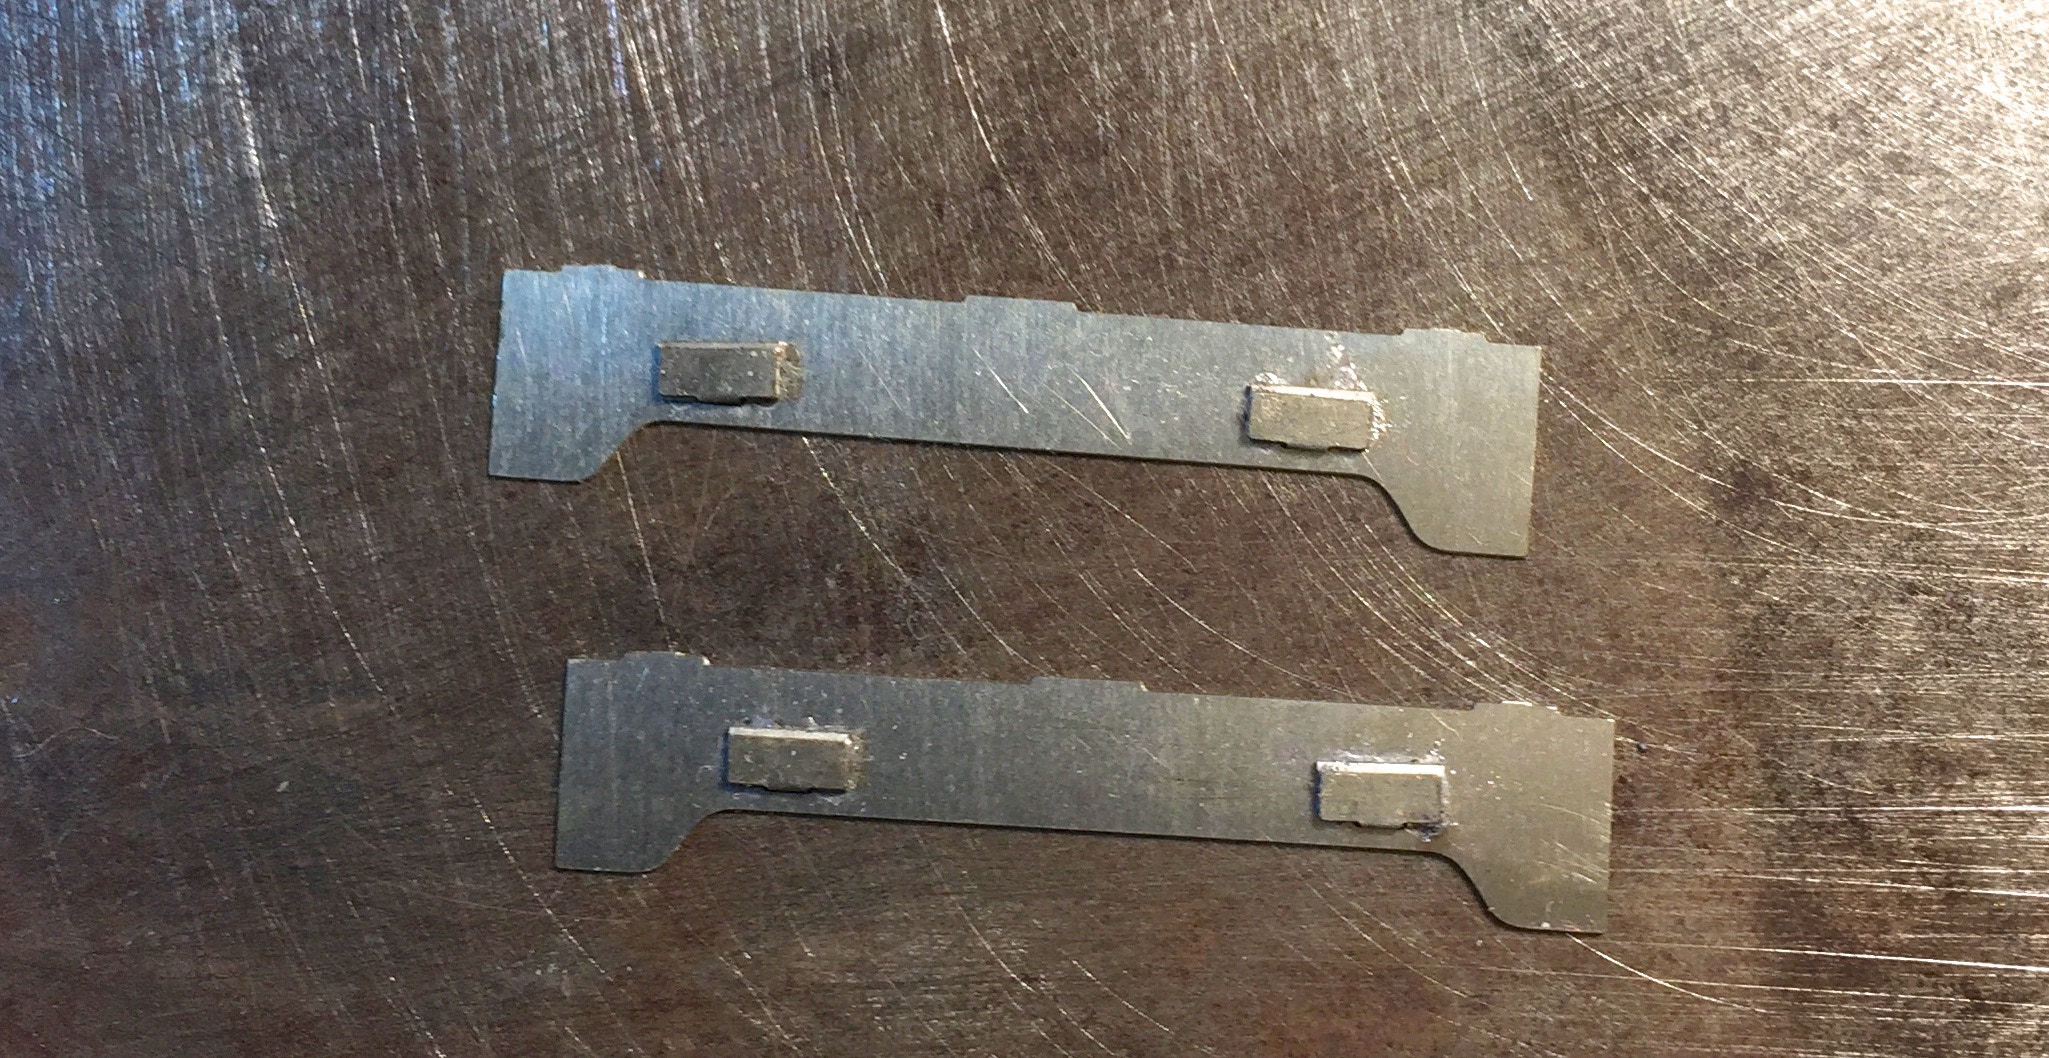
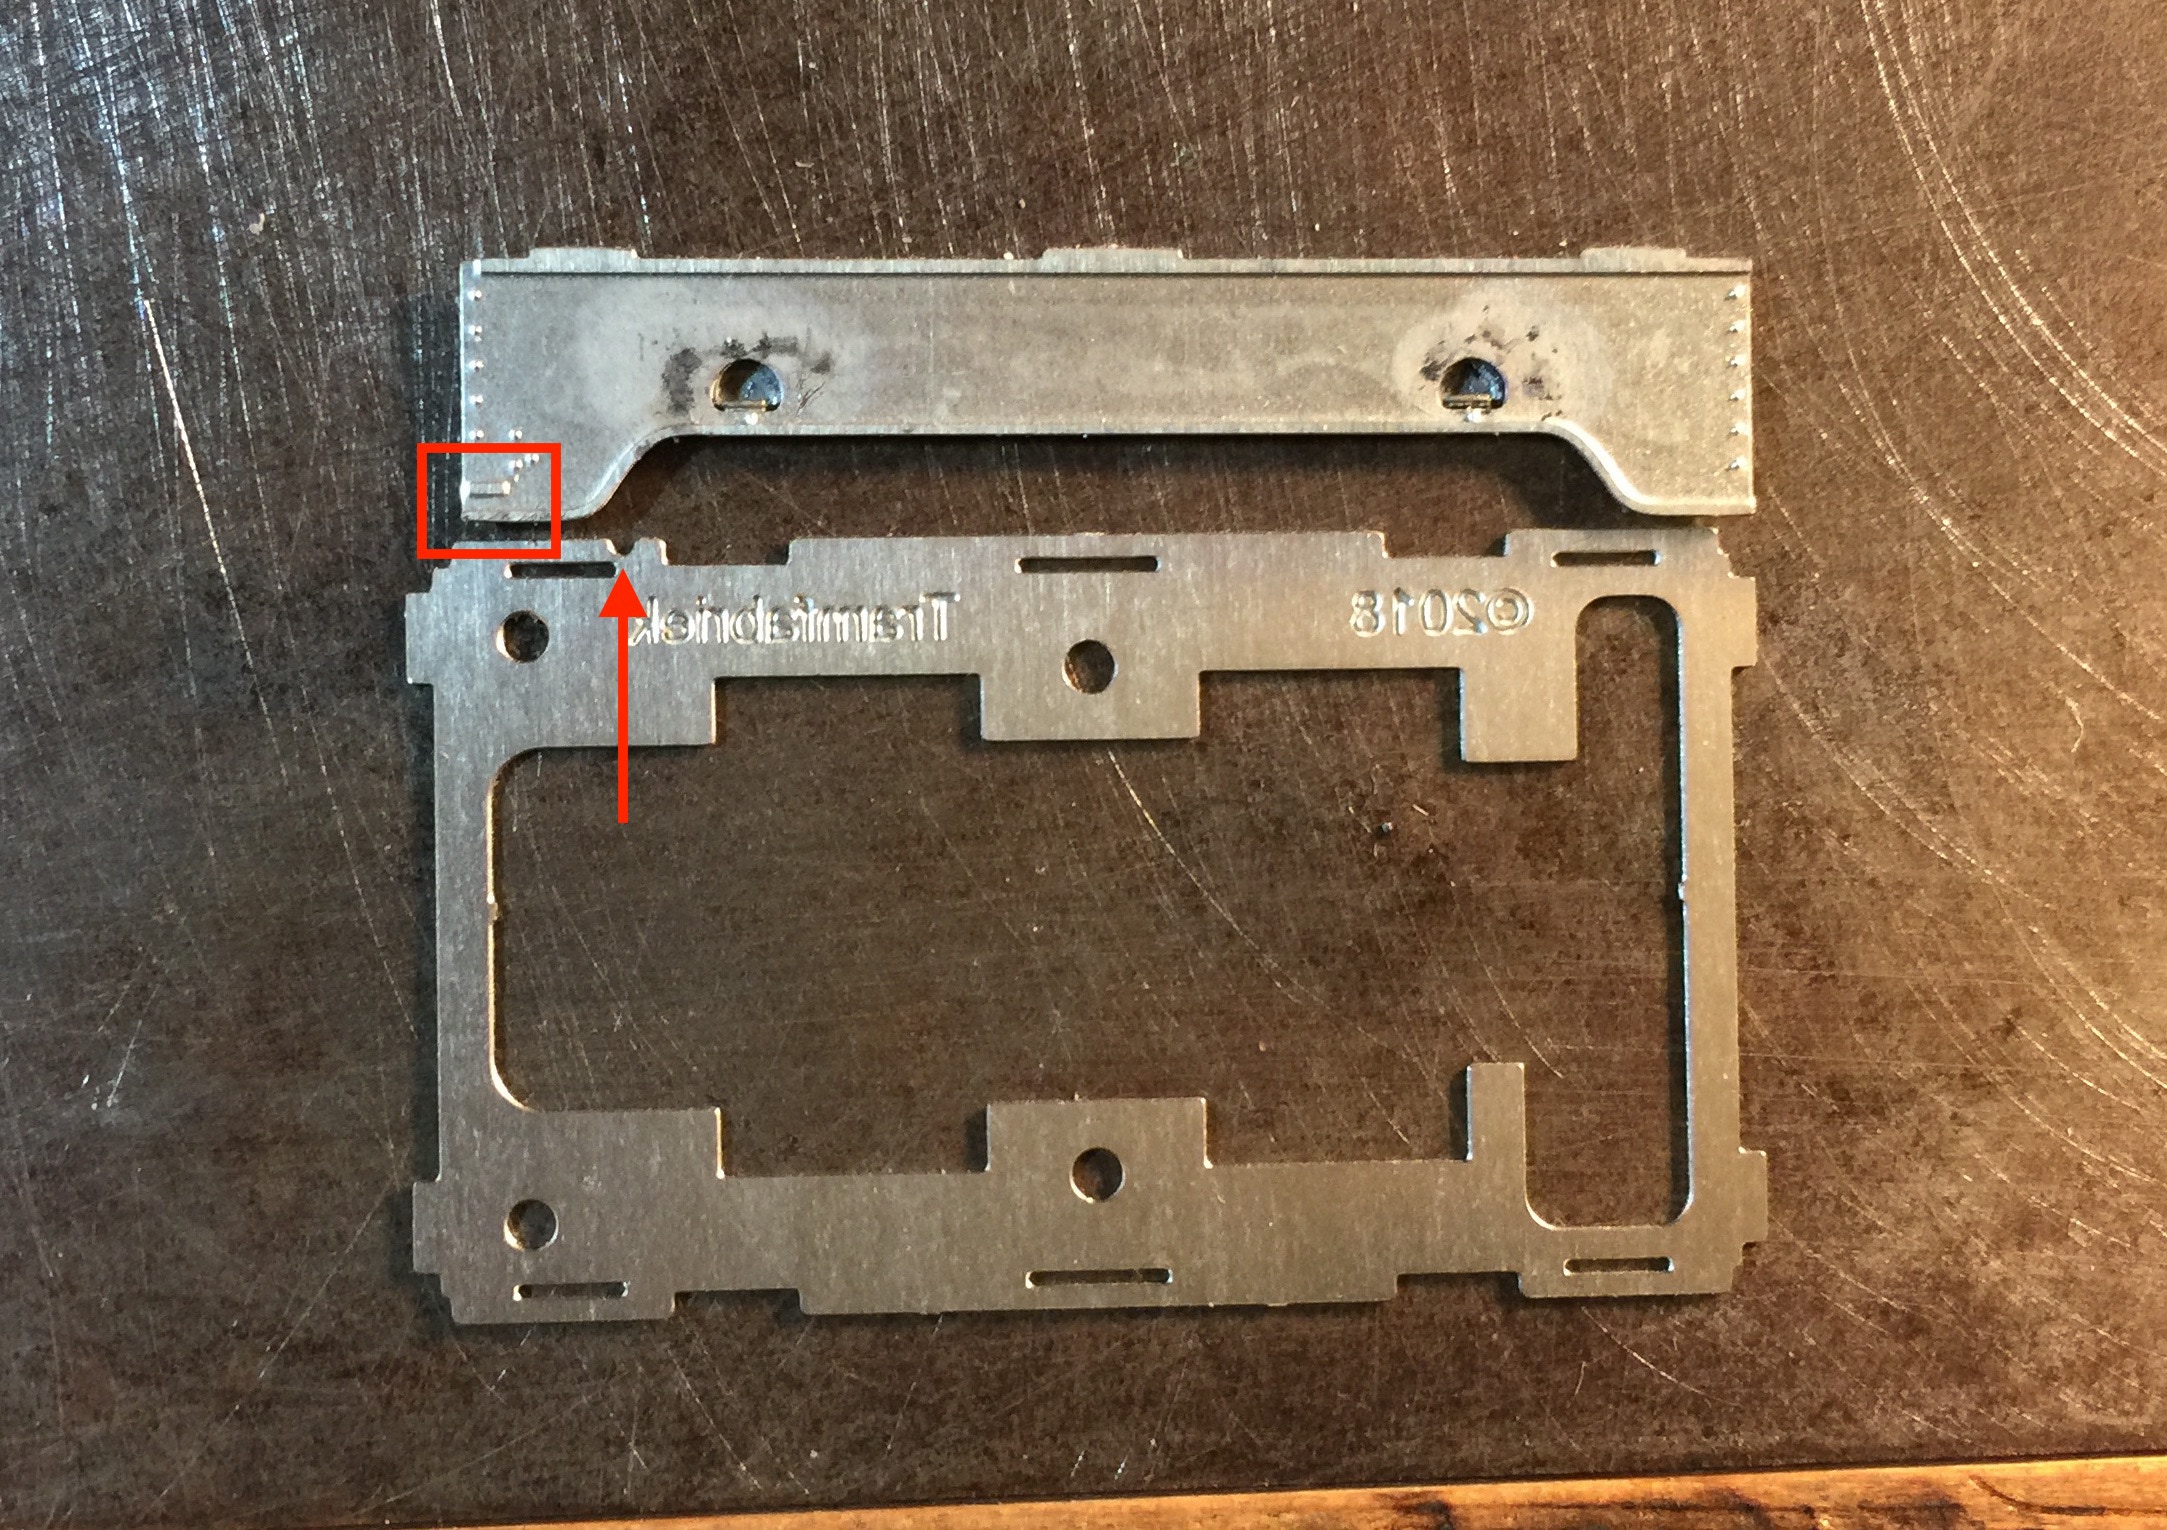
De twee lange zijpanelen zijn verschillend. Lokaliseer het paneeltje met het horizontale streepje, linksonder op het paneel (rode rechthoek op de foto). Dit paneel komt aan de zijde van de bodemplaat met het halfronde inkeping.
The long side panels are different. Identify the panel with the horizontal stripe, at the left bottom (red square on picture). This panel will be fitted on the side of the bottom plate with the half circle on the side.
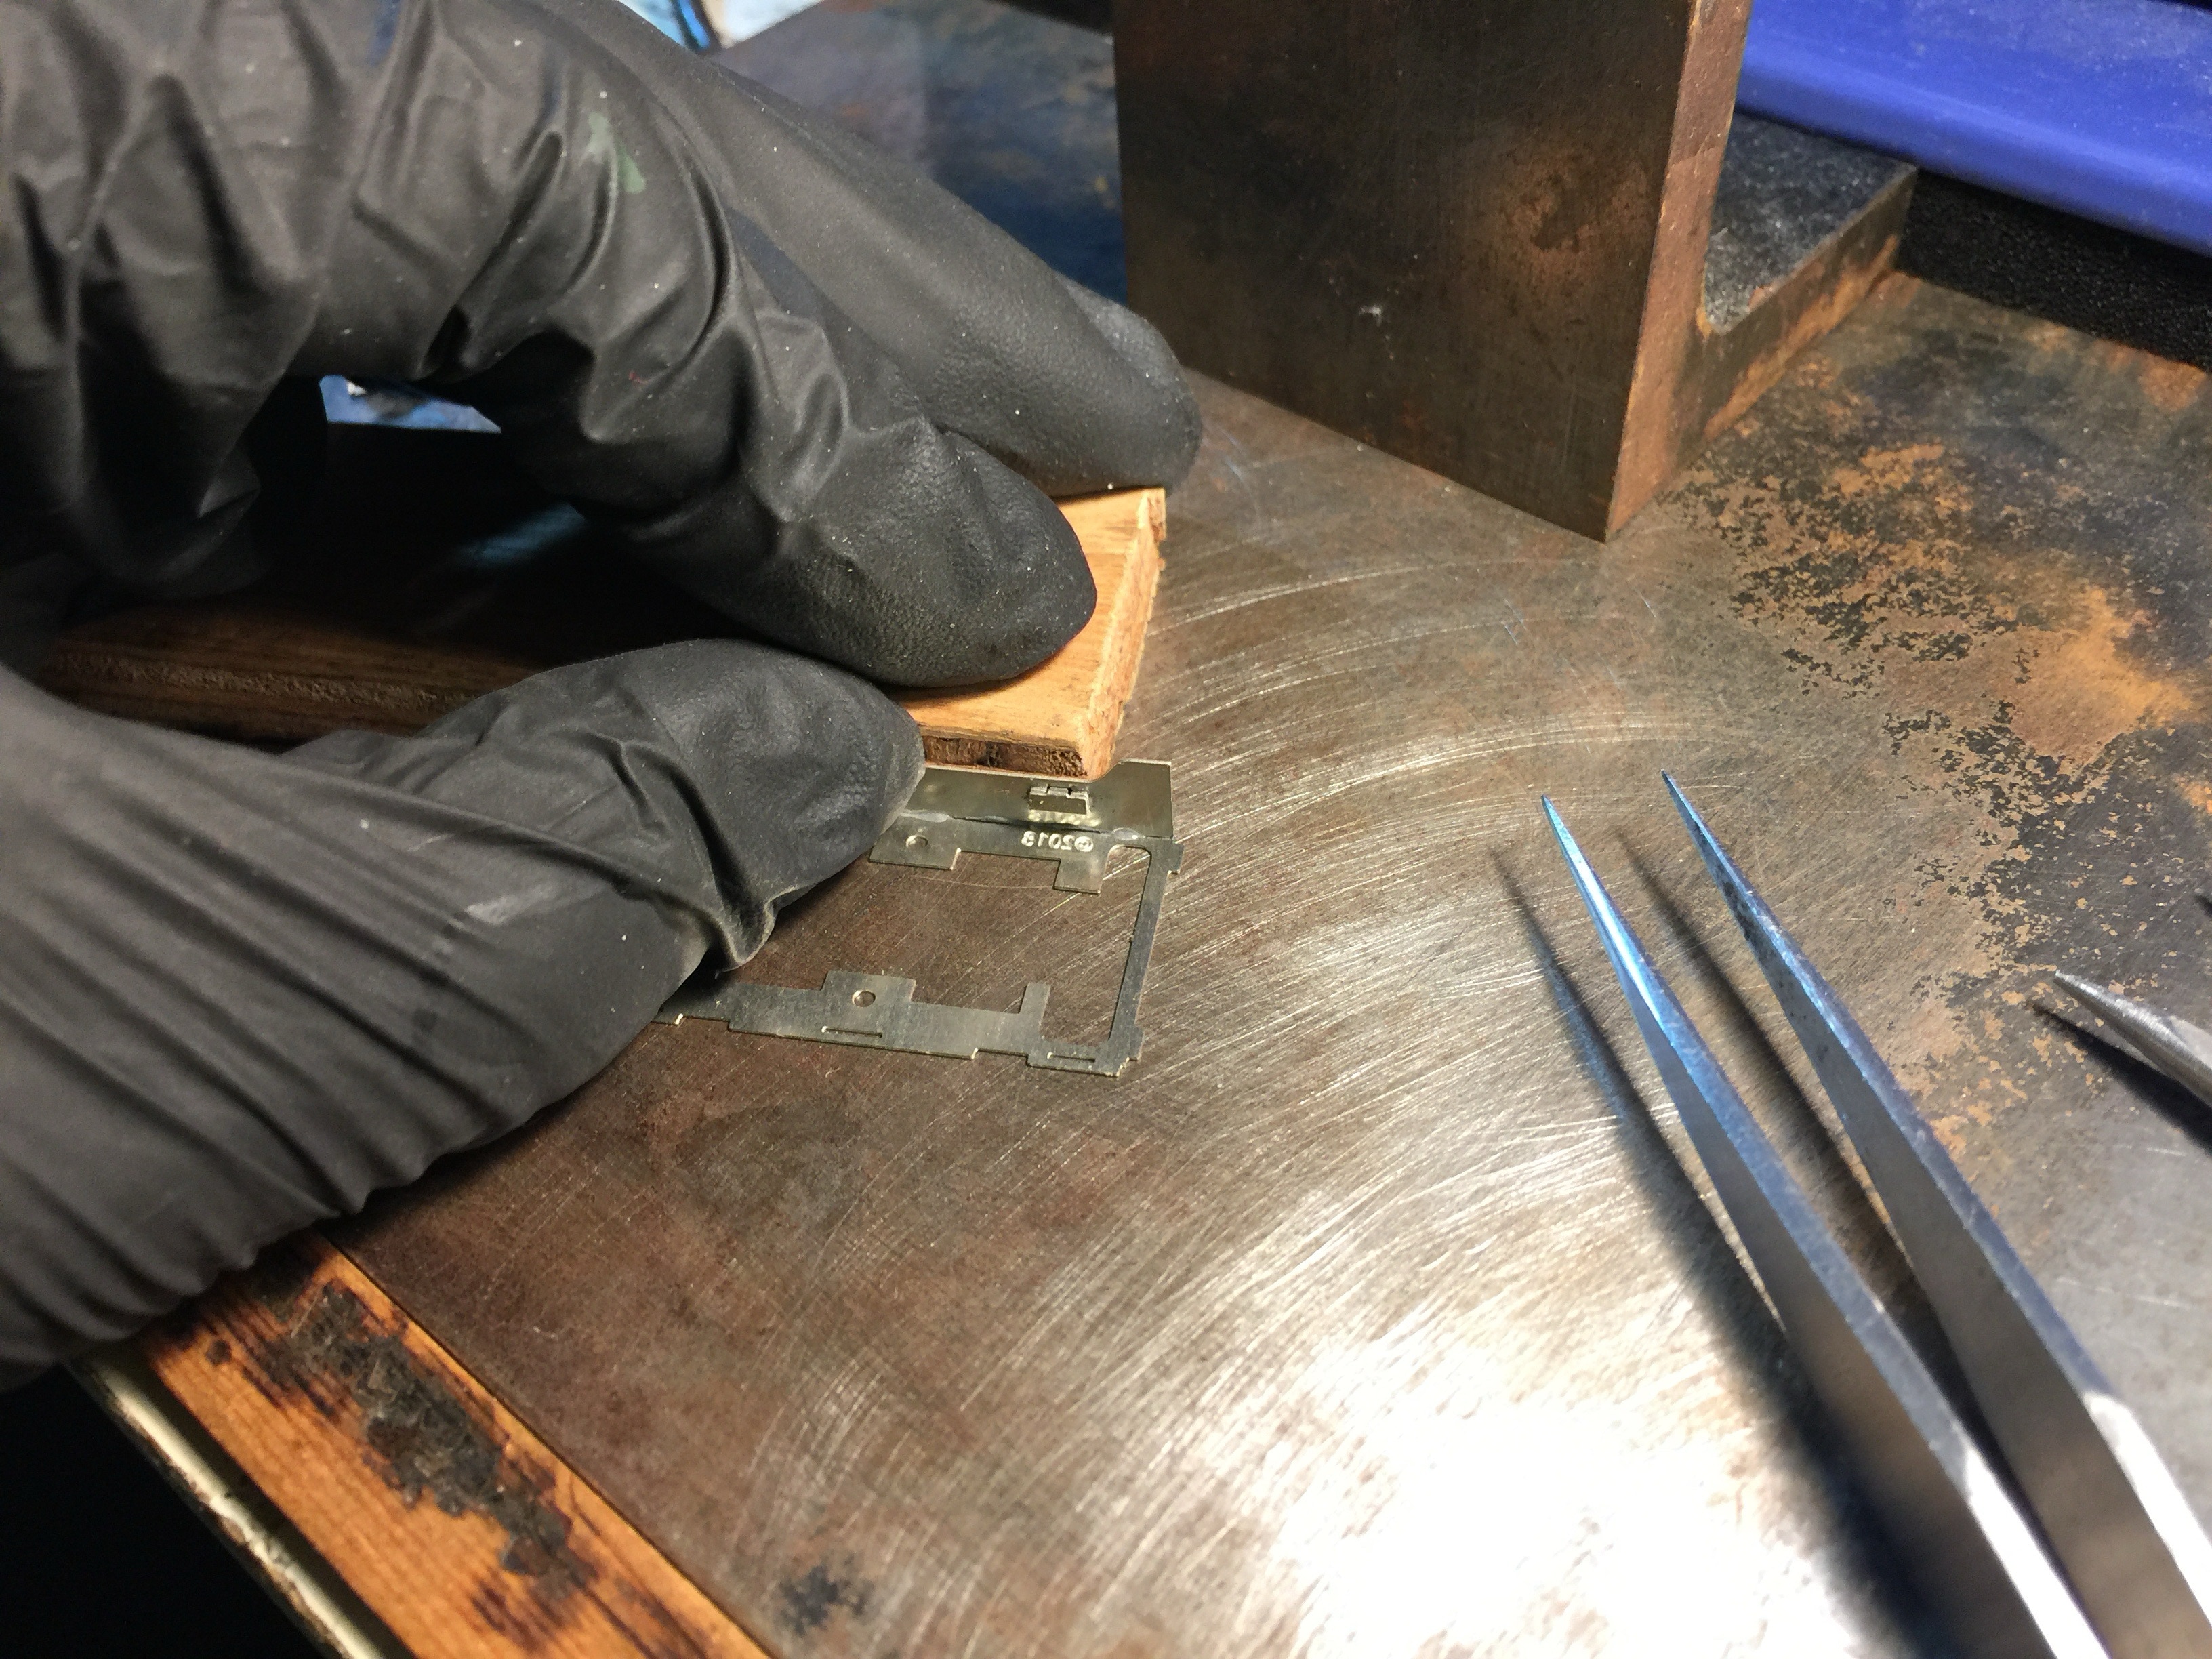
Use something straight to support the panel in a 90 degree angle. Put solder paste on the edge of the panel and put the panel in the tabs. It should fit perfectly, without the need to file anything.
Neem iets met een 90 graden hoek om het paneel tegen aan te steunen voor een nette hoek, smeer de te solderen kant in met soldeerpasta en zet het paneel vast in de tabjes. Het paneel past er, zonder nabewerking, exact in.
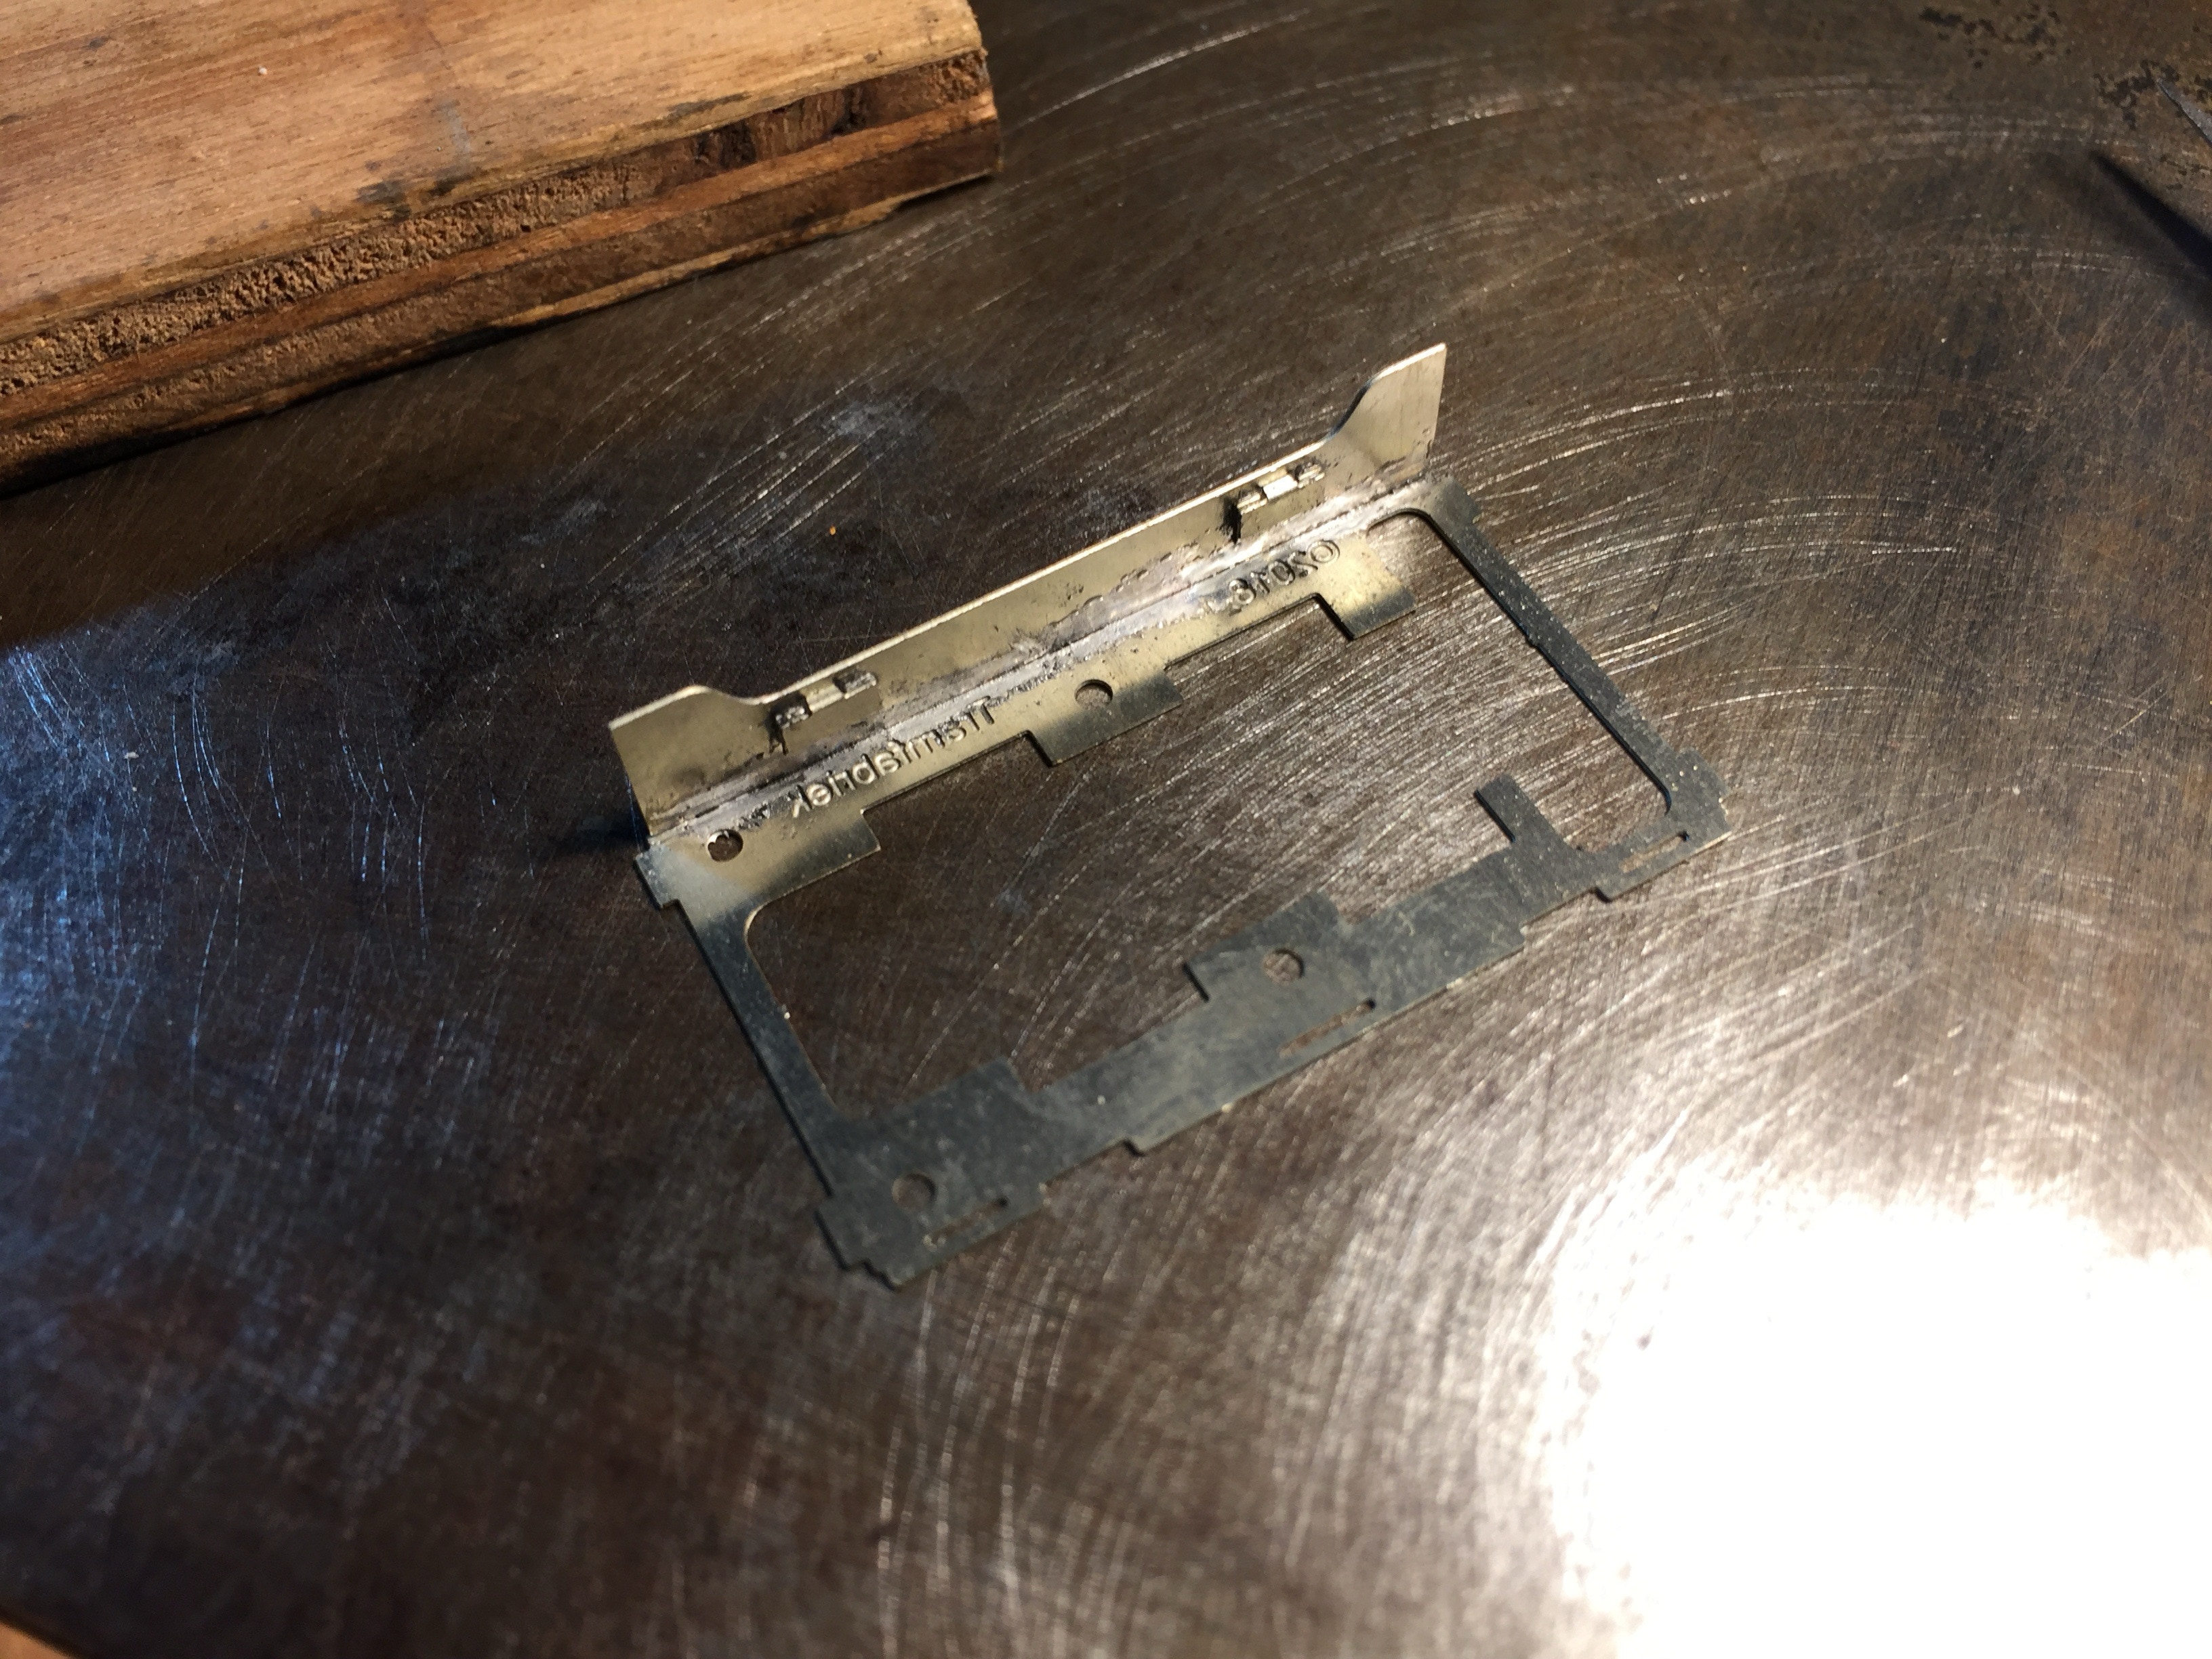
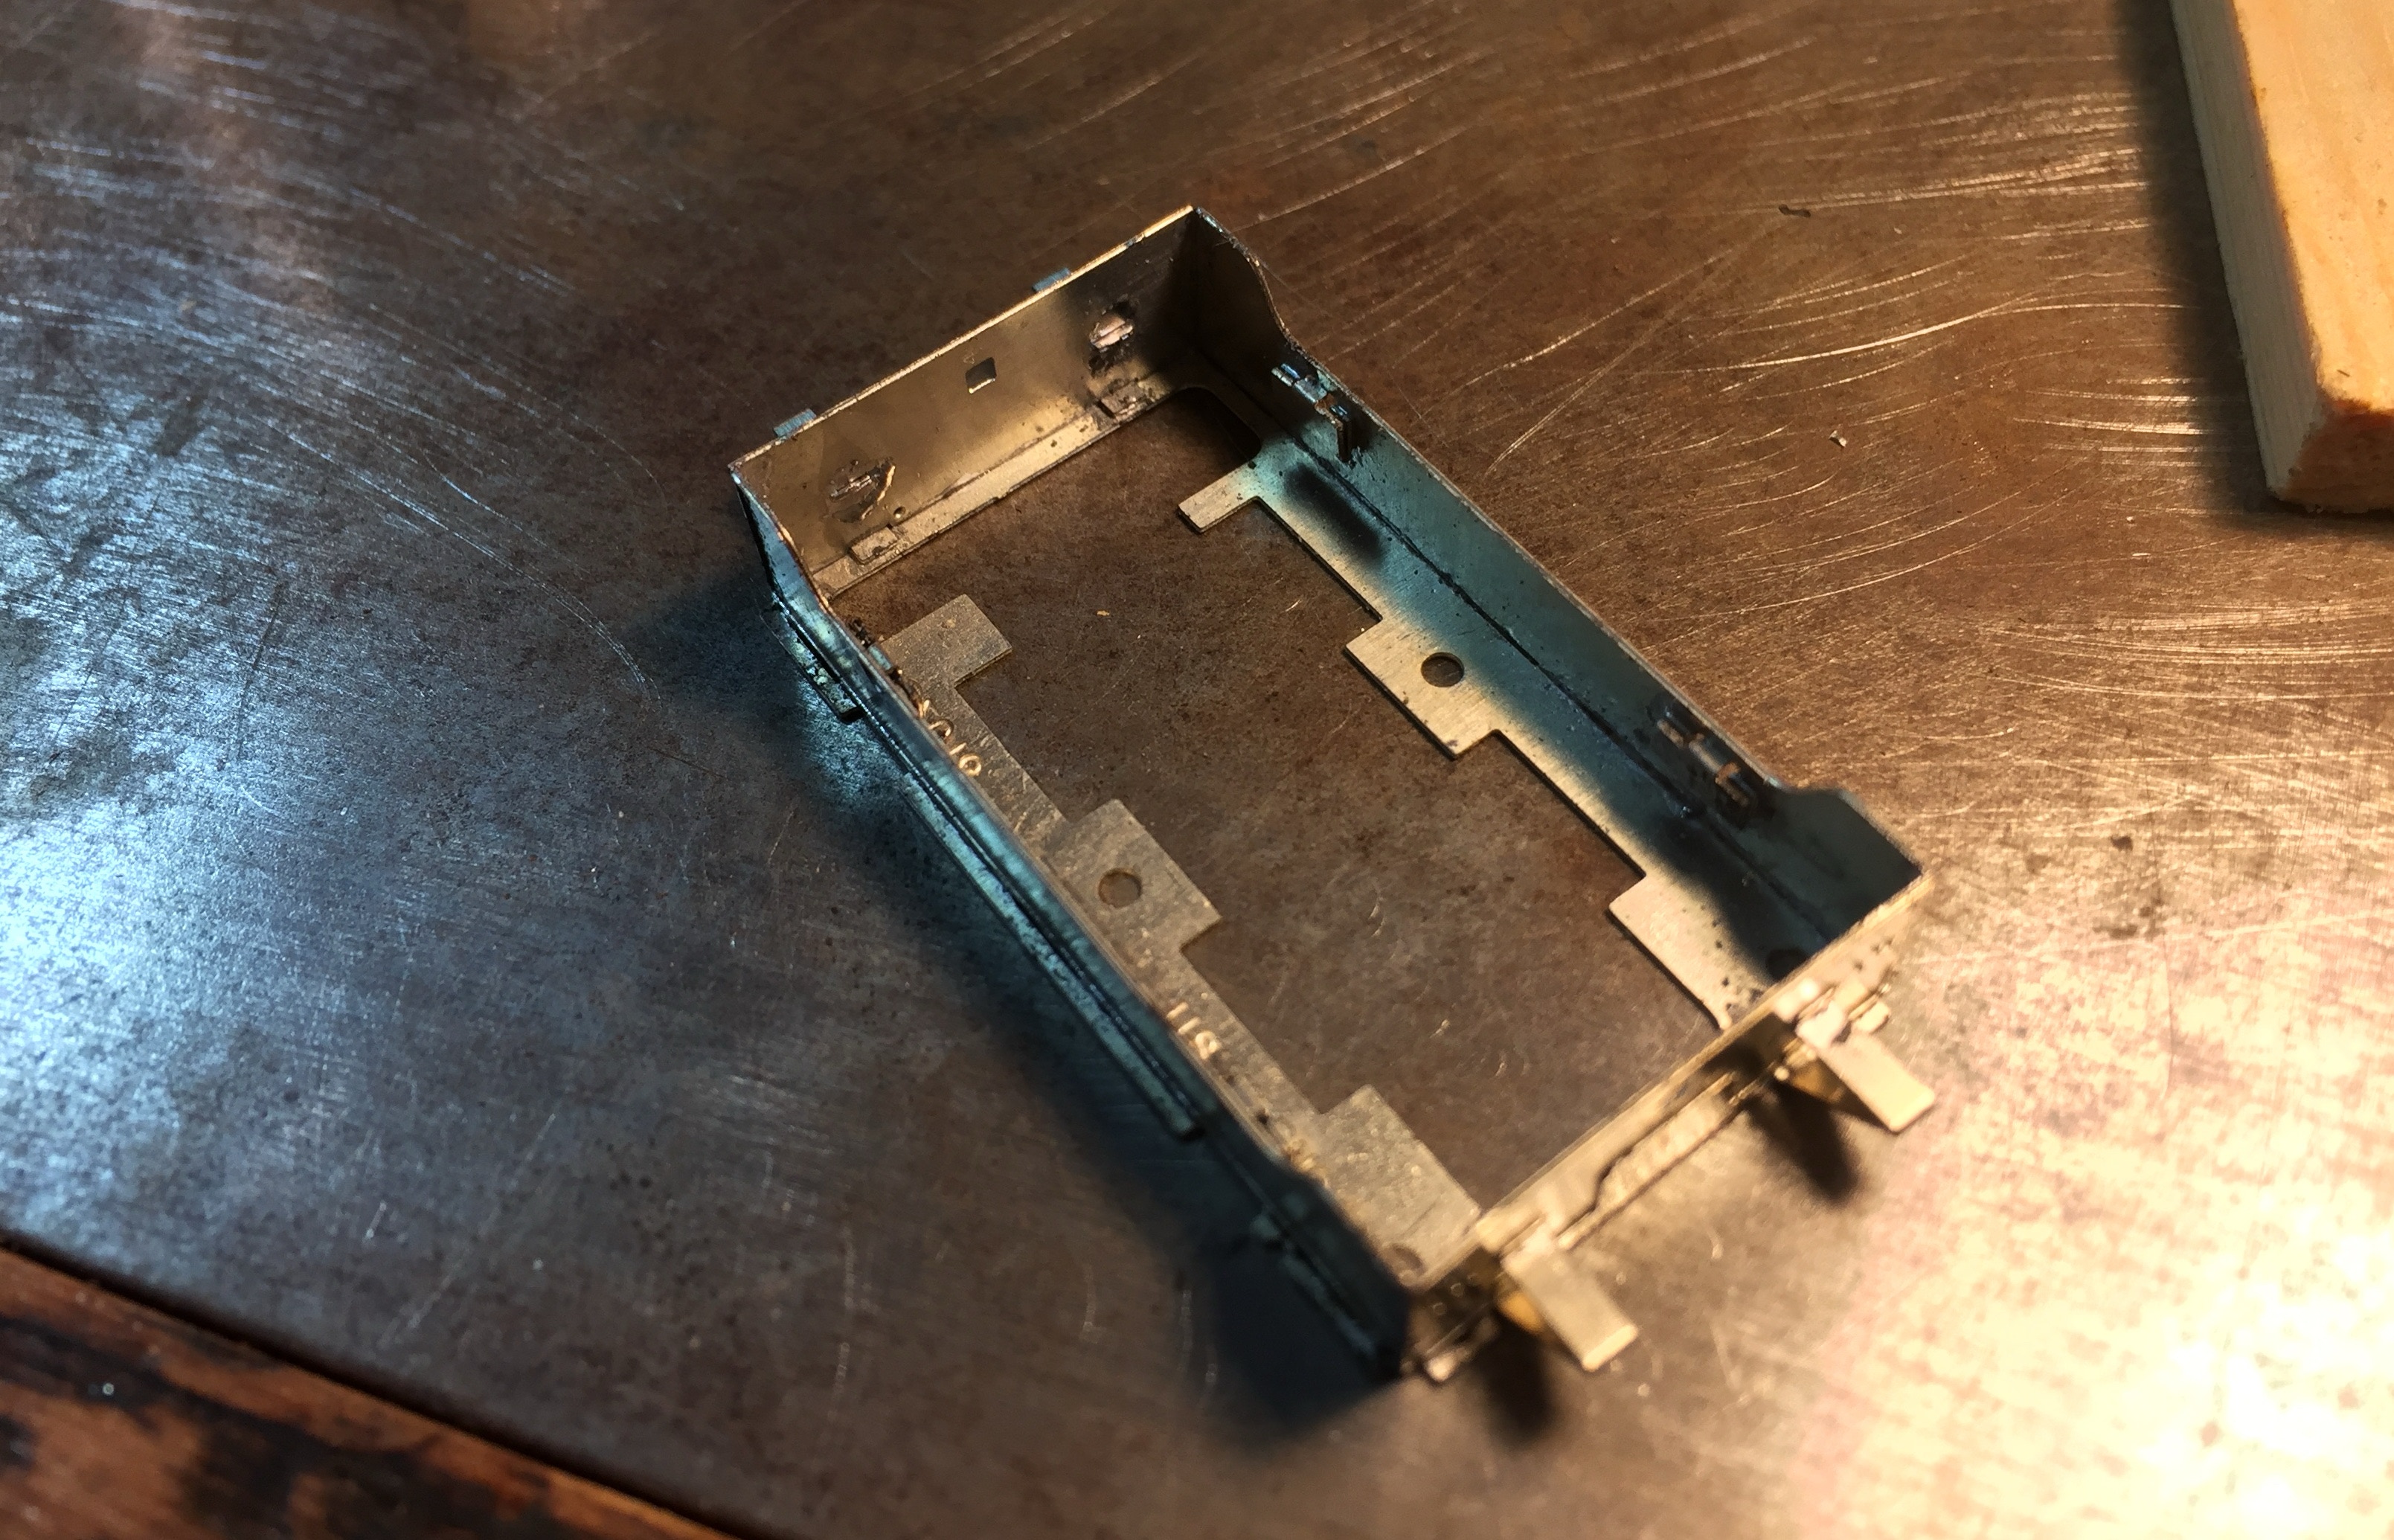
Het resultaat.
The result.
Doe hetzelfde met het paneel aan de andere kant.
Dan zijn de twee identieke, korte panelen (3) aan de beurt. Het grote vierkant (voor de koppeling) is onder, de twee inhammen de bovenkant.
Do the same with the panel of the other side.
Then the two short, identical front and back panels (3) are up. The square hole is under, the two indents are up.

Kijk waar het paneel de bodemplaat en zijpanelen raakt en smeer op die punten soldeerpasta. Lijn het paneeltje op de hoeken uit en zet het vast door het soldeerbout op de hoeken te houden. Let er op dat ze mooi glad aansluiten op de hoeken.
Check where the panel touches the bottom plate and side skirts and put solder paste on those places. Align the short panel in the middle and solder it in place, by holding the solder iron on the corners. Make sure the corners are smooth.

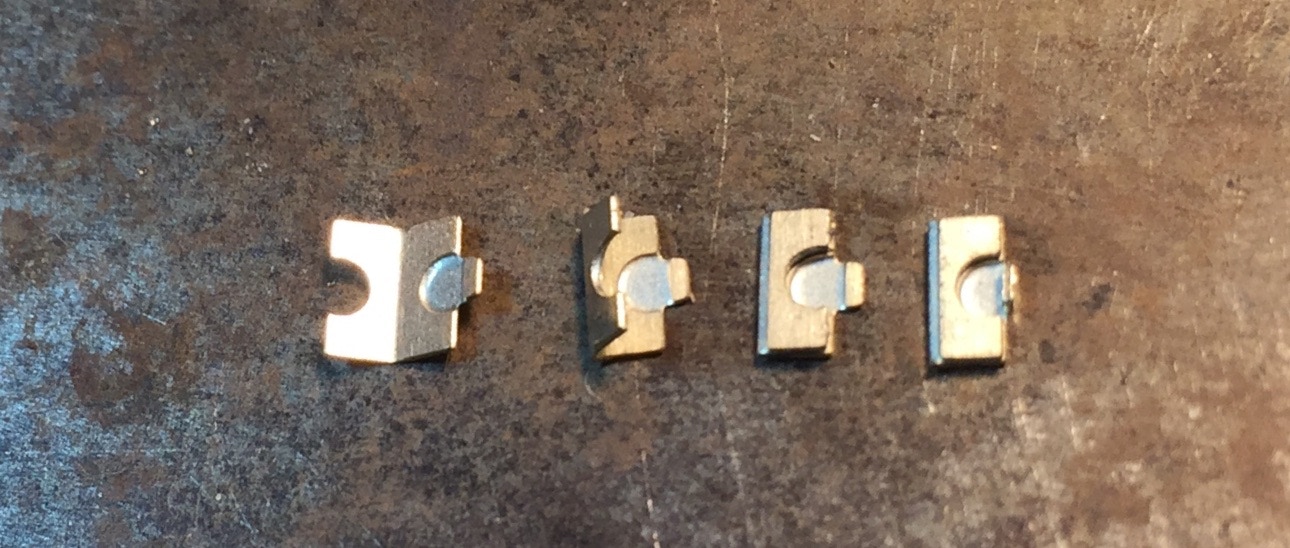
Knip nu de klampen (33) los van de dakhouder (32). Je hebt er vier nodig, er is er eentje reserve. Op de stripjes zijn lijntjes aangegeven. Deze komen aan de binnenzijde van de vouw. Vouw volgens het plaatje. De onderkant van de driehoek moet horizontaal bevestigd worden. Steek het kleine stukje van het driehoek door het bovenste slot en soldeer het dan aan de bovenkant vast. Bekijk het daarna van alle kanten of alles recht zit en soldeer dan ook het onderstukje vast. Deze steekt minder dan een millimeter door het onderste slot heen. Ook hier geldt: alles past precies zonder te hoeven vijlen!
Cut the jacking points (33) off the roof holder (32). You only need four, one is a spare. On the strips, there are indicators where to fold. Keep this on the inside of the fold. Fold according to the image below. The bottom side of the triangle needs to be horizontal. Stick the little top part through the top slot and solder against the bottom. Check from all angles if everything is straight, then solder the bottom part as well. This will stick less than a millimeter through the slot. Note that also here everything should fit perfectly, there is no need to file anything!

•