UK based
Prices for UK customers are shown inc 20% VAT
Other countries, inc EU, prices shown are ex VAT.
Bouwhandleiding


KASTENLOK INDEX
GTM 13 ‘Silvolde’


UK based
Prices for UK customers are shown inc 20% VAT
Other countries, inc EU, prices shown are ex VAT.
Bouwhandleiding
KASTENLOK INDEX
GTM 13 ‘Silvolde’
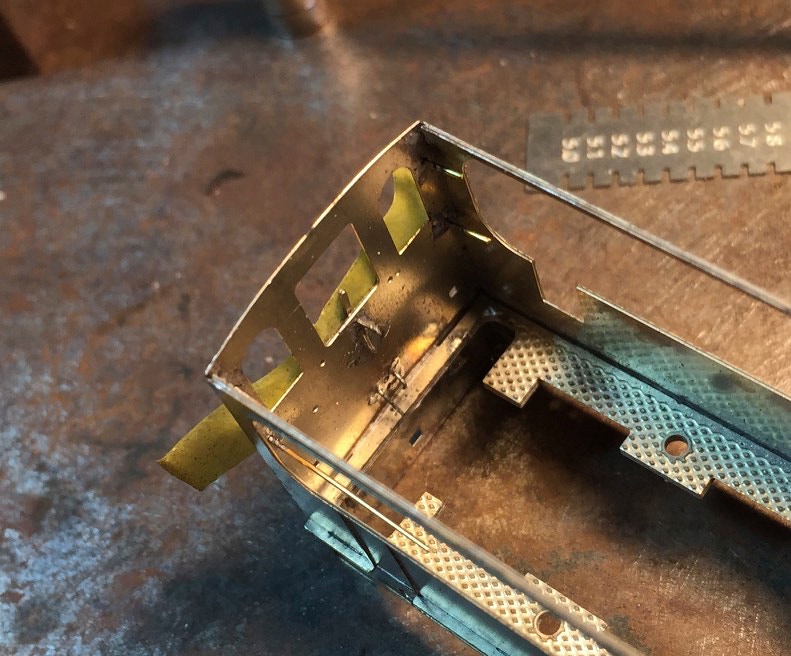
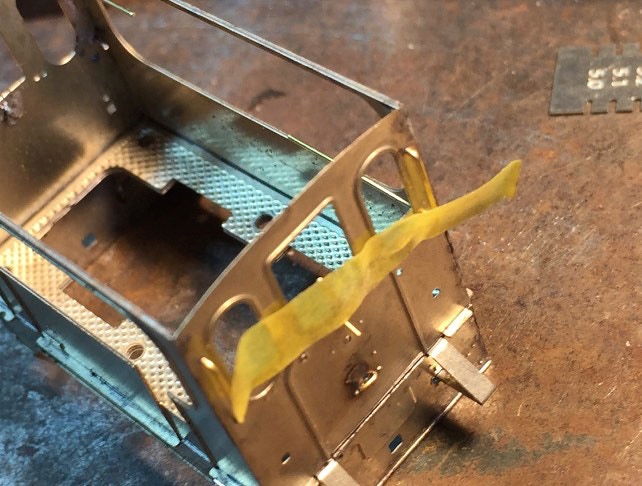
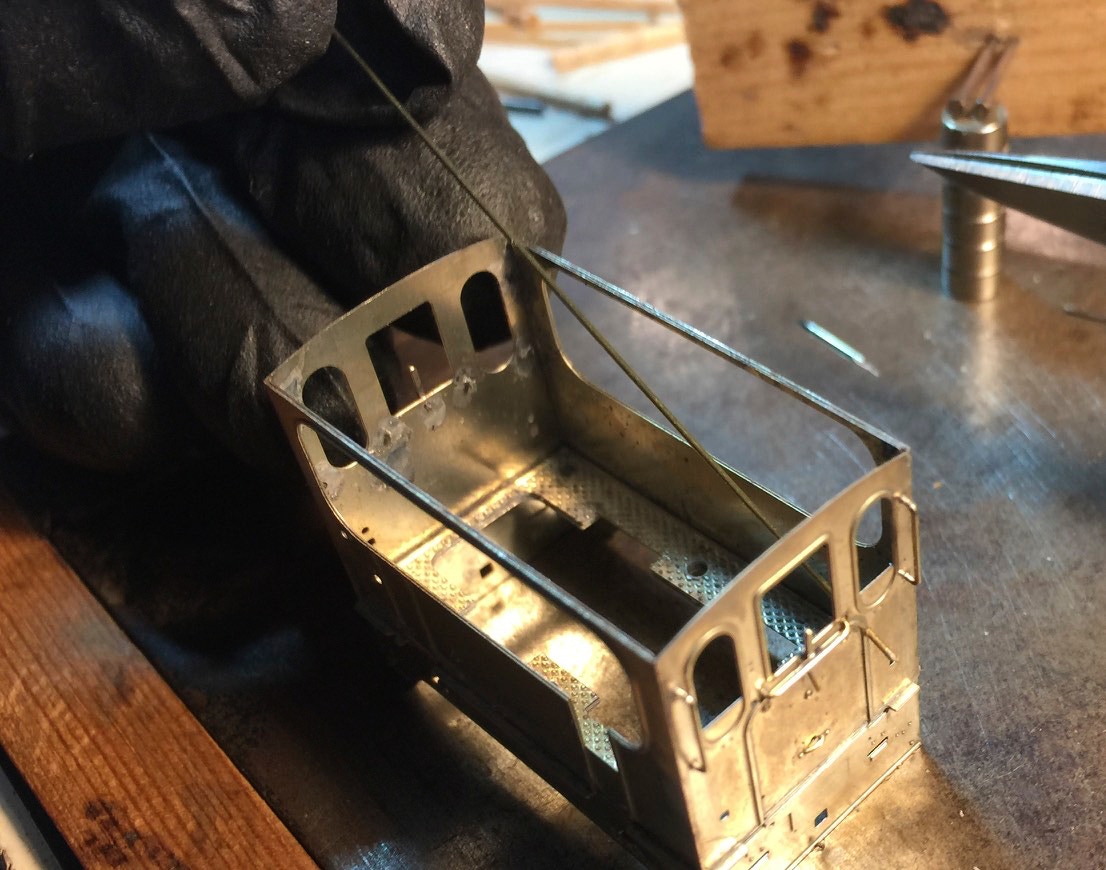
2. KASTONDERDELEN
2. CHASSIS PARTS
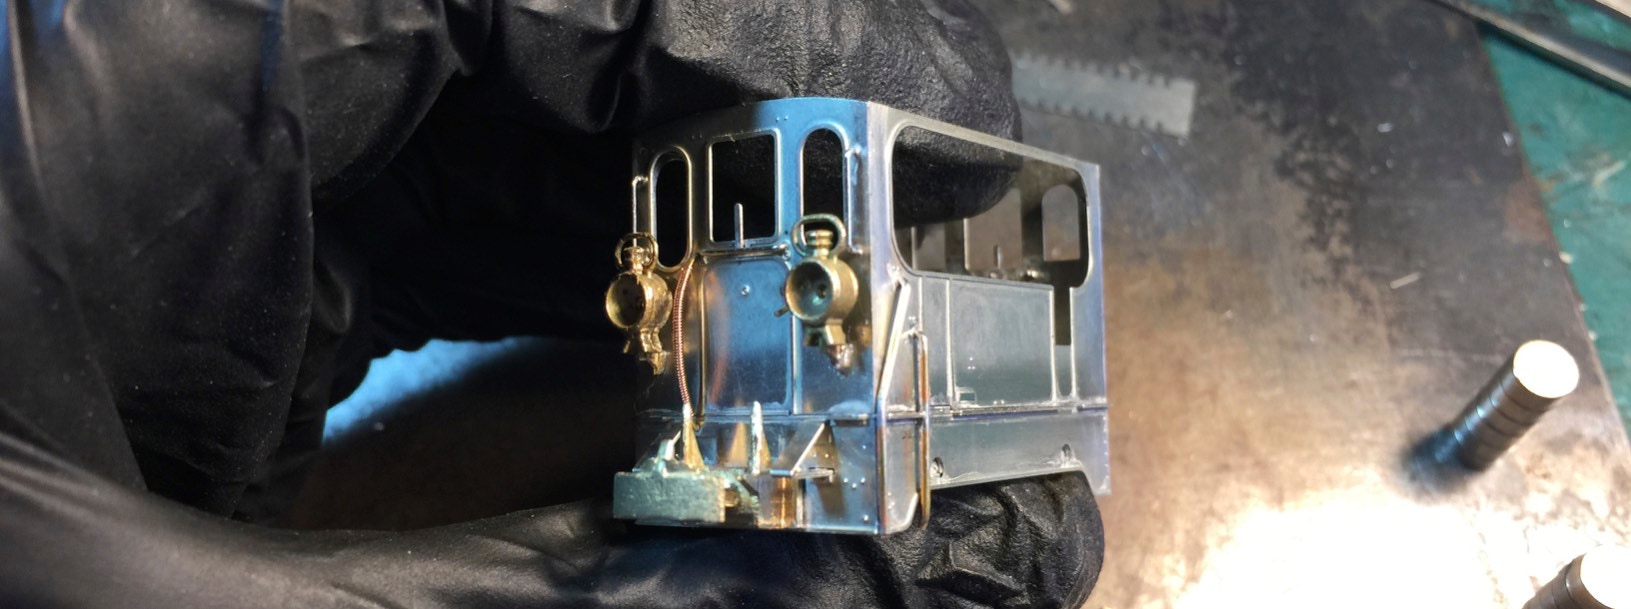
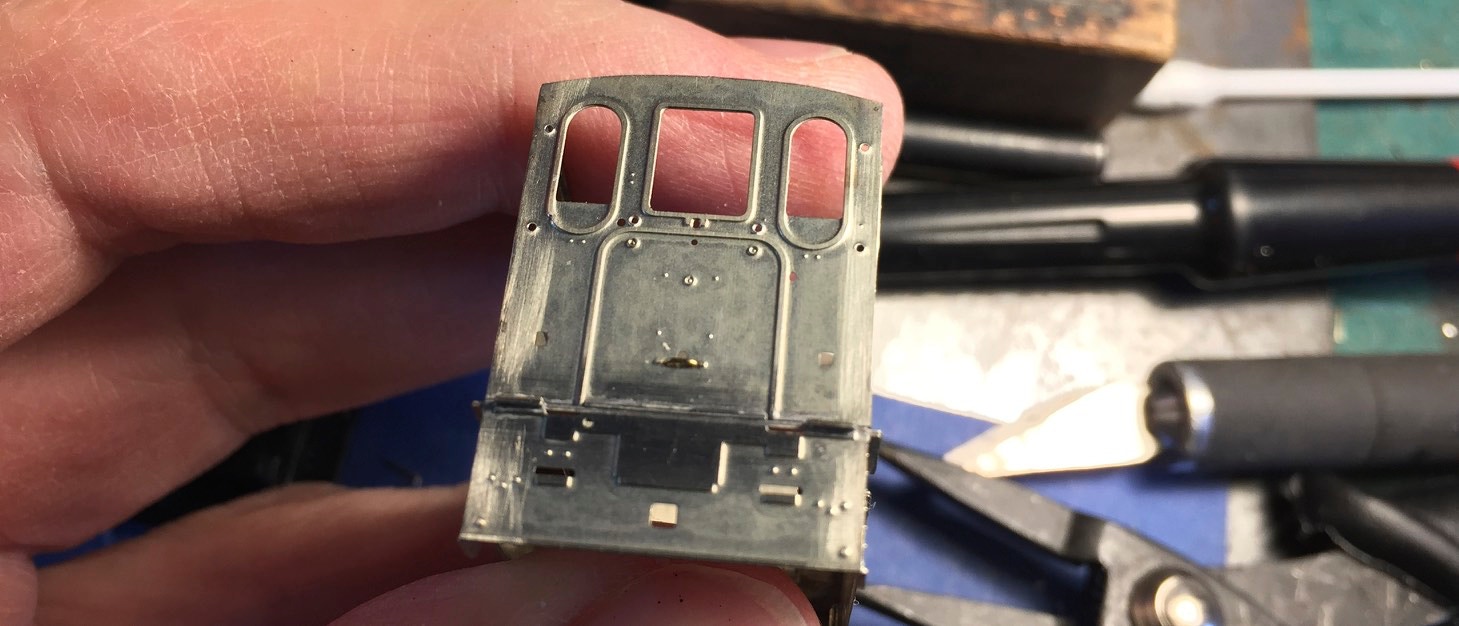
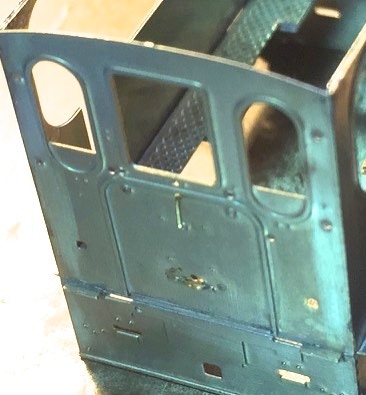
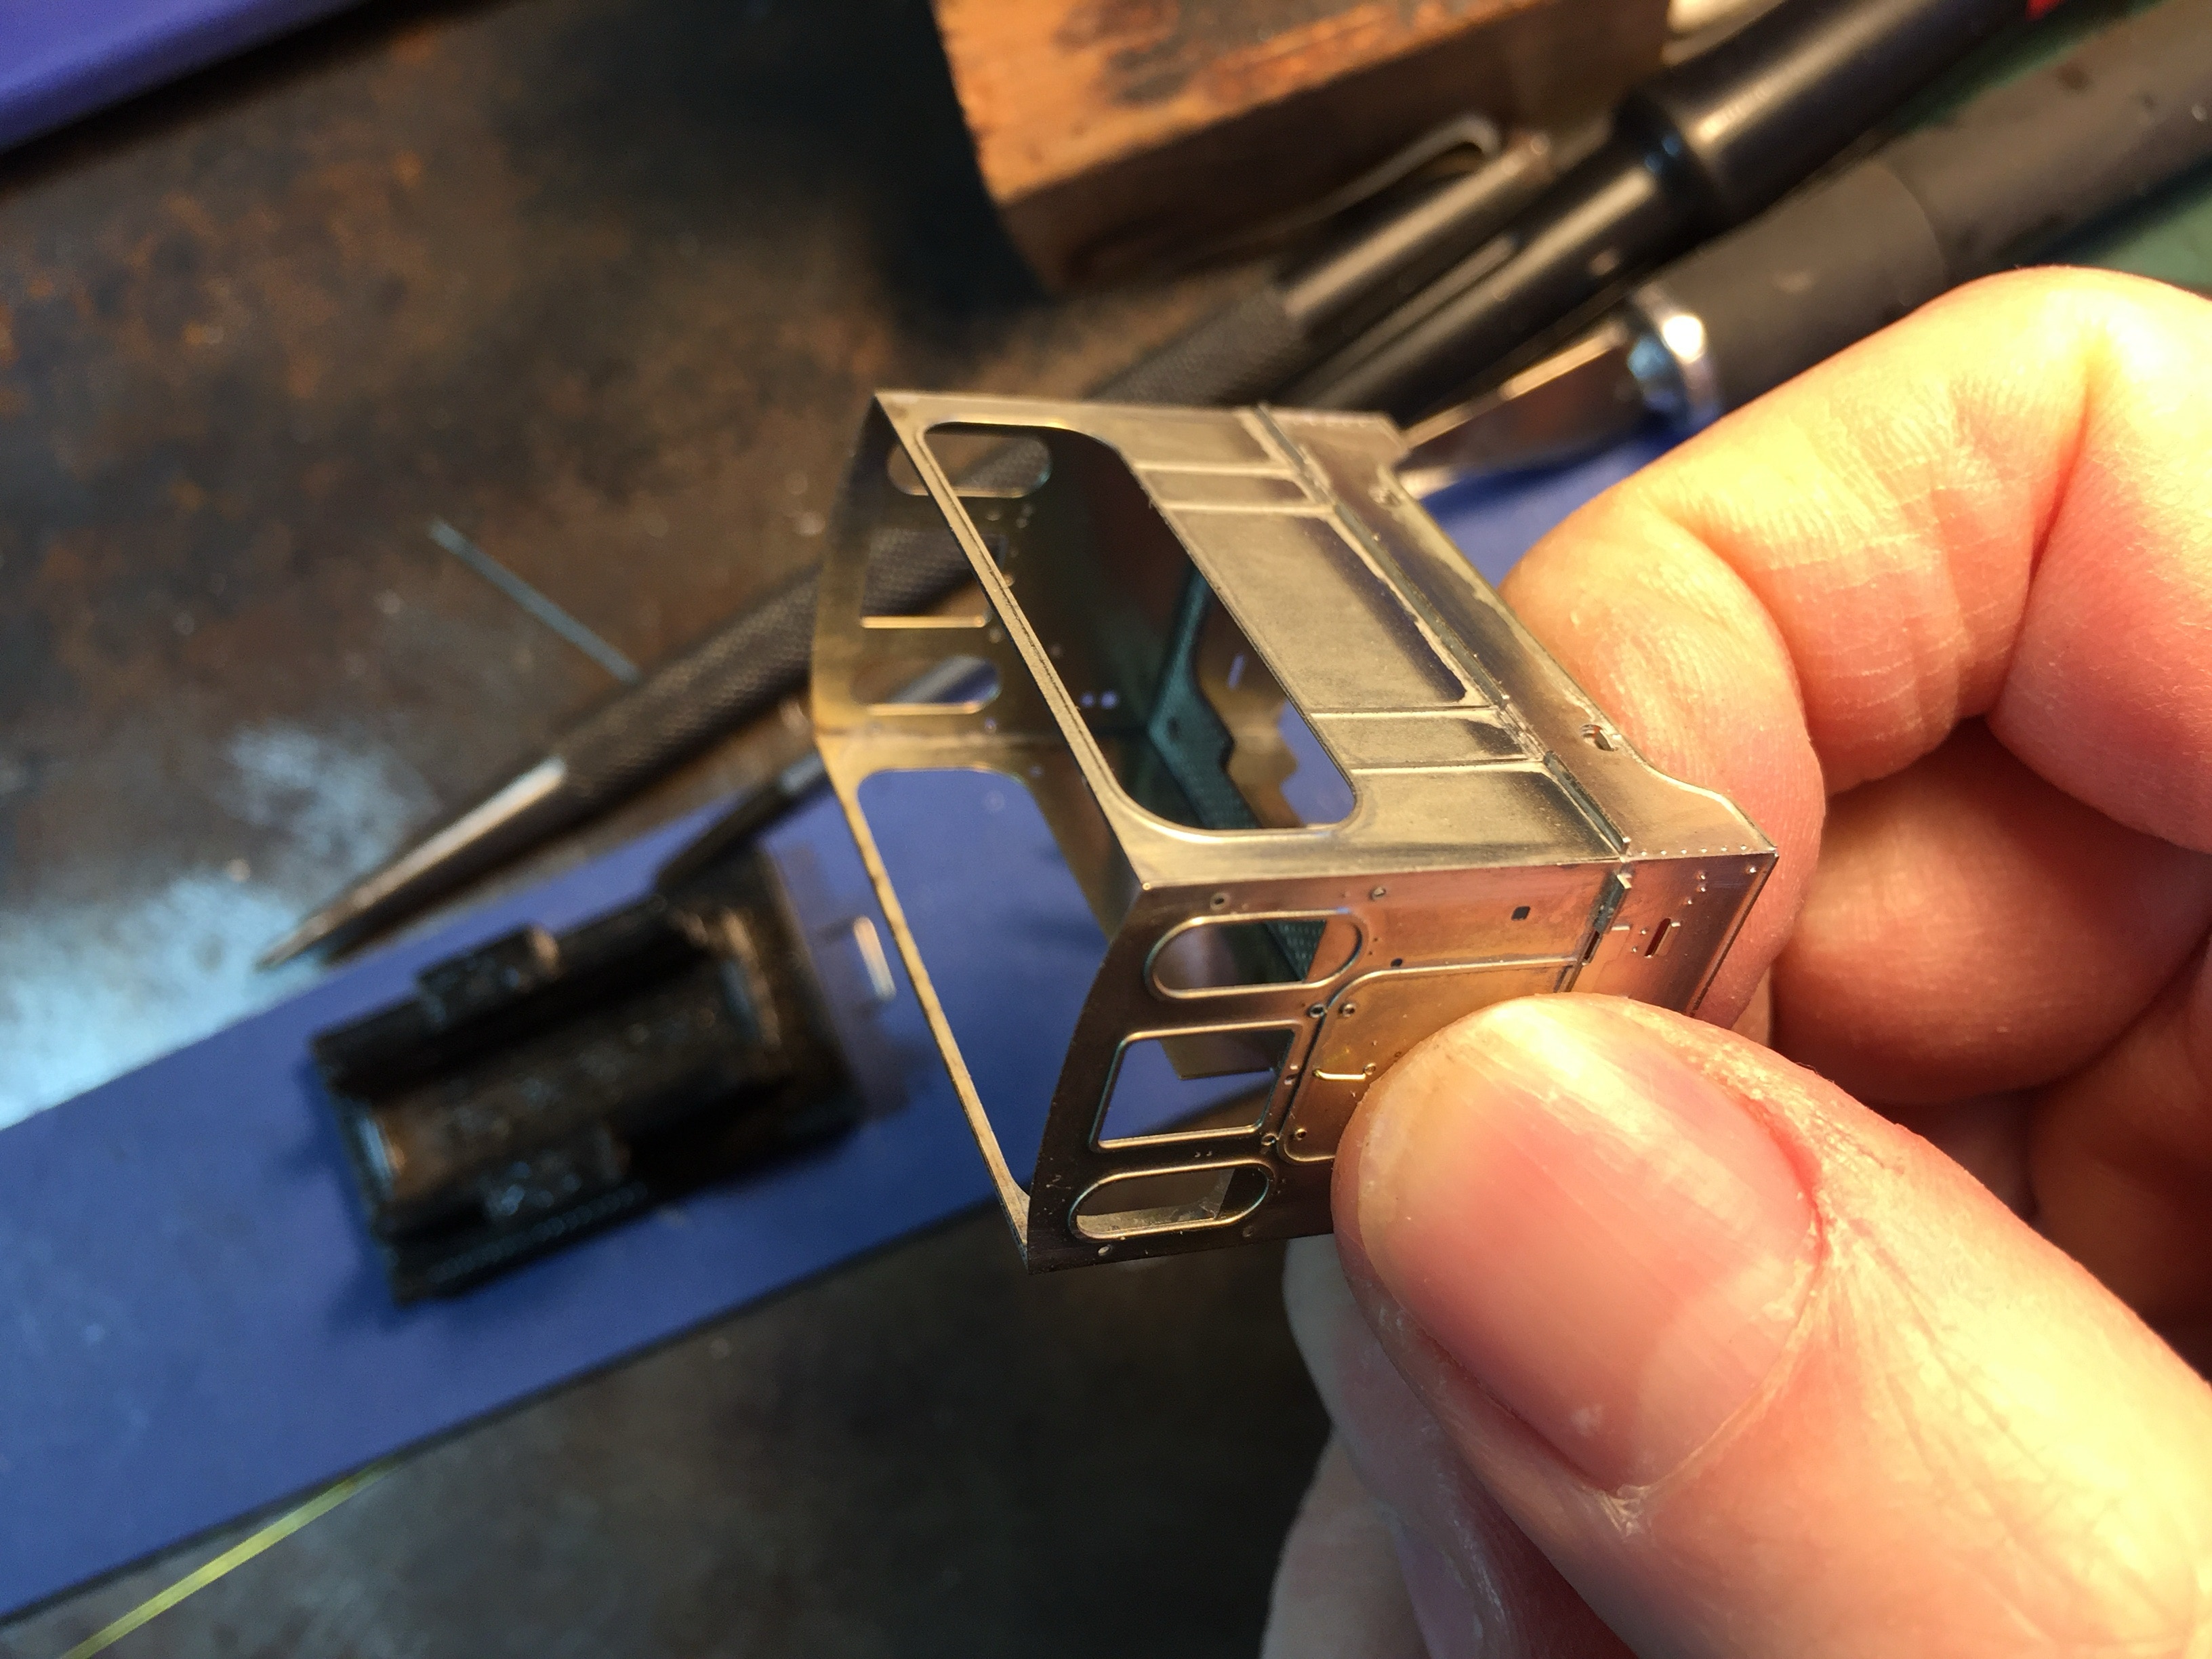
De kast zit nu in elkaar. Dit is het moment waarop de kopers van een ‘Halfbouwpakket’ instappen en worden de losse onderdelen bevestigd. Dit geschiedt bij voorkeur met de soldeerbout (25W is voldoende), maar kan ook met secondenlijm.
De box of the tram is now assembled. This is the moment where we welcome those who purchased an “Easier to build kit”. The small parts will now be fitted. Preferably with a soldering iron (25W is sufficient), but super glue can also be used.
16. Koppelingen (x 2)
16. Couplings (x 2)
De volgende onderdelen worden gebruikt in dit hoofdstuk:

21. Lampenhouders (x 2)
21. Lamp holders (x 2)
19. Lampen (x 2)
19. Lamps (x 2)
The following parts will be used in this chapter:
29. Koperdraad 0.2 mm
29. Copper wire 0.2 mm
35. Hendel (x 1)
35. Handel (x 1)
40. Staafjes messing en nieuwzilver
(hier niet getoond)
40. Rods brass and new silver
(not shown here)
BEVESTIGEN VAN DE ONDERDELEN
FITTING THE PARTS
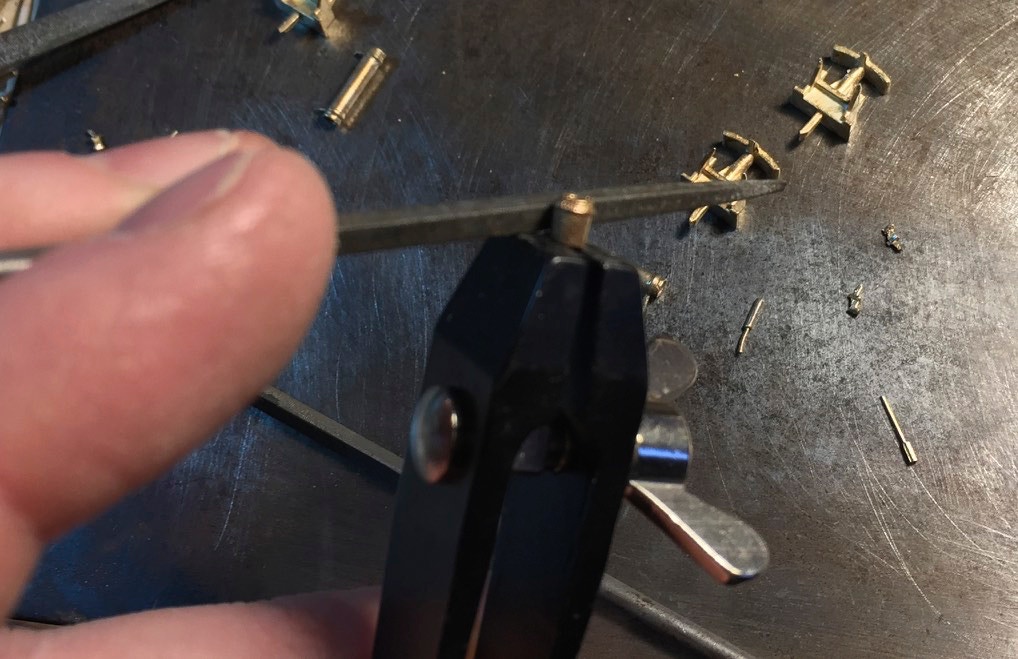
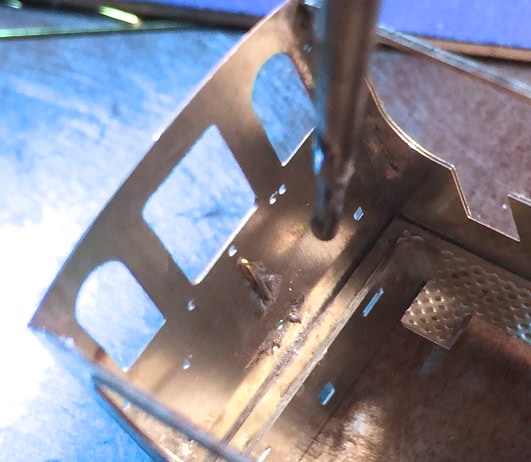
De in messing gegoten onderdelen moeten meestal wat bijgewerkt worden. Resten van het gietproces moeten worden verwijderd. Hieronder enkele technieken om dit te doen.
The messing cast parts normally need some cleaning up. Remains from the casting process need to be removed. Below a few tips on how to do this.
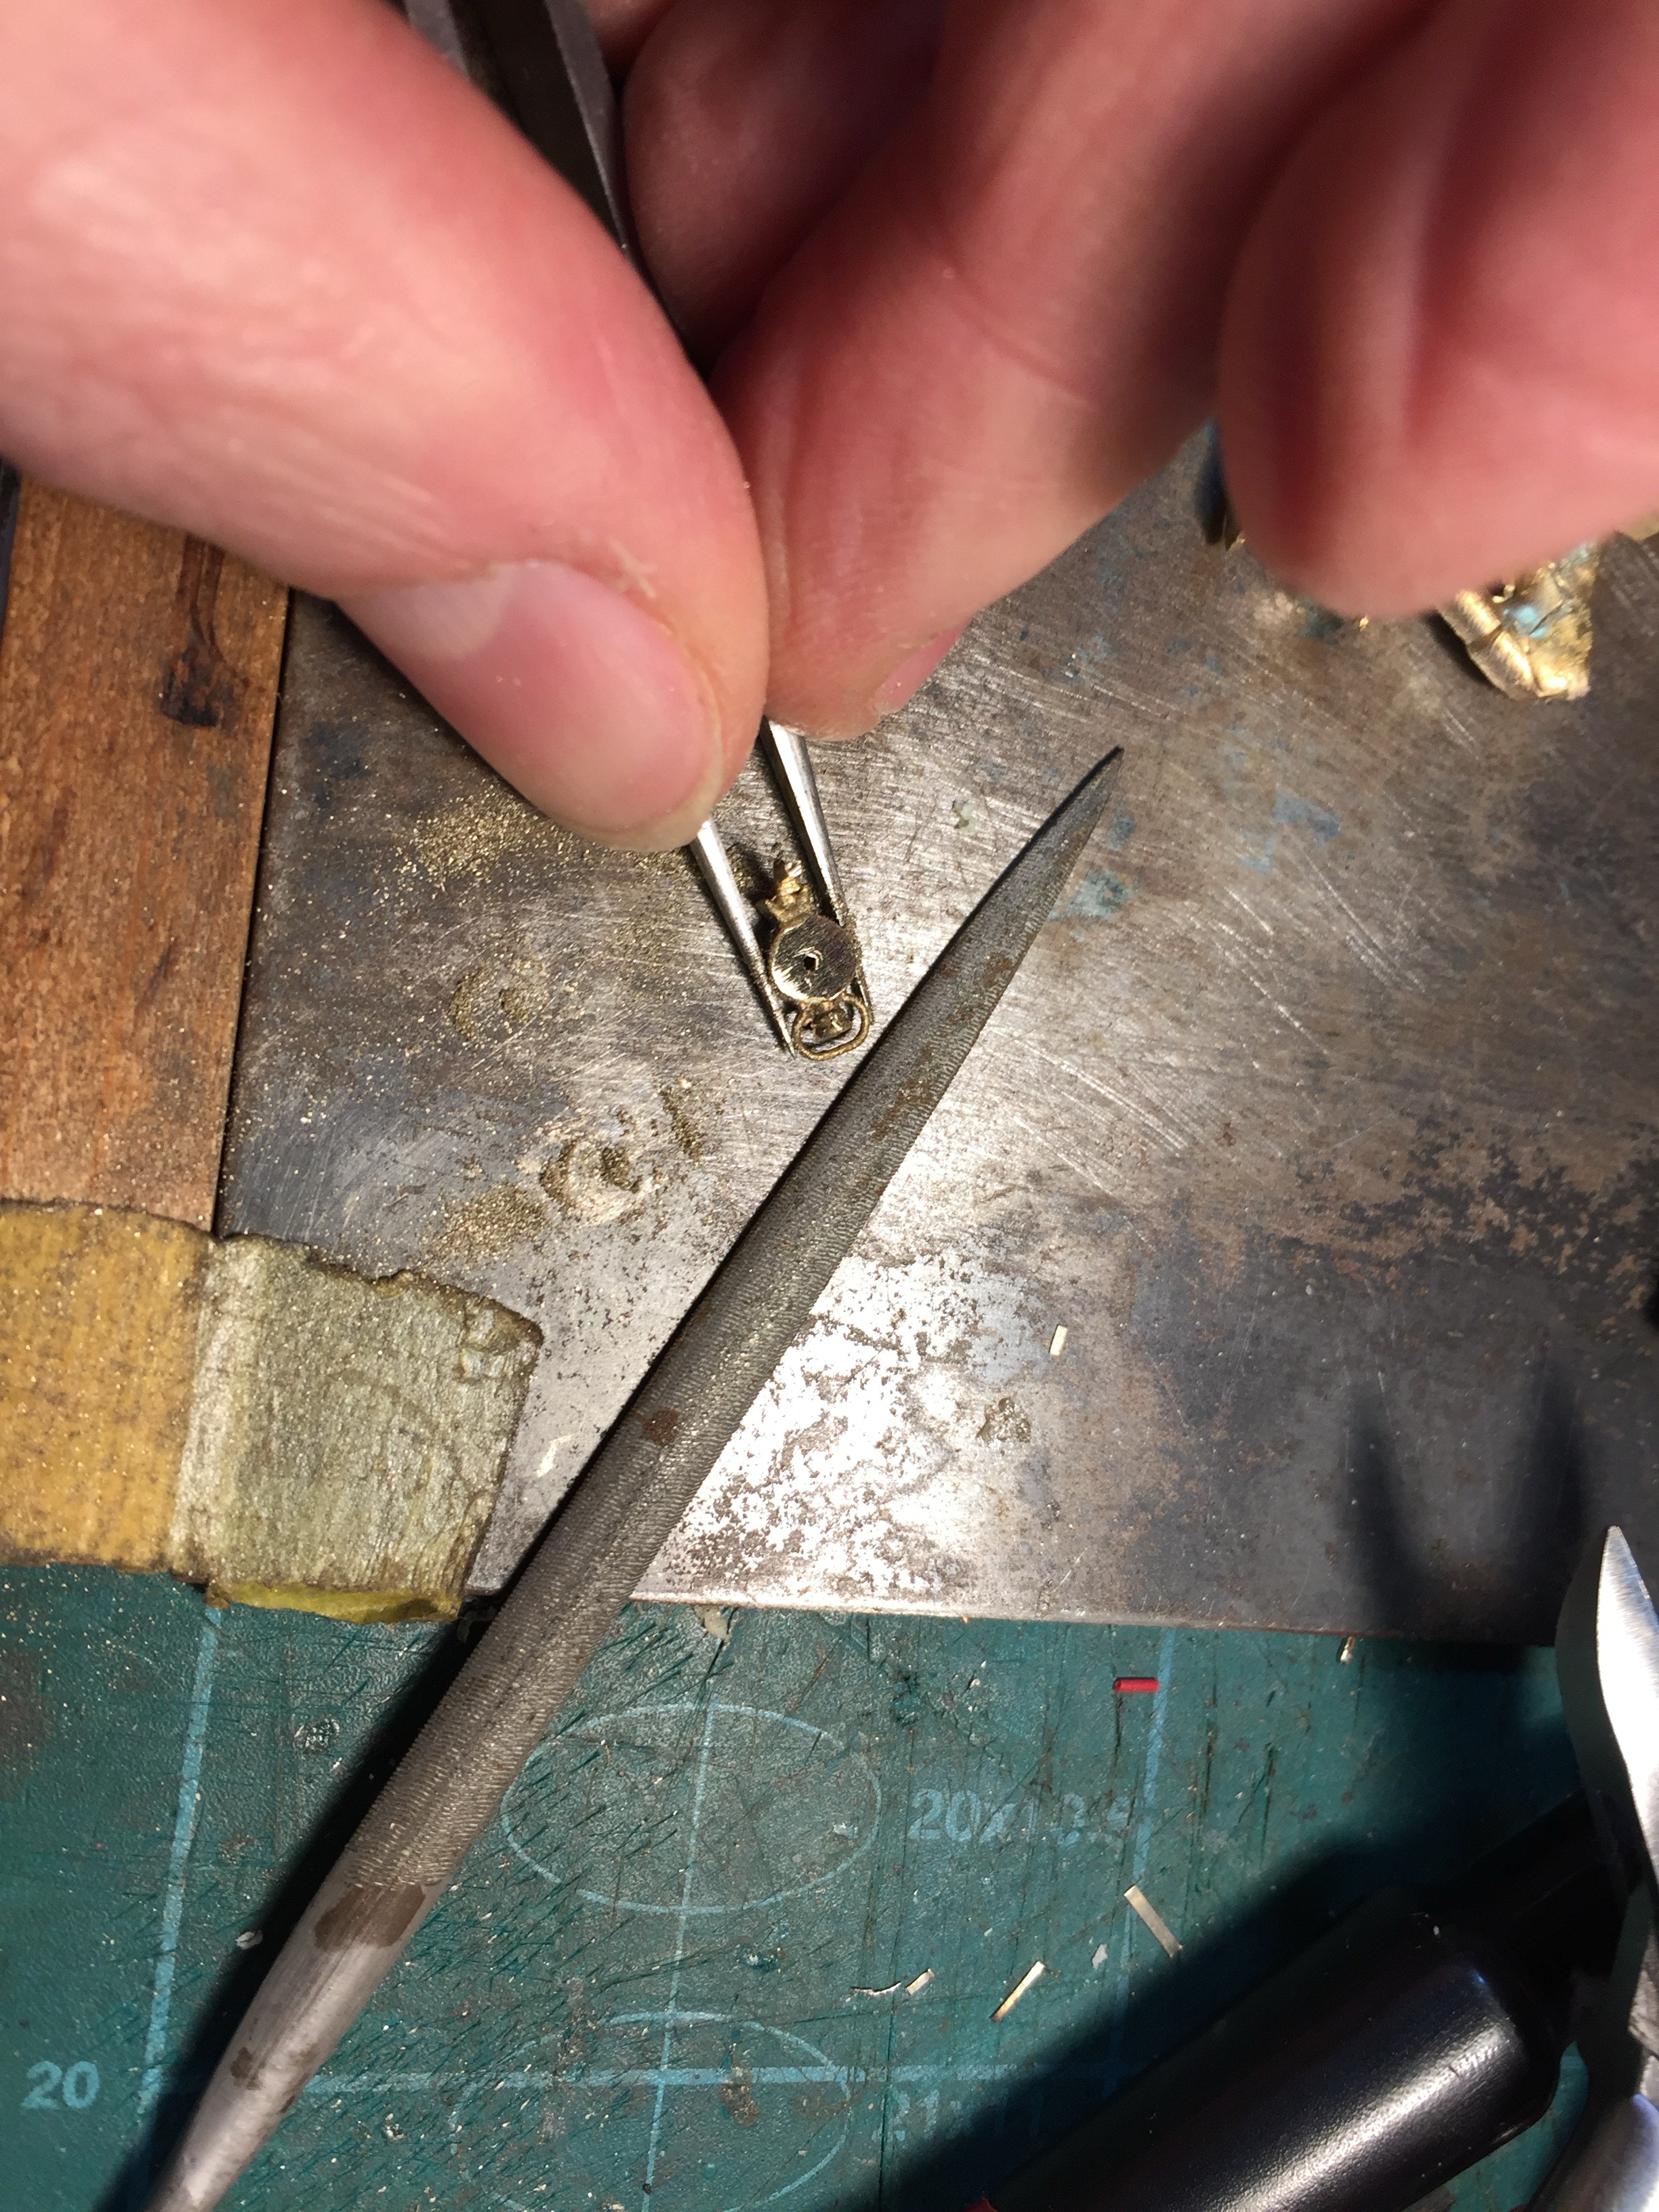
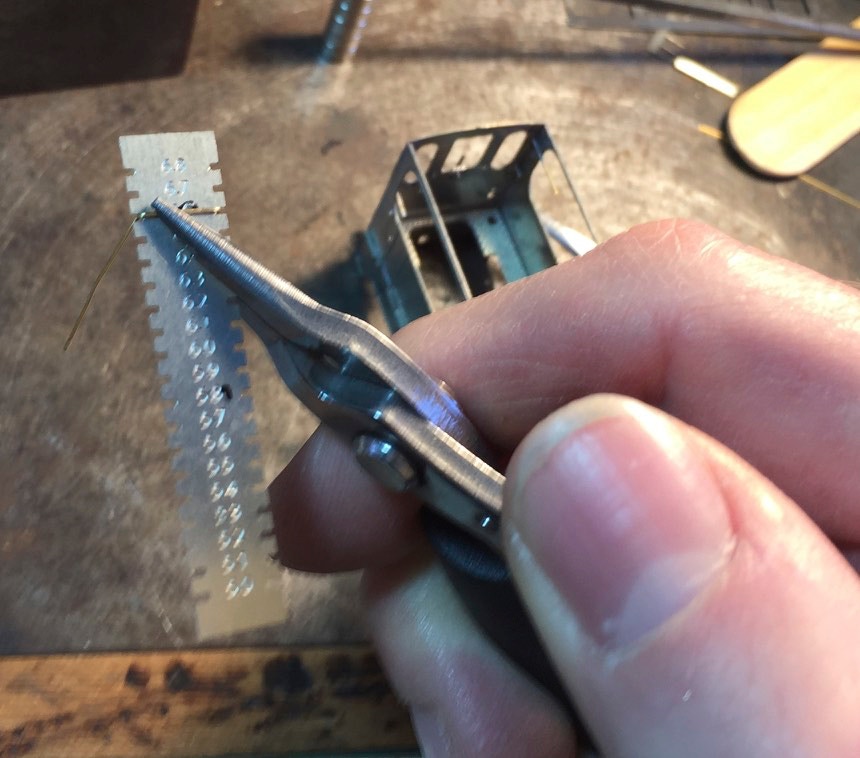
Neem het dunste messing staafje, die van 0,3 mm. Een schuifmaat is hier ideaal om de dikte te controleren. Nu moet een handgreep gemaakt worden, waarmee in het echt de kopdeur van de achterzijde eruit gehaald kan worden. Vouw het einde van het messing staafje om de punt van een tang in een U vorm en pas deze in het gat.
Je kunt het zover duwen als het maar gaat.
Take the thinnest of all the messing rods, the 0.3 mm. A calliper is ideal to check this. Now a grip has to be made, which in real life is used to take out the back door. Fold the end of the messing wire around the top of a pair of pliers in the shape of a U and fit this in the holes.
You can push it as far as it goes.
Neem nu hetzelfde 0,3 mm staafje en knip een stuk af van ca. een halve centimeter. Steek dit door het daarvoor bestemde gat en vouw het omlaag aan beide kanten. Kijk op het plaatjes hoever het aan de voorkant moet uitsteken. Aan de achterkant maakt dat niet uit. Zet het nu aan de achterkant vast.
Now use the same 0.3 mm wire to create the lock handle of the front door. Cut of a piece of ca 0.5 cm. Put this through the assigned hole and fold it down on both sides. Check the photos how far it has to stick out on the front. On the rear side that doesn’t matter. Fix it on the backside,
Als de hendel nog teveel uitsteekt, kun je ‘m nu met je nagel wat aandrukken. Geef tegendruk met je duim aan de andere kant, zodat het draadje niet losschiet. Kijk op de foto van het voorbeeld hoe het er ongeveer uit moet zien.
When the handle sticks out to much, you can push it with your nail. With your thumb, push on the rod on the other side, so it doesn’t come off. Look on the picture of the real thing how it it suppose to look like.
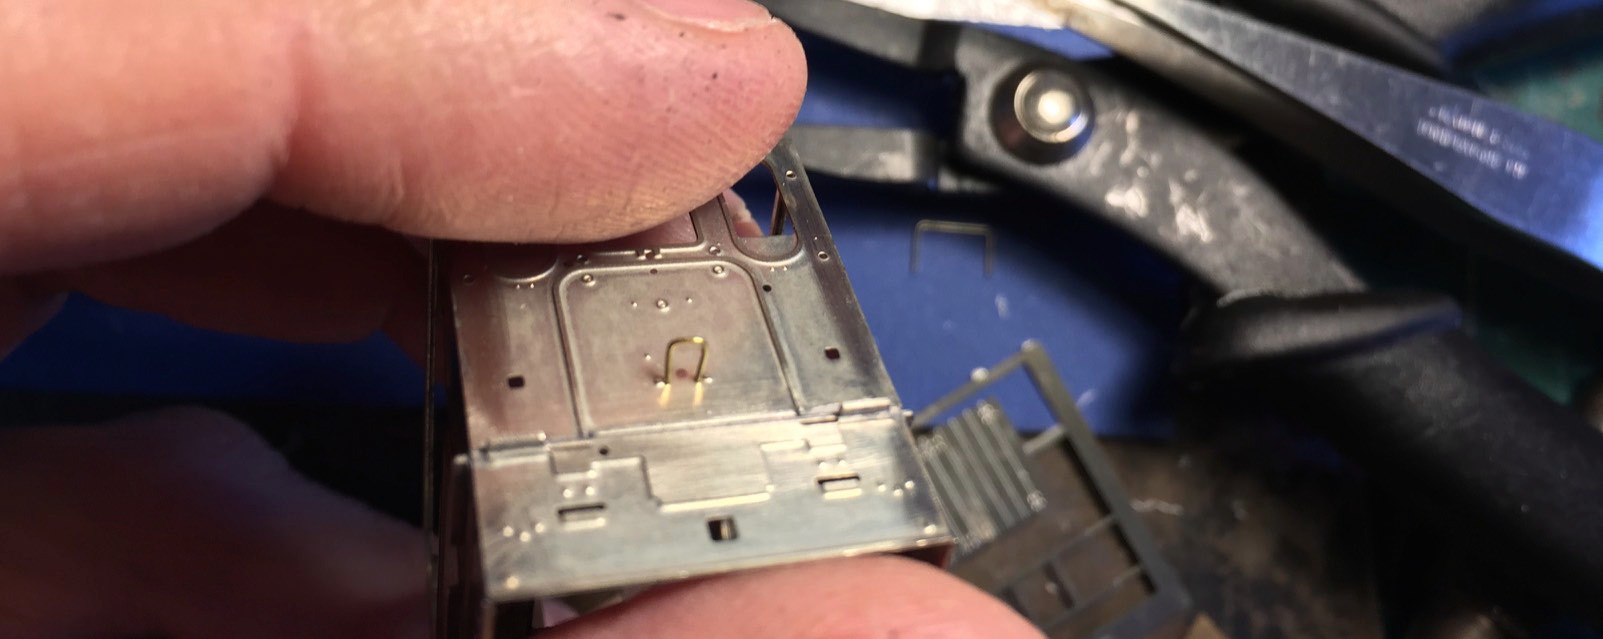
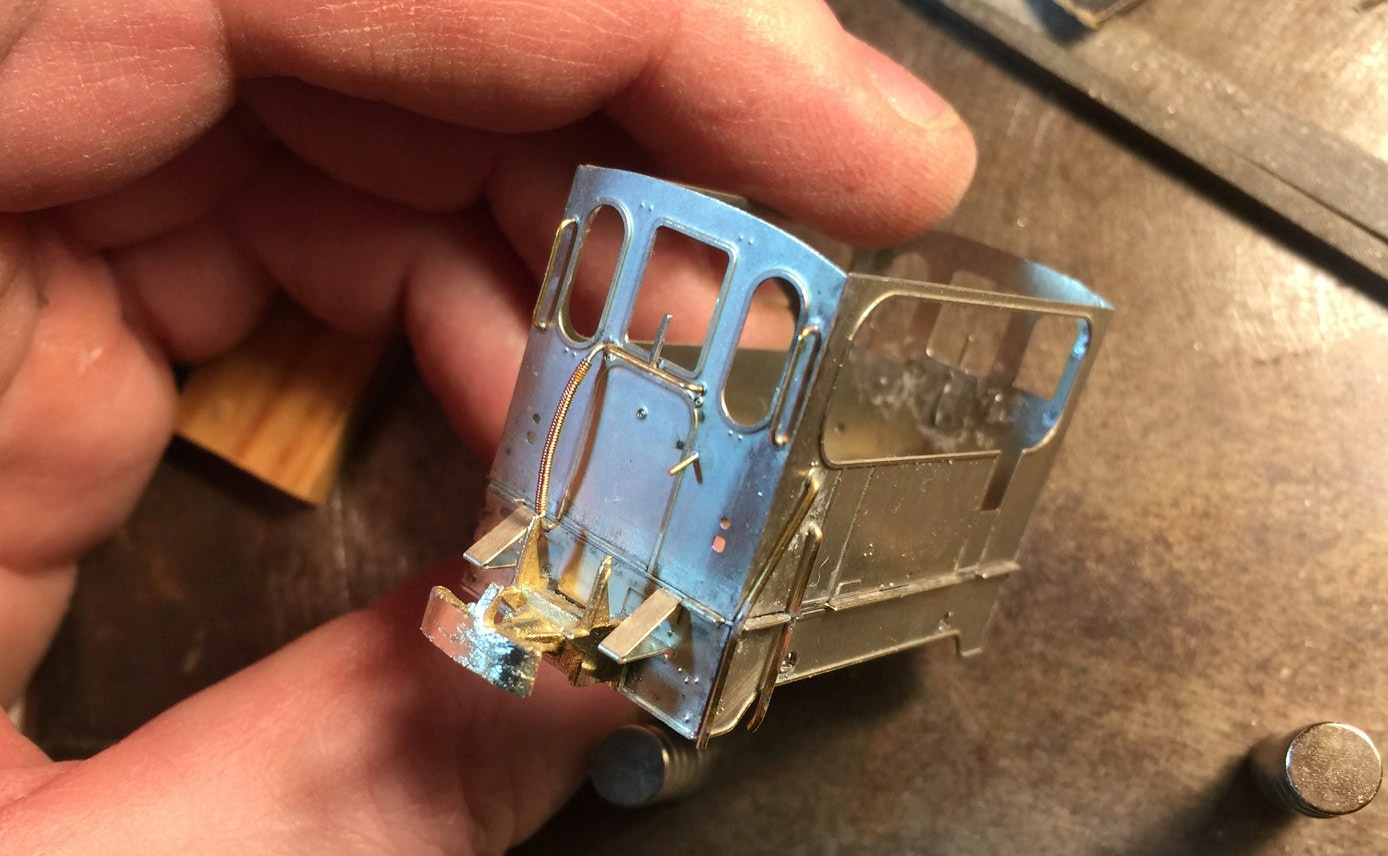
Ik heb geen idee wat deze hendel (35) doet, maar het is deel van de tram, so we’ll have to fit it. Ik lever een aantal van deze, in het geval enkele in het tapijt verdwijnen. Rechtsboven kun je zien dat het in een hoek van 90 graden bevestigd moet worden. Het onderdeel is aan een helft breder dan aan de andere helft. De brede kant steekt aan de buitenkant van de kast uit, de dunne kant gaat door het gat in de kast. De knik in het onderdeel zit precies tussen de twee halven in. Duw het in het gat en zet het vast. Met tape kun je het op z’n plaats houden als je het fixeert. NB. Deze hendel zit aan beide koppen.
I have no idea what this handle (35) does, but it’s part of the tram, so we’ll have fit it. I’ve supplied a lot of those, in case one gets lost in the carpet. Above you can see it has to be angled 90 degrees. You can see on the part it is wider on one side than the other side. The wide side is the outside, the thinner side goes through the hole. You can make the fold between those two sides. Stick it in and fix it. Tape can be used to keep it straight and in place while you fix it.
Note: this handle is on both sides of the tram.
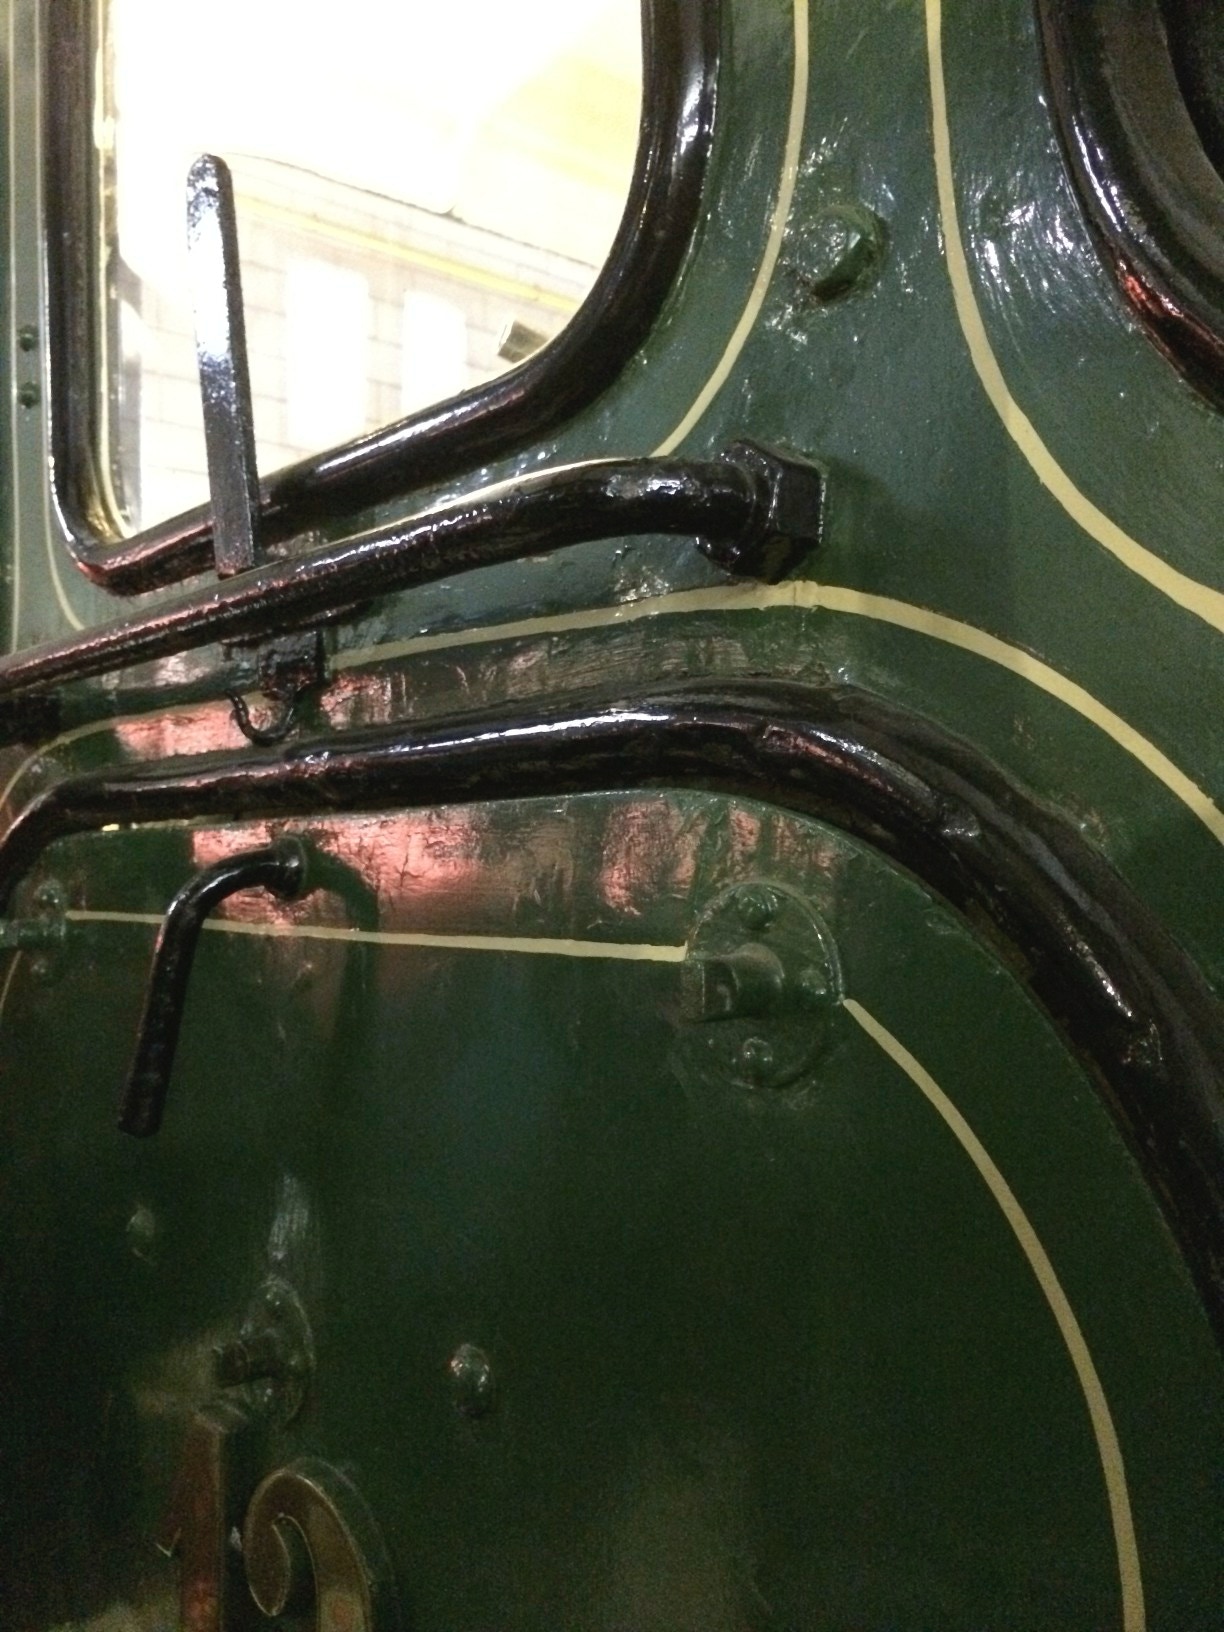
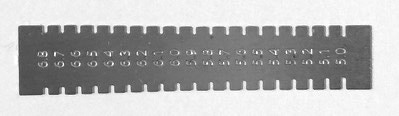
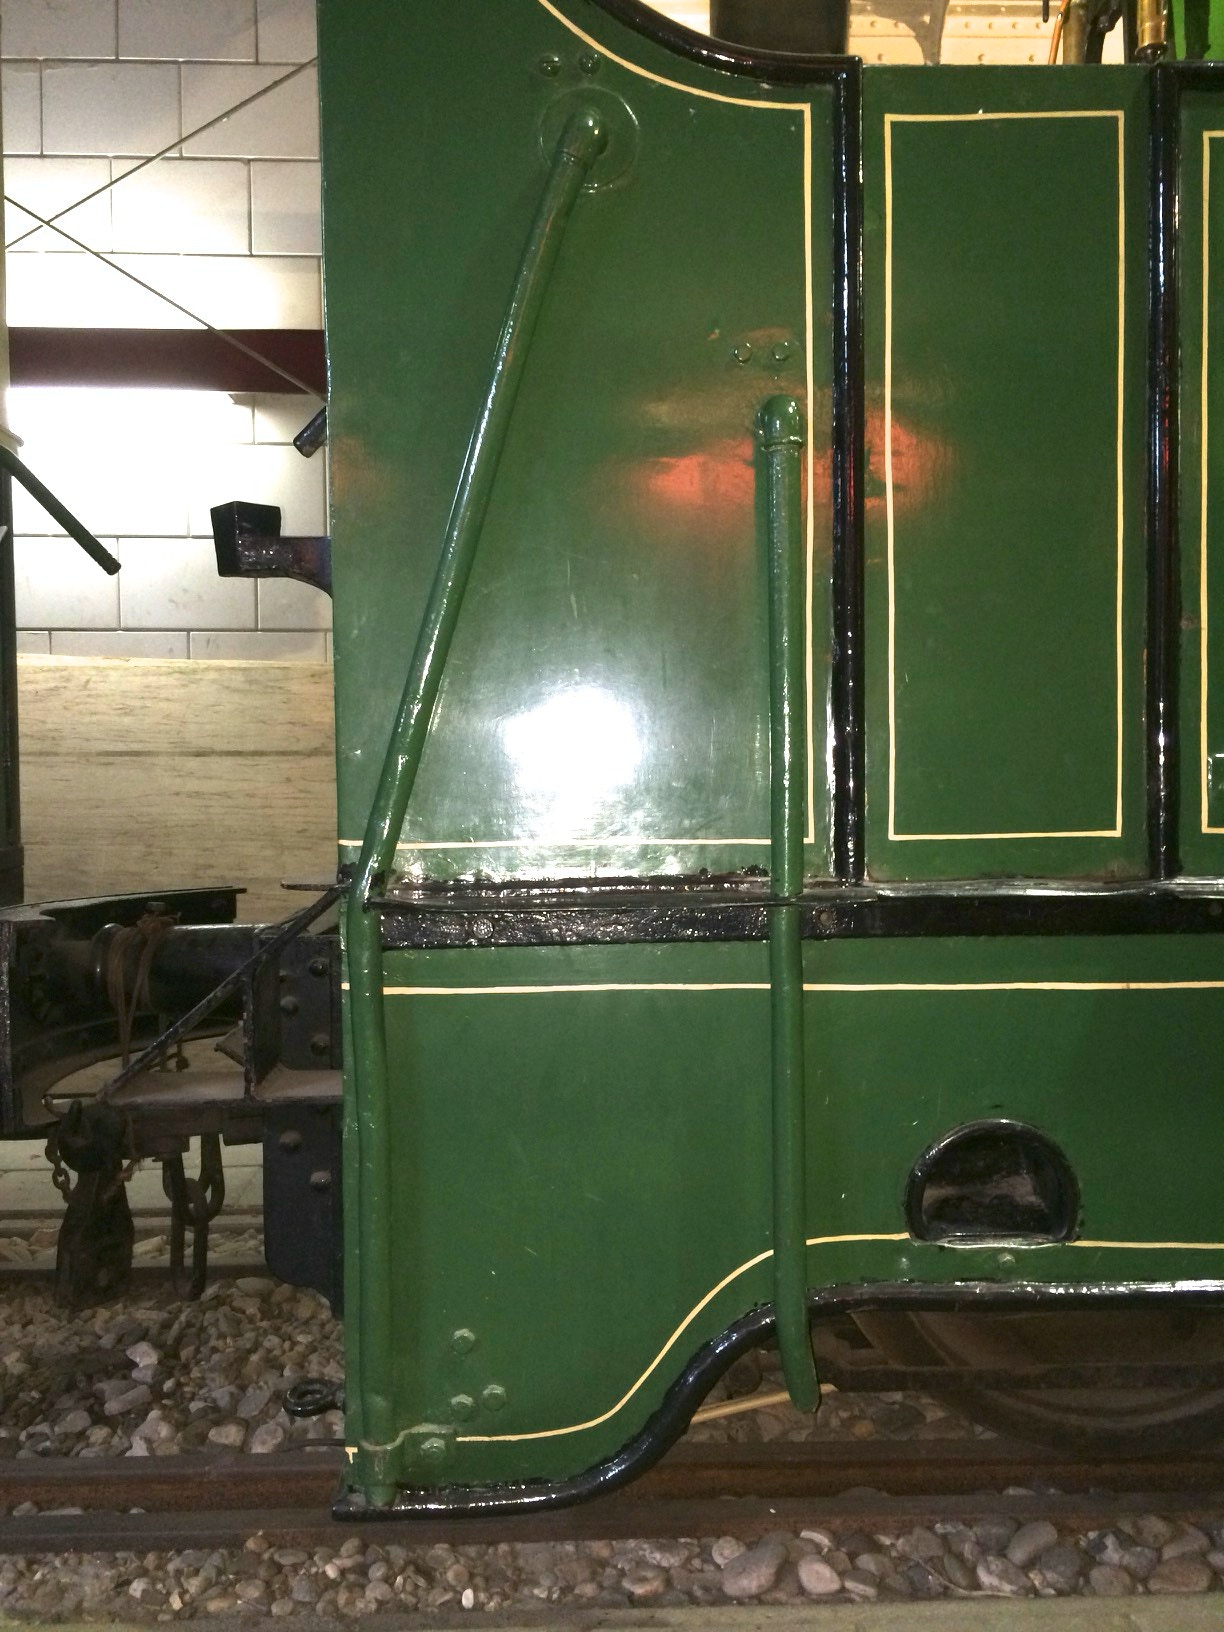
Handgrepen (aan voor en achterkant)
Voor de handgrepen is een buigmal meegeleverd (rechts), ook in de toekomst handig voor andere projecten.
Gebruik de 0,4 mm nieuw zilveren staafjes om de handgrepen te vouwen. De maten links refereren naar de nummers op de buigmal. Let op! Dit is een richtlijn, want in plaats van 6.0 kan het ook wel eens 6.2 zijn. Het ligt er een beetje aan hoe je buigt. Ik houd er meestal een tangetje op als ik buig. Zorg voor een strakke, 90 graden hoek. Als je handgreep moeilijk in de gaatjes schuift, kan het betekenen dat je ‘m te krap hebt gemaakt.
Kijk op de foto van het voorbeeld hoever de handgrepen van de kast af staan.
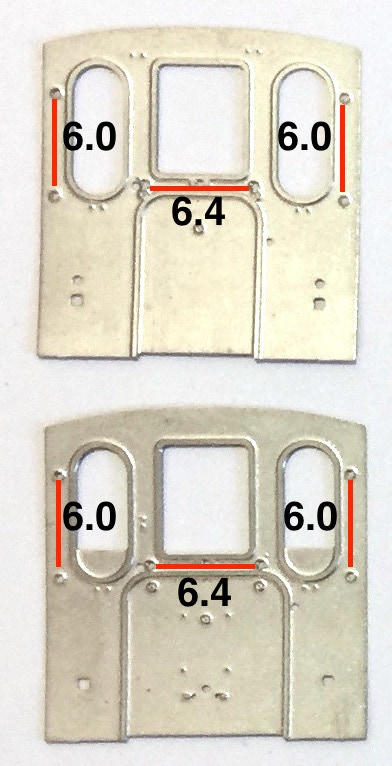
Grips (front and back side)
For the grips you have received a bending jig (left). Very useful as well for other projects.
Use the 0.4 nickel silver rod to fold the grips. The numbers on the image at the left, refer to the numbers on the bending jig. Note that this is only a guidance. In stead of 6.0, it might be that you’ll have to use 6.2. It really depends on how you bend it. I normally hold the rod on the jig with a pair of pliers. Make sure you have a short, 90 degrees curve. If the grip doesn’t slide well into the holes, it might mean that you made the grip to short.
Look at the picture of the original how far they have to be fitted from the box panels.
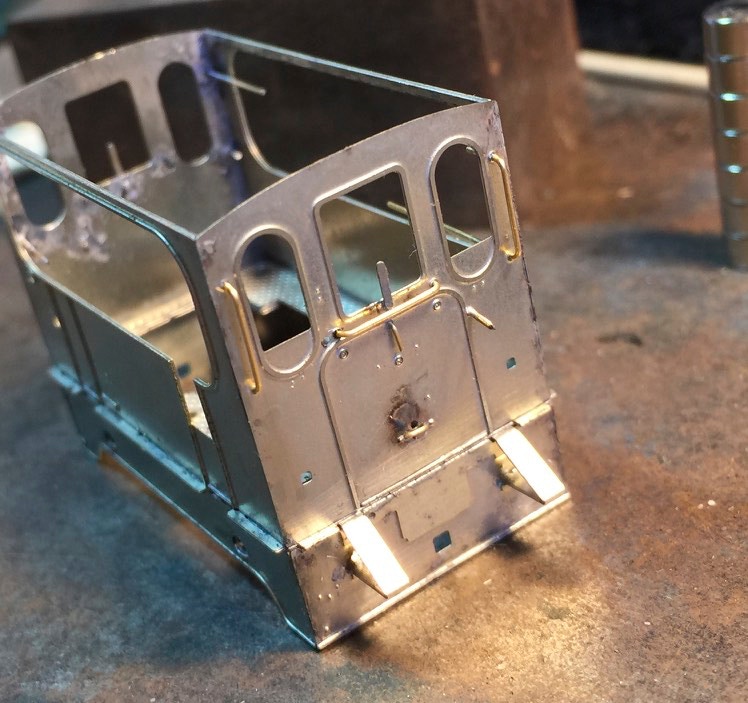
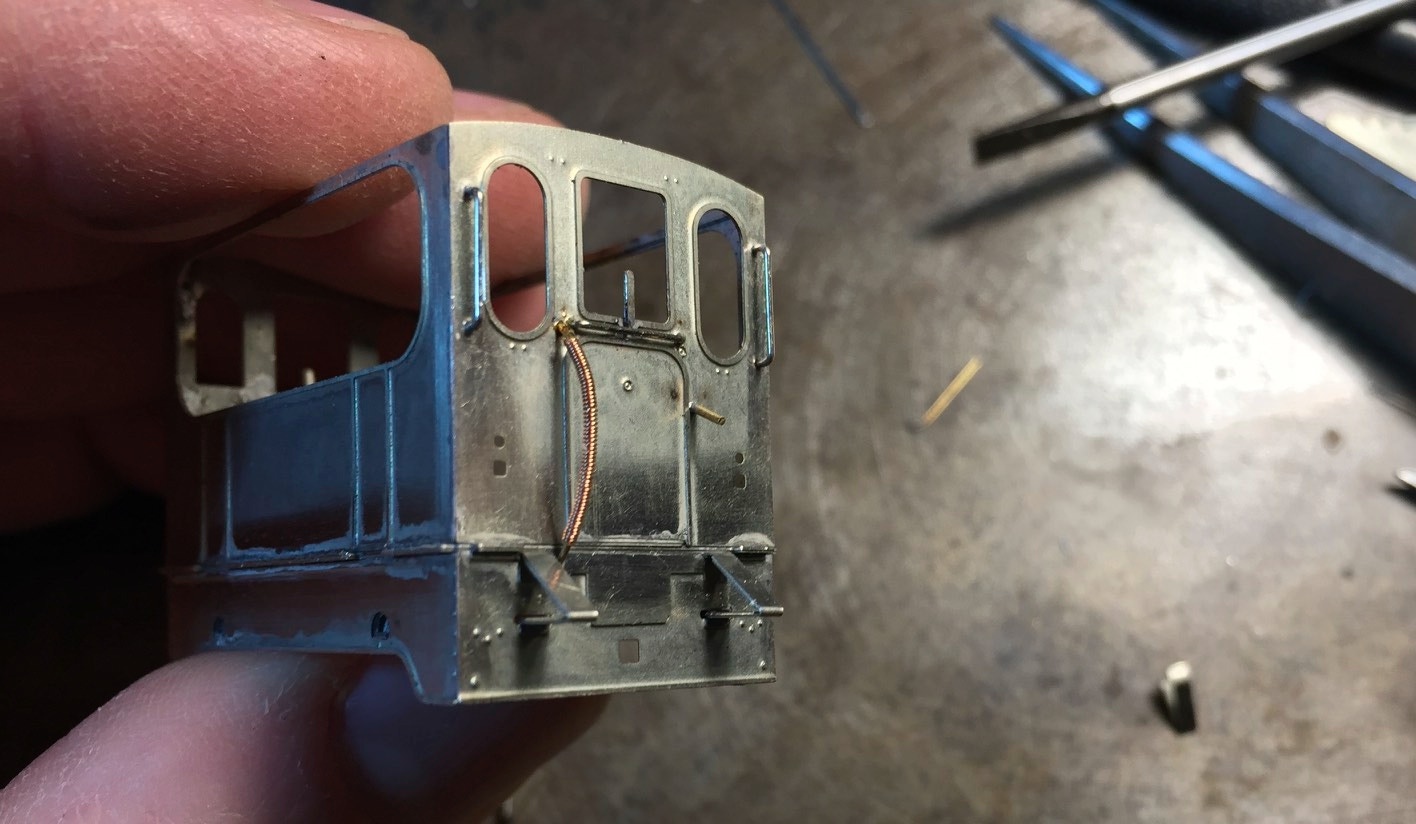
Aansluiting voor de vacuümrem.
Gebruik hiervoor het 0,5 mm messing staafje. Steek het vanaf de achterzijde door het gaatje heen. Als je het einde van het staafje laat rusten op de andere kopwand, heb je gelijk de juiste hoek. Vastzetten en afknippen. Dit zit aan beide kanten van de tram.
Connection for the vacuüm brake.
Use the brass rod of 0.5 mm. Stick it through the back of the assigned hole. If you rest the end of the rod on the other front, you’ll get the right angle. Fix and cut off on the back. This item is on both sides of the tram.
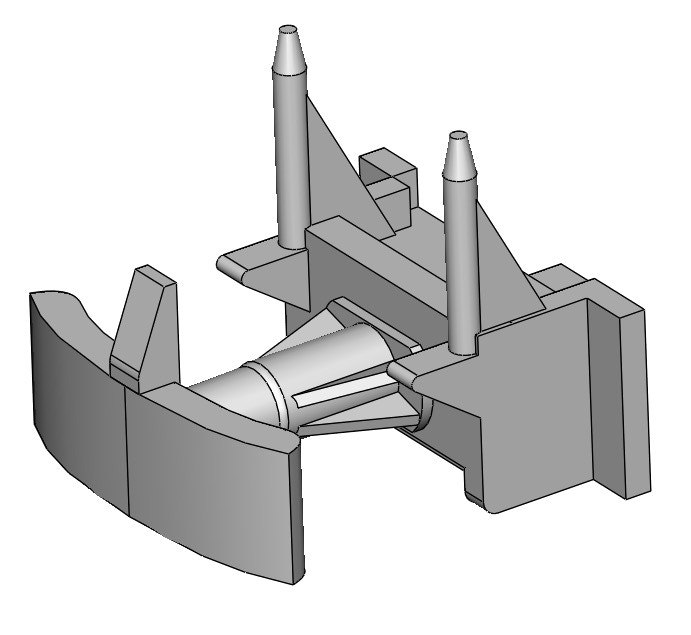
The coupling/buffer
Bend the top of the buffer slightly, so the coupling of a wagon that is hooked to it will not accidentally loose connection.
De koppeling/Buffer
Gebruik een tang om de bovenkant van de buffer een paar graden om te buigen, zodat de koppeling van een rijtuig er achter kan blijven haken.
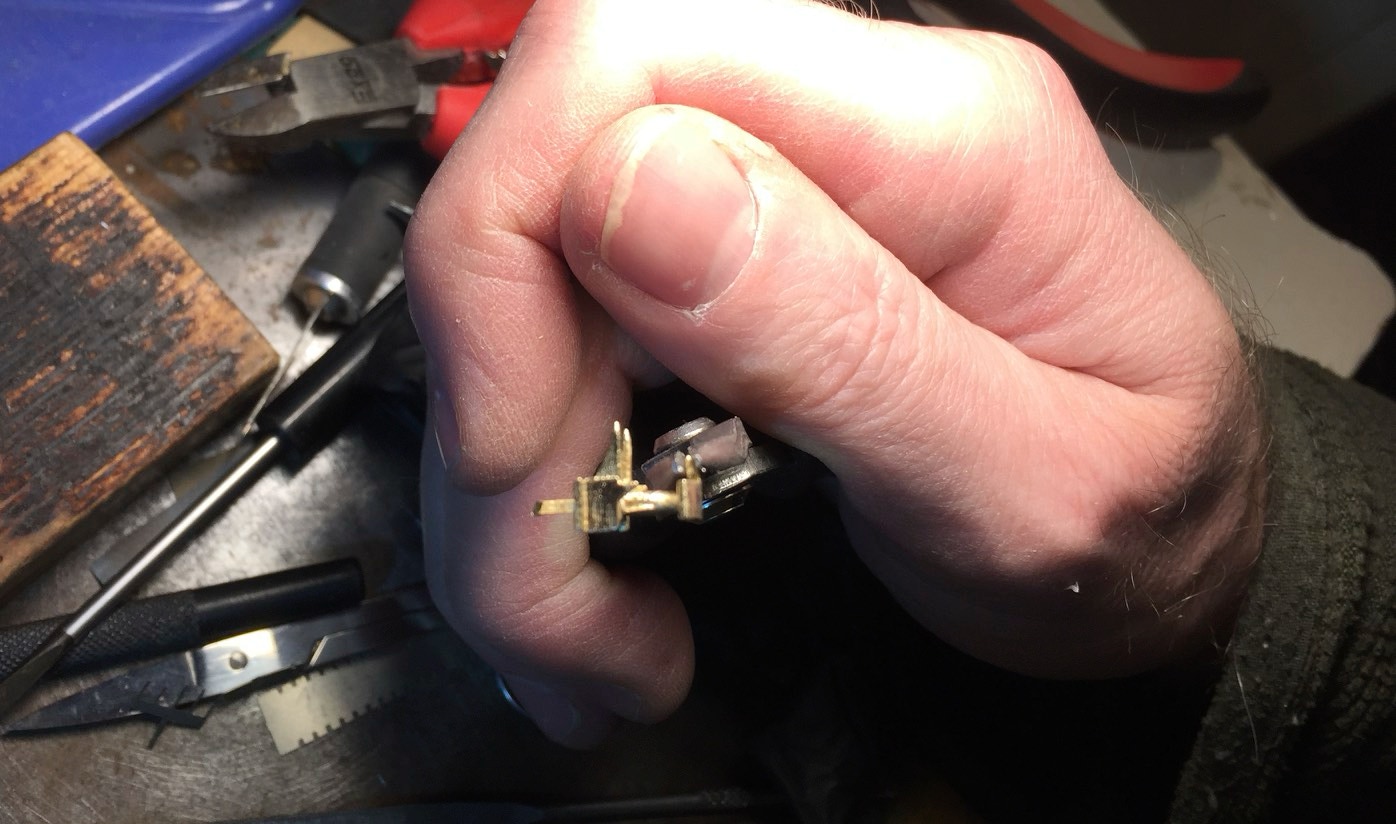
Steek de koppeling door het vierkante gat en fixeer. Wanneer je soldeerpasta gebruikt, is een brander hierbij het makkelijkst. Wel andere onderdelen ontwijken (natte watten er om heen).
Stick the coupling in the square hole and fix in place. When using solder paste, I find a torch the best way to fix it. Careful about surrounding items (lay wet cotton wool around it).
Buizen voor de stoomafvoer voor de injecteurs
Voor de twee buizen wordt 0,6 mm messing draad gebruikt. Vouw deze in de juiste vorm met een tangetje en zet ze vast aan de binnenkant van de lok en op het scheidingspunt tussen boven- en onderkast. Let er op dat de rechterbuis is lichtjes gebogen aan de onderkant.
Tubes to guide the steam of the injectors
Use 0.6 mm brass wire for the tubes on the side of the tram. Fold these in the shapes as seen on the pictures. Then fix them on the inside of the tram and on the part which separate the top and bottom parts of the box. Note that the right tube is slightly curved at the bottom.
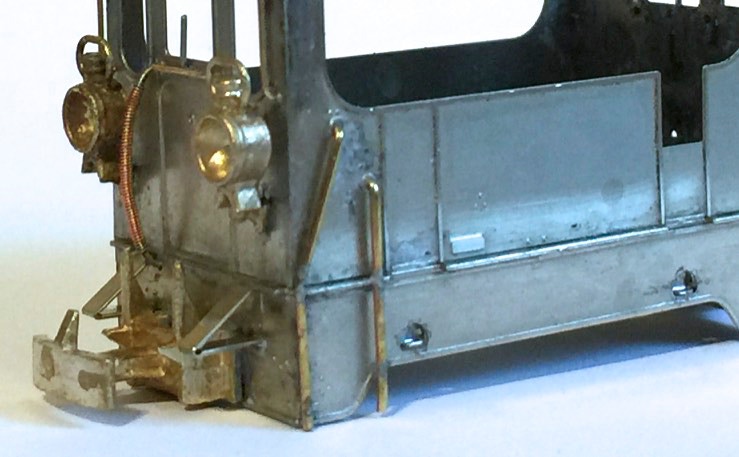

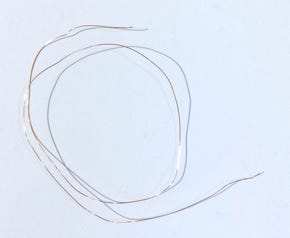
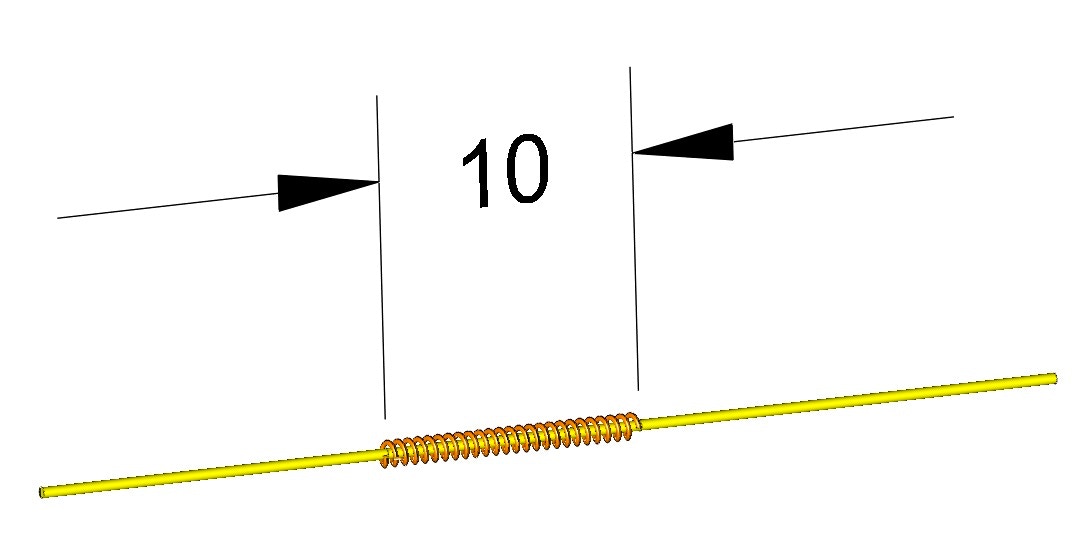
Slang vacuümrem.
Neem nu het koperdraadje en wikkel deze strak om een 0.4 mm messing stangetje, om de slang van de vacuümrem weer te geven. Dit stukje moet ca 10 mm breed zijn. Ook dit zit aan beide kanten van de tram.
Vacuüm brake pipe
Use the brass rod of 0.5 mm. Stick it through the back of the assigned hole. If you rest the end of the rod on the other front, you’ll get the right angle. Fix and cut off on the back. This item is on both sides of the tram.
Als je de kastdelen pas op na het verven op elkaar zet, hoef je pas op het allerlaatst de vacuüm slang te bevestigen. Zitten ze wel op elkaar vast, dan kan de slang er nu wel op.
If you have both of the box parts not yet fixed to each other and will assemble them after painting, the vacuüm pipe will be fitted completely at the end, as final touch. If the two parts are fixed together, the pipe can be fitted now.
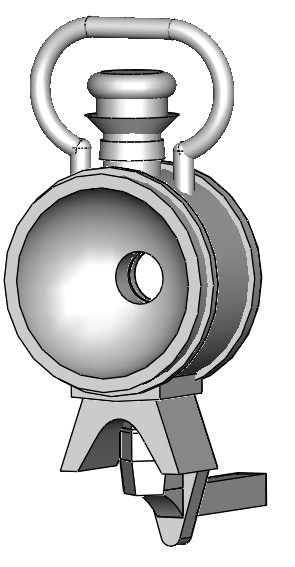
Lampen
Verwijder de bovenste gietboom aan de achterkant van de lamp en vijl het glad.
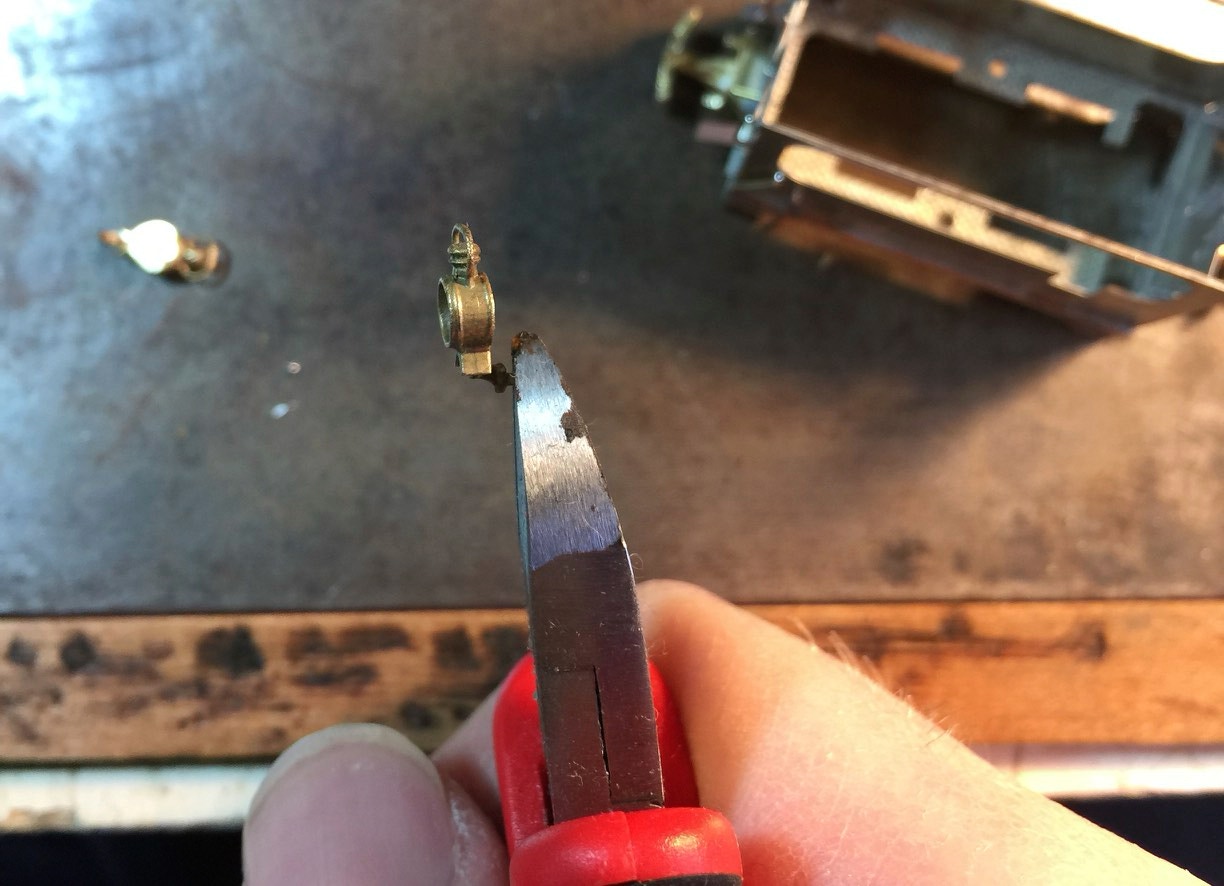
Lamps
Remove the top sprue on the back of the lights and flatten the back with a file.
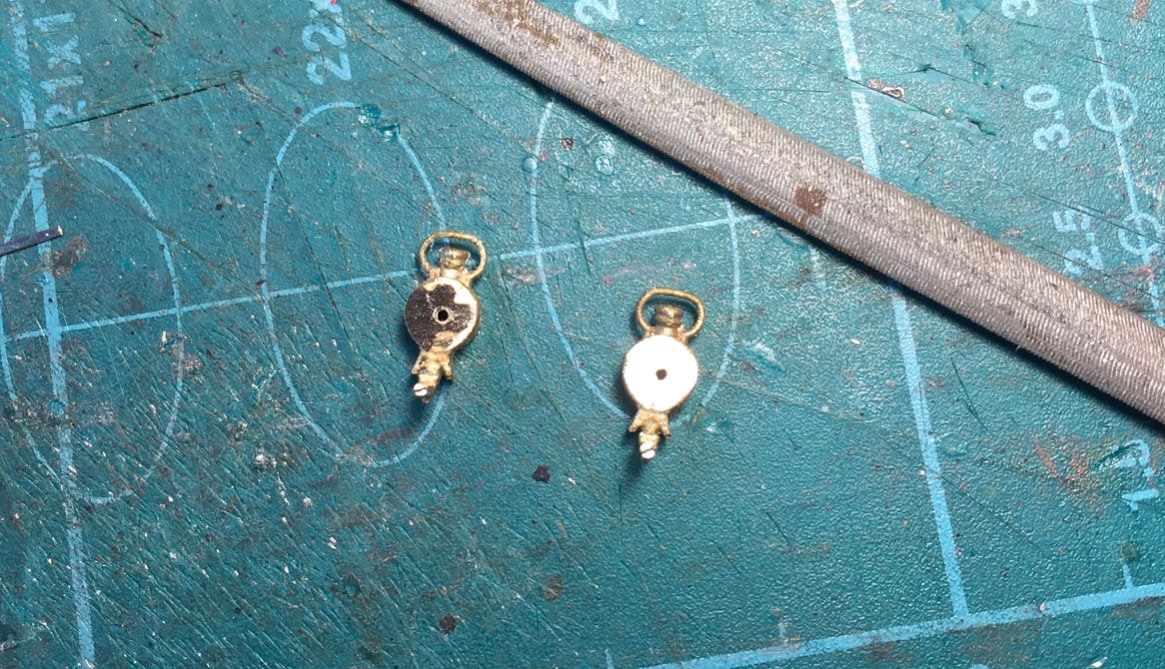
Ik soldeer de lampen eerst met soldeerpasta, zorg dat van alle kanten recht staan. Dan plak ik maskeertape over de hele voorzijde, zodat het de lampen op hun plaats houd en dan doe ik een dikker dot soldeer aan de achterkant. Zo kunnen ze er niet makkelijk per ongeluk afbreken in gebruik en als je de LED’s gaat installeren.
First I solder the lights in place with solder paste and make sure they are fixed correctly. Then I tape masking tape around the whole front, which will be holding the lights in place, then I put a dot of solder on the back. This way they will not come off easily by accident and when you are installing the LED’s.
•