UK based
Prices for UK customers are shown inc 20% VAT
Other countries, inc EU, prices shown are ex VAT.


UK based
Prices for UK customers are shown inc 20% VAT
Other countries, inc EU, prices shown are ex VAT.
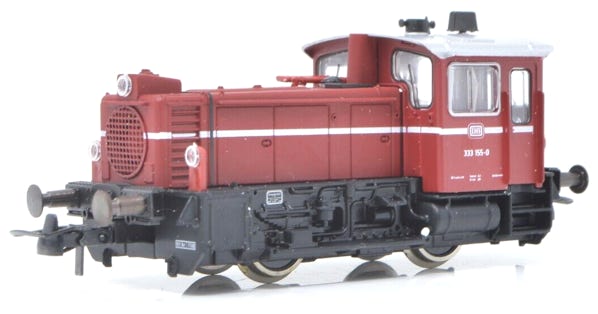
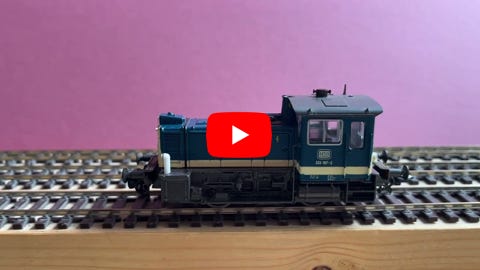
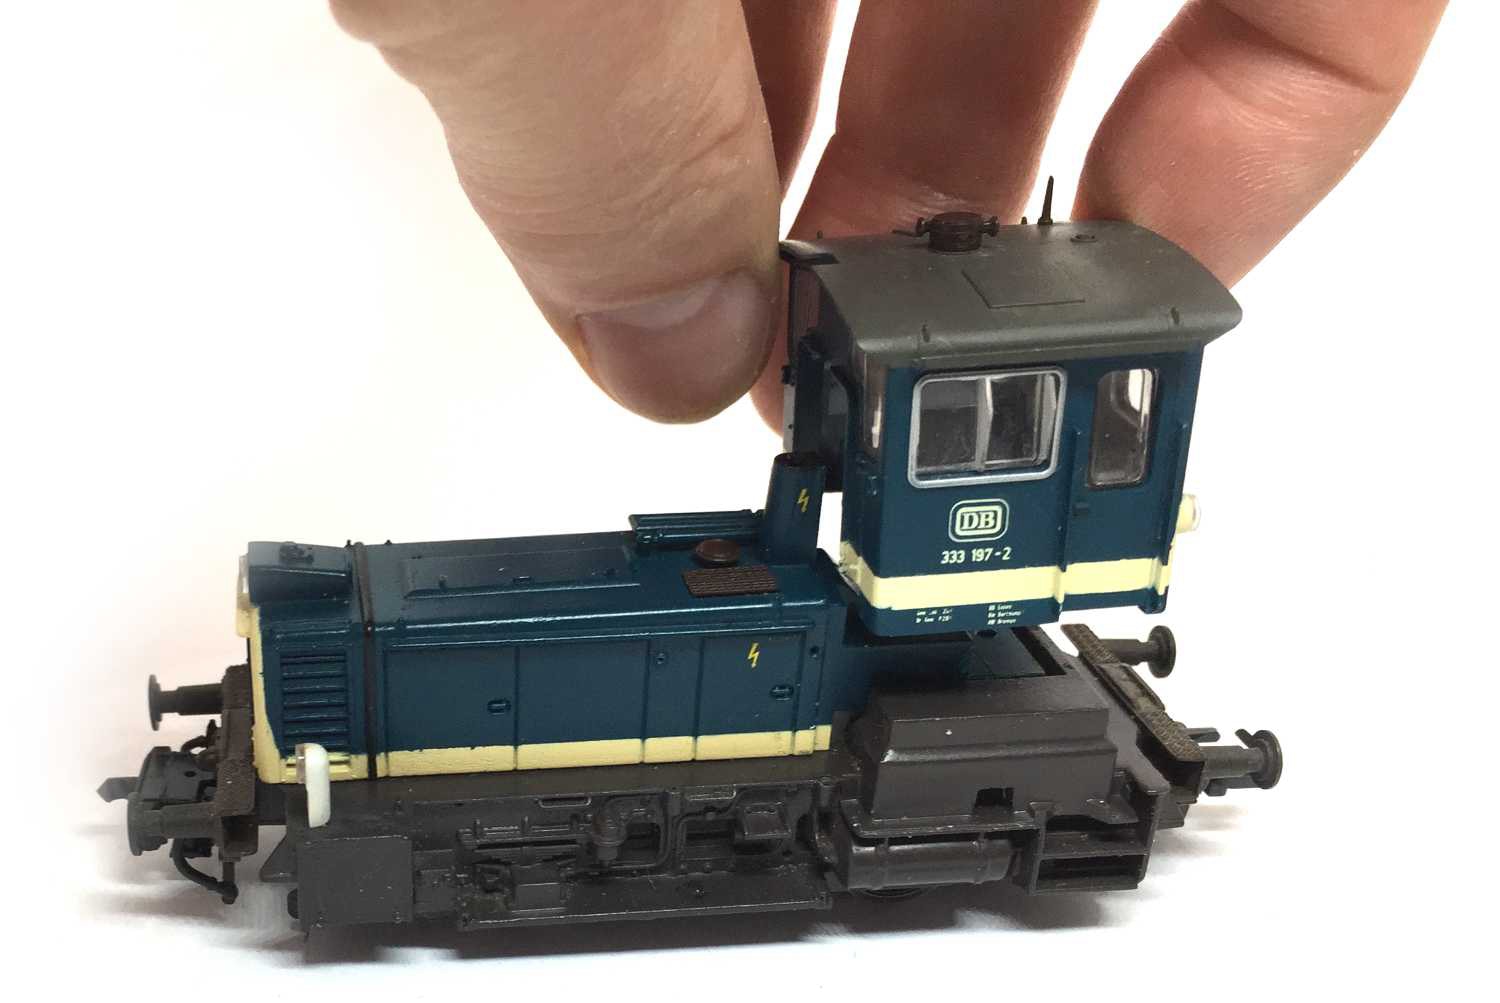
Upgrade for Roco BR 333
The Ultimate Motor Upgrade
Short example of smooth running at 2.3V (analog)
What you need for conversion set
- The model and upgrade kit
- Soldering iron 15W/25W
- Superglue (gel preferred)
- Gear puller
- General model making tools
Installation time: Around 45 minutes
Instructions
Why replace the motor with this coreless motor, when the original motor is not that bad?
√ Silent
√ Earlier start at lower voltage
√ Takes up less space
√ Replace broken motor
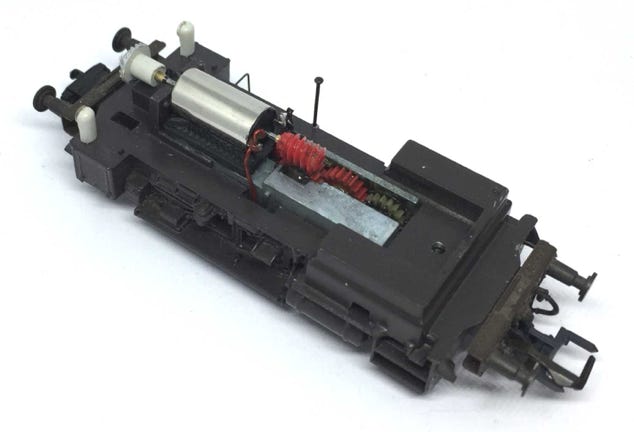
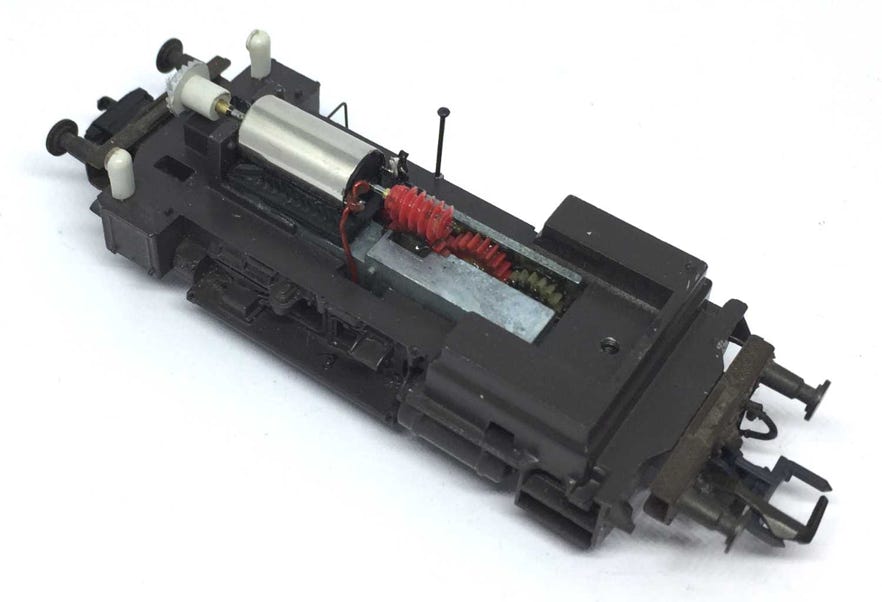
Original motor
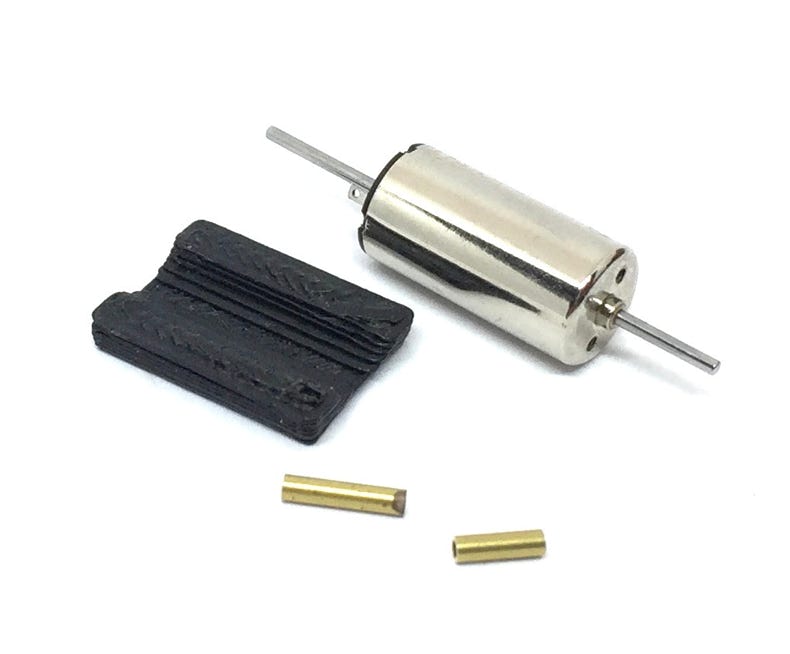
Contents of the kit.
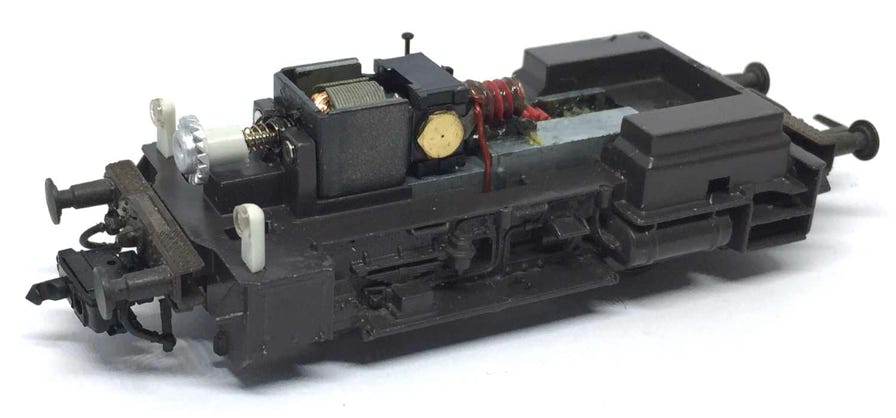
Upgraded motor
1
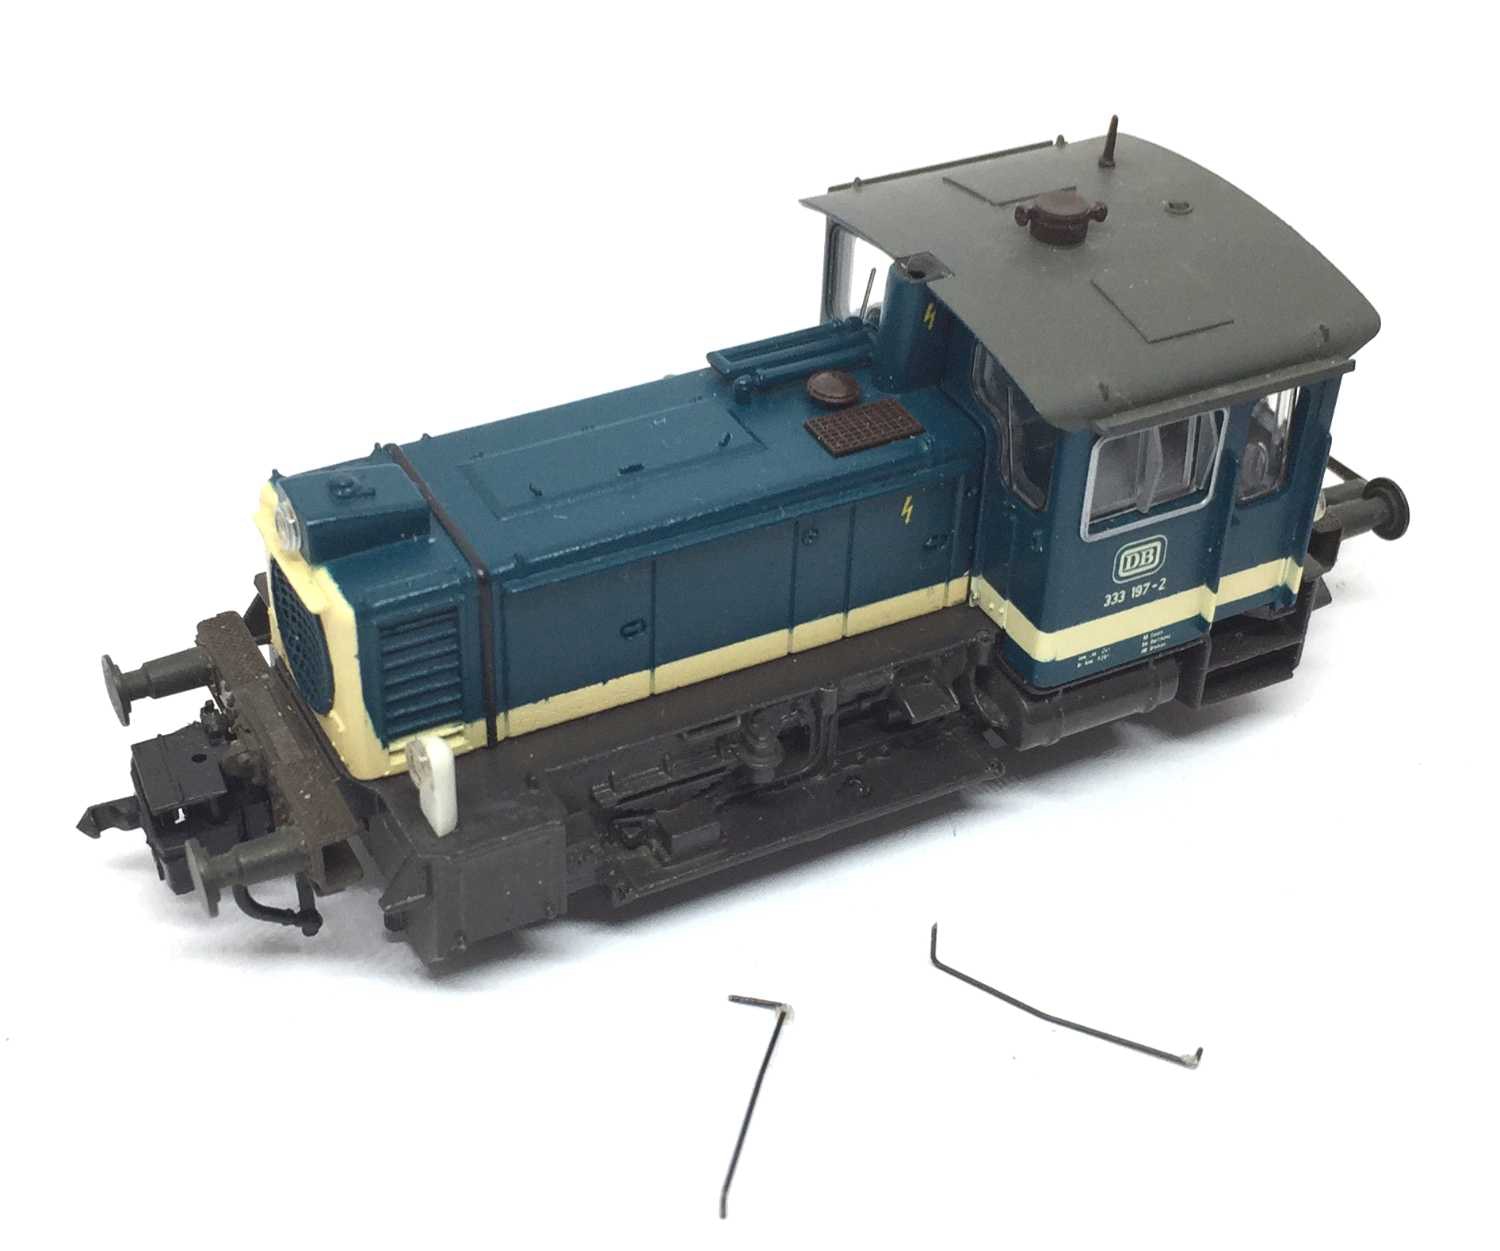
Remove the hand rail on each side of the model. Or at least, take out the bottom side from the frame. The top side can stay in the cabine.
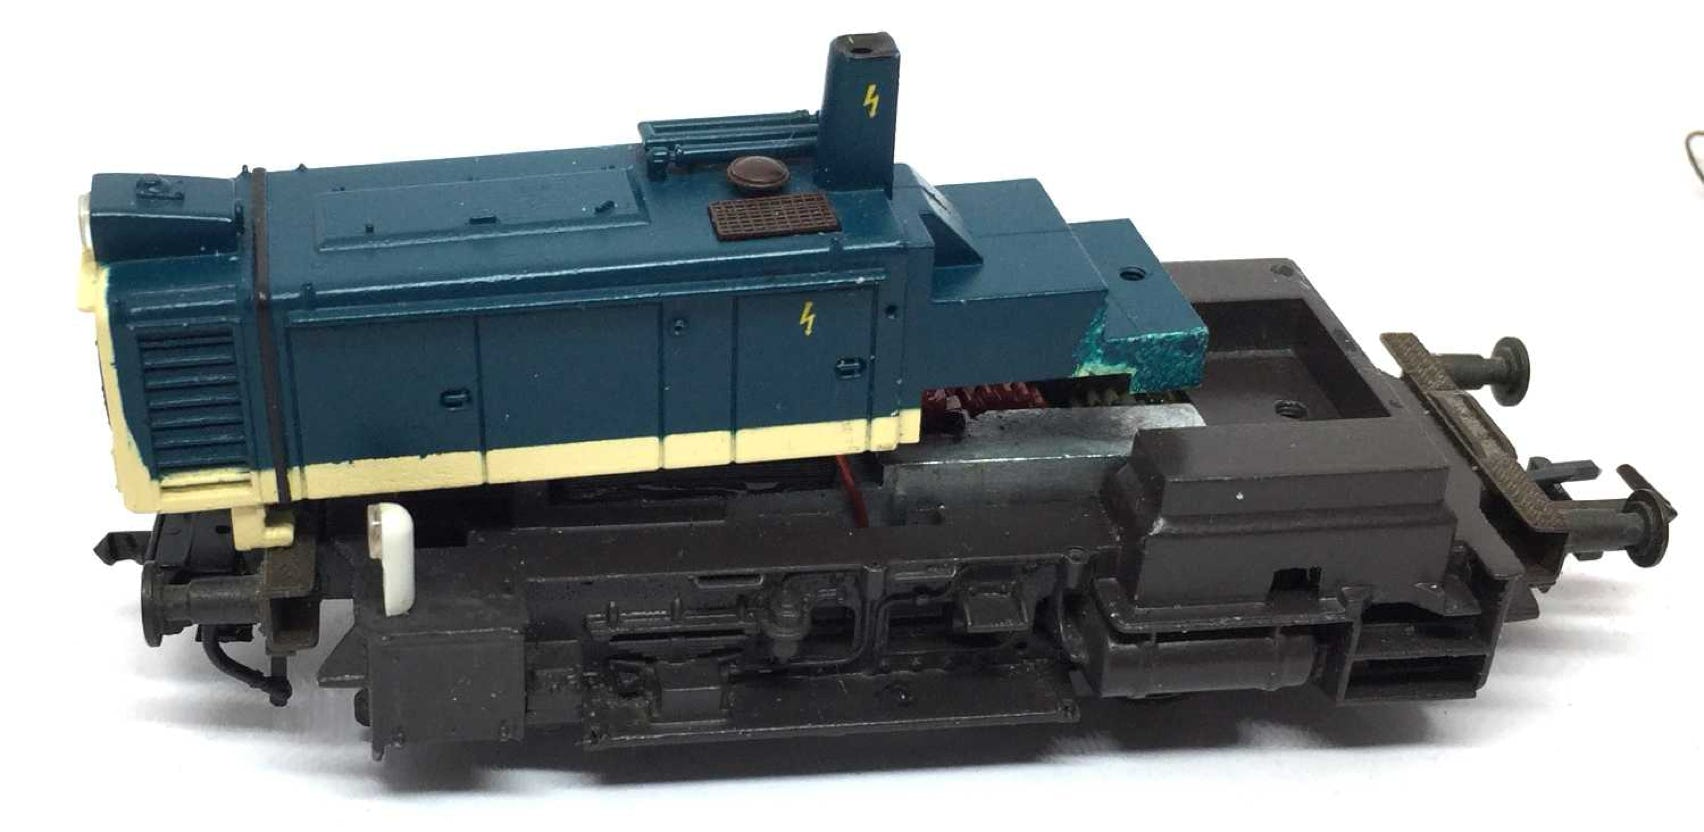
Separating the body from the chassis.
2
Lift the cabine upwards. You will need to wiggle a bit or put your nail under the bottom edge, to loosen it completely.
3
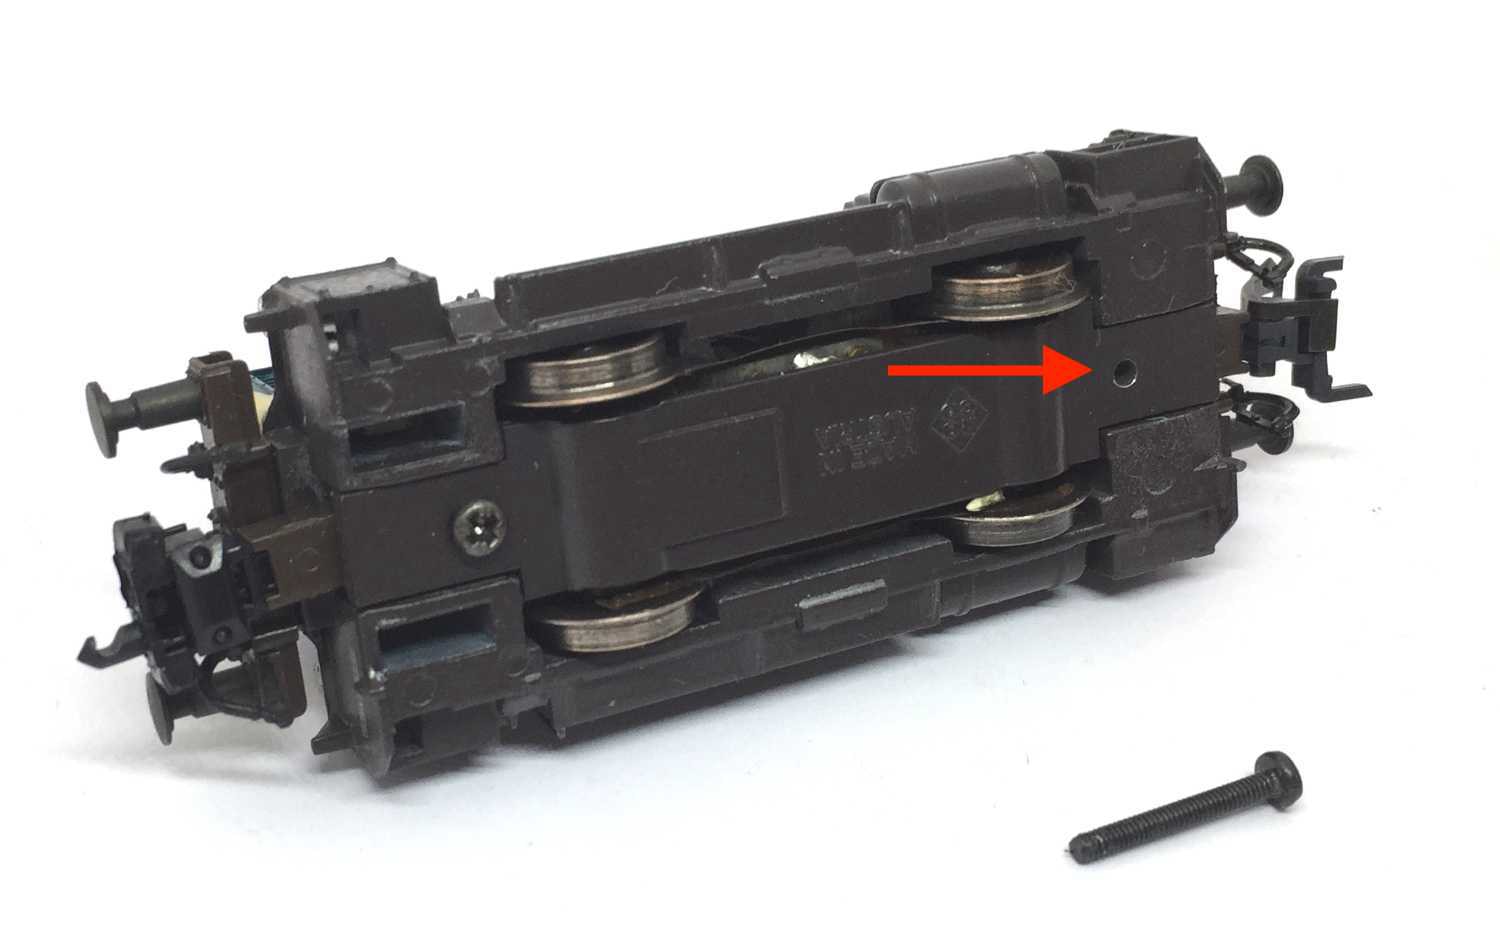
Remove the screw on the bottom.
4
Slide the engine cover forward and lift it out from the front, where the hooks are.
5
6
Remove the two screws that hold the motor in place and remove the motor.
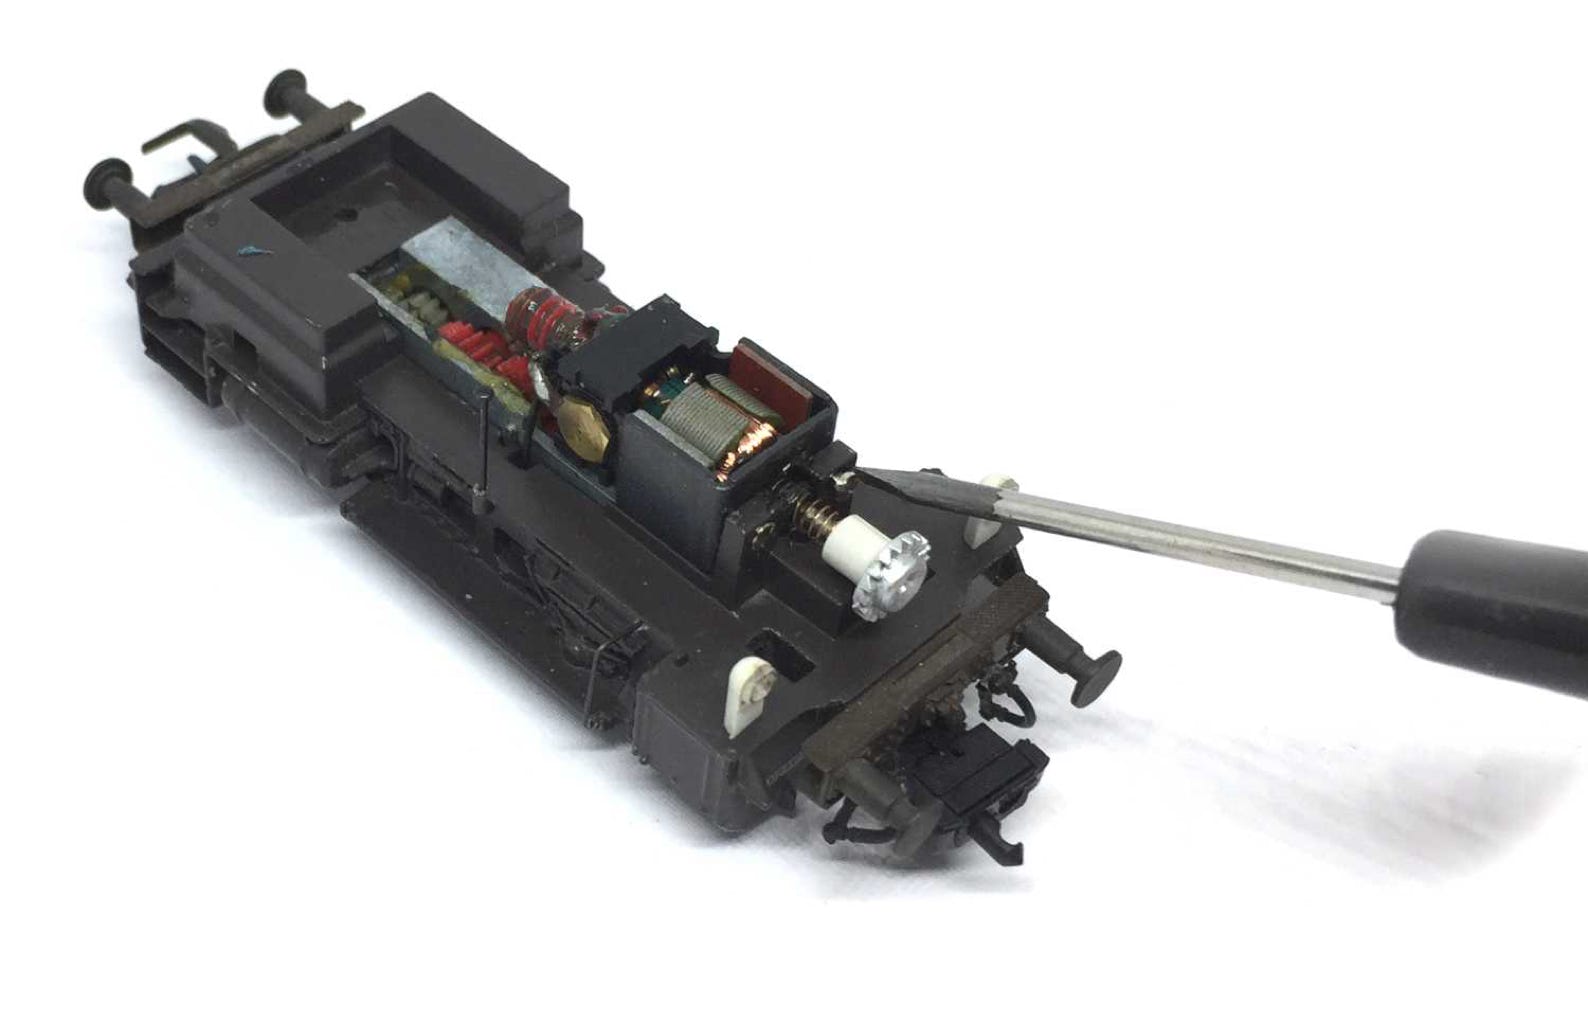
When you remove the motor, you don’t have to unscrew the brass hexagon screws on the side of the motor, as I’ve done here. You can also just desolder the brass contacts from the wires and keep the motor complete.
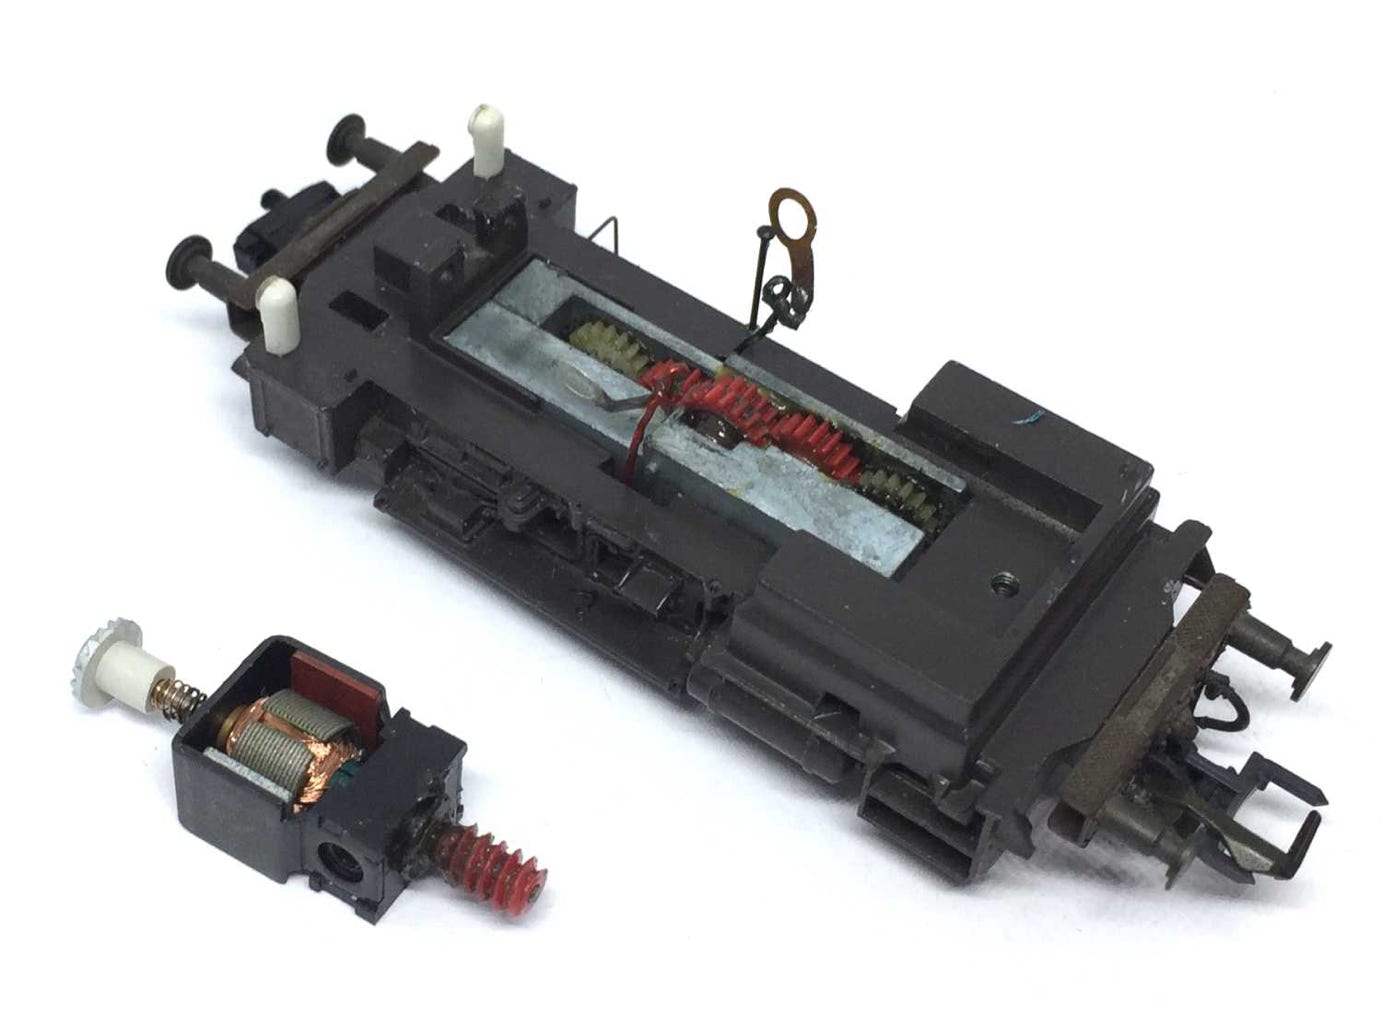
7
Take the worm and ventilator from the motor shaft. Press the brass adapters in the parts. It doesn’t matter if they stick out a bit or not. This will all fit with friction fit, no glue is needed.
Worm details:
Module: M0.4
Length: 7mm
Outer diameter: 4.6 mm
Inner diameter: 1.48 mm
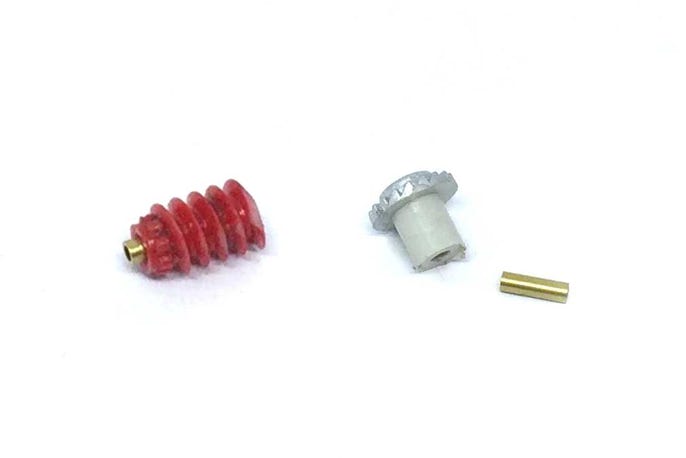
Long adapter
Small adapter
8
Using Lock thread glue, like Loctite or Granville, glue the brass adapter with their partner on the motor shaft. Do not use superglue, as you will not have enough time to position the parts. Check with the model where the correct position is.
PLEASE NOTE BEFORE GLUEING: check if the worm has the correct position above the first gear. The worm and gear should have a little play before moving together.
Using epoxy glue, glue the assembly on the bracket. Note the position of the very small + on the motor. See picture for correct position.


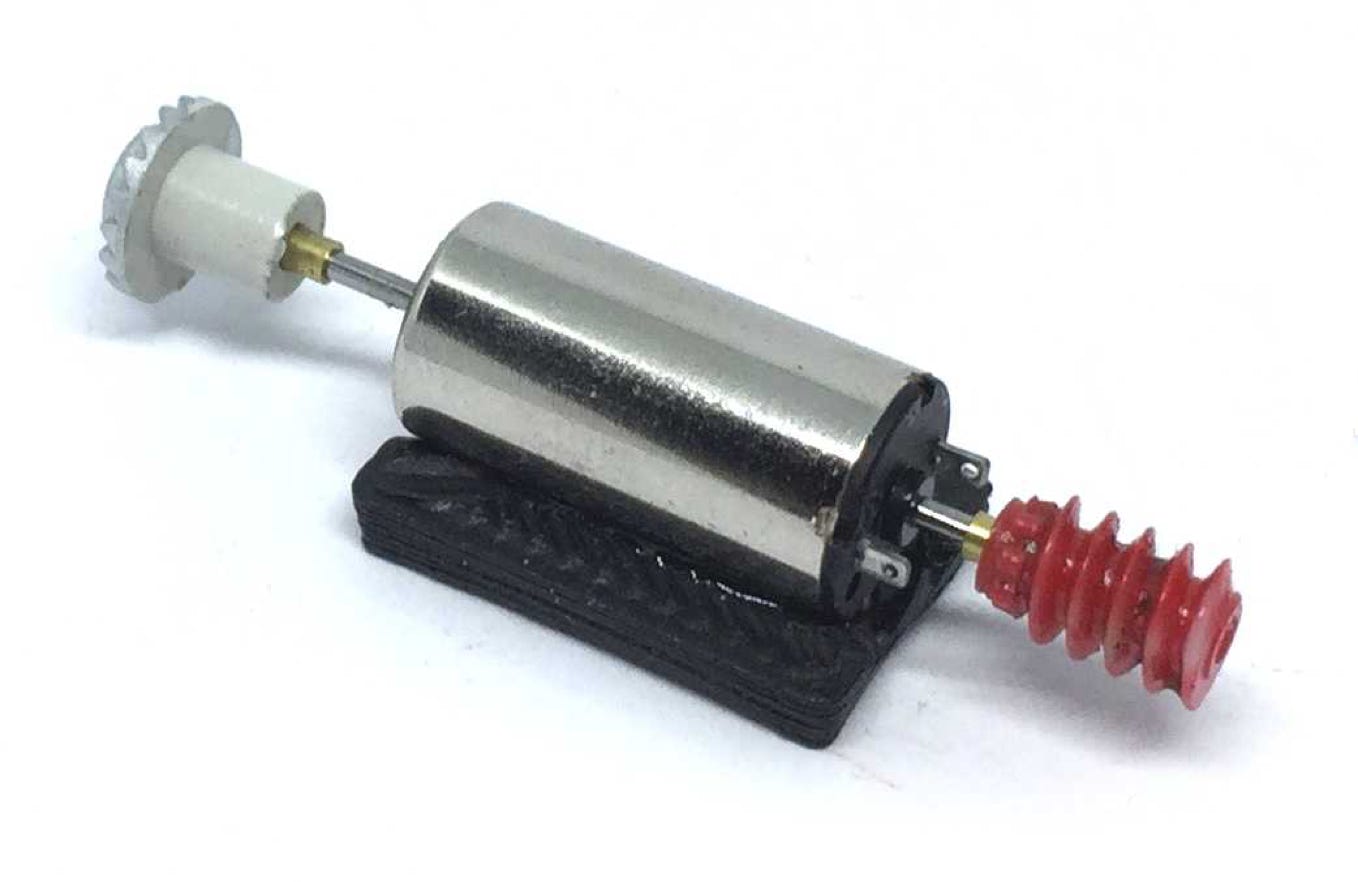
If you do this the wrong way around, the train will run in opposite direction of all your other trains.
-
+
If the worm is too high above the gear, just rub the plastic motor bedding a bit on a piece of sandpaper to reach the ideal height. The teeth have to half overlap.
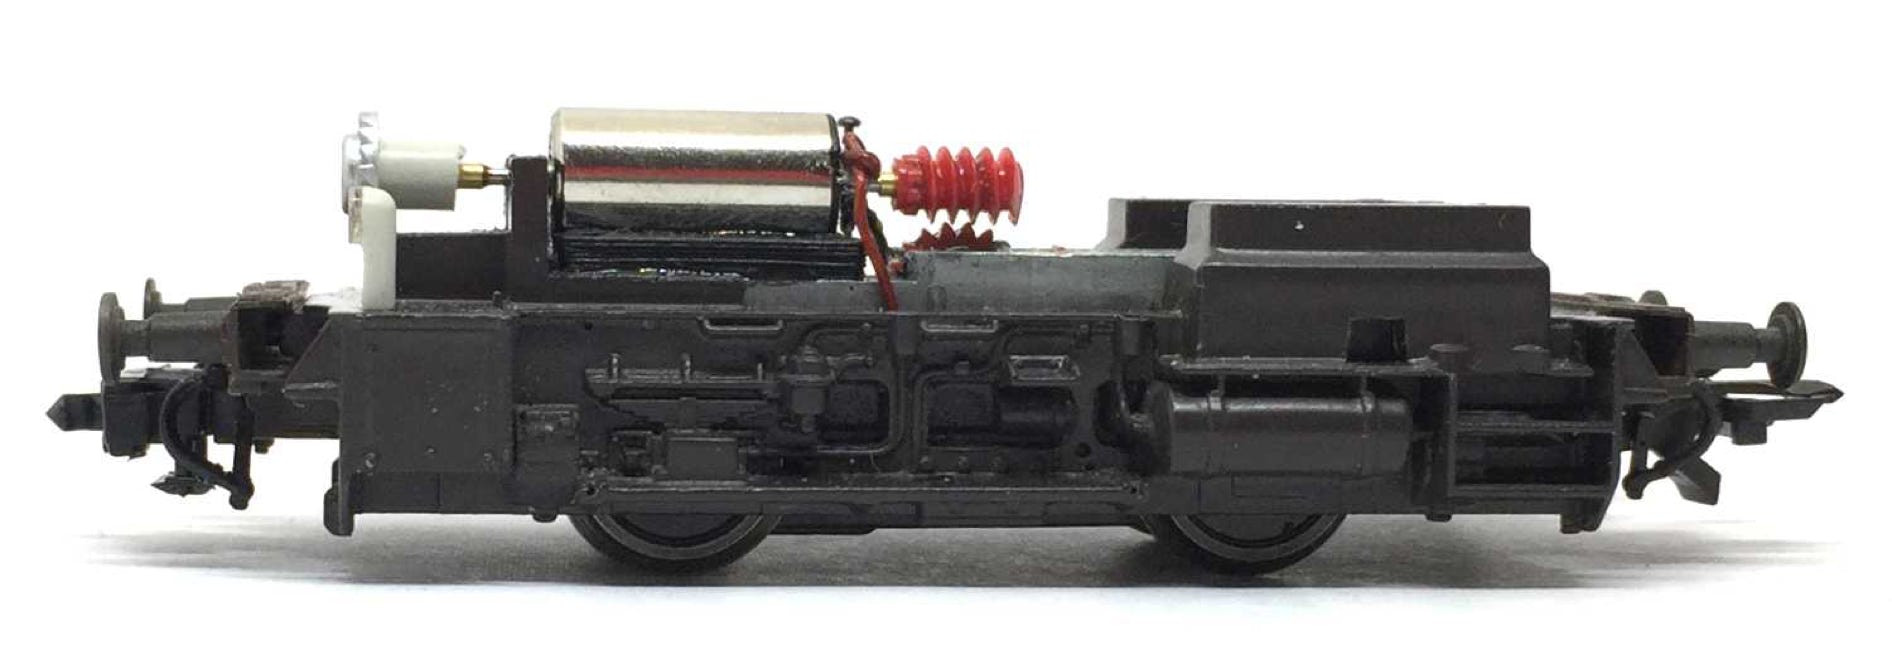
9
Test the drive and when it’s all right, reassemble the model and enjoy the improved running capabilities!
END
•