ATTENTION! I AM CURRENTLY AWAY, SO NO ORDERS WILL BE SENT OUT. SHIPPING RESUMES FROM THE 25th OF APRIL 2024. Thanks! Sven.

Prices for UK customers are shown inc 20% VAT

Other countries, inc EU, prices shown are ex VAT. 

UK based

KASTENLOK INDEX

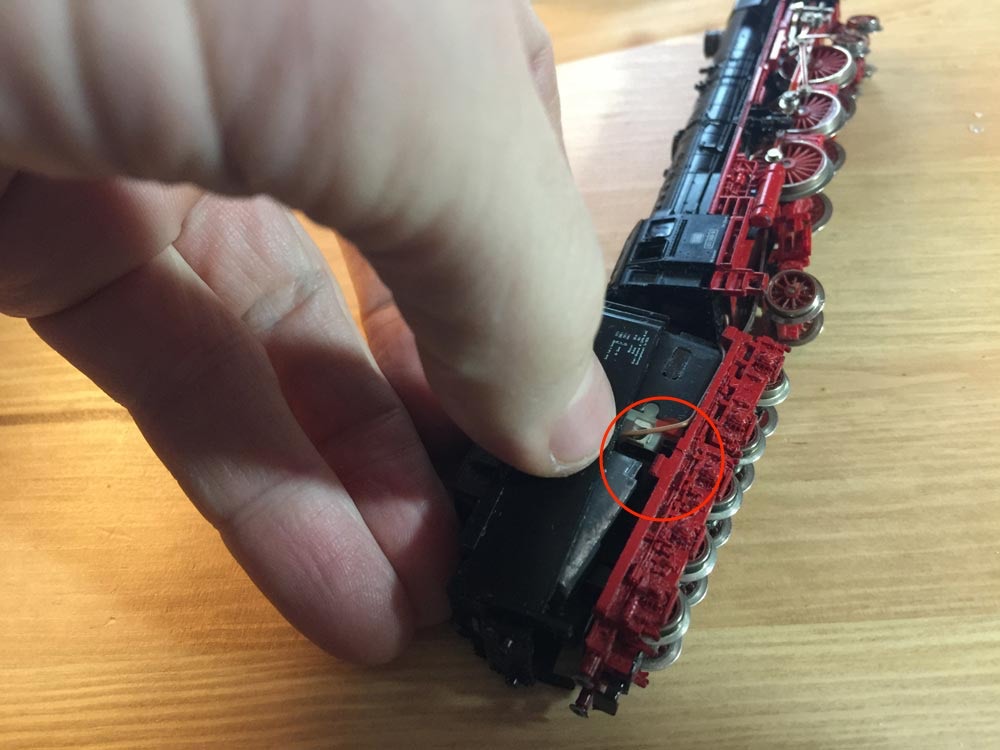
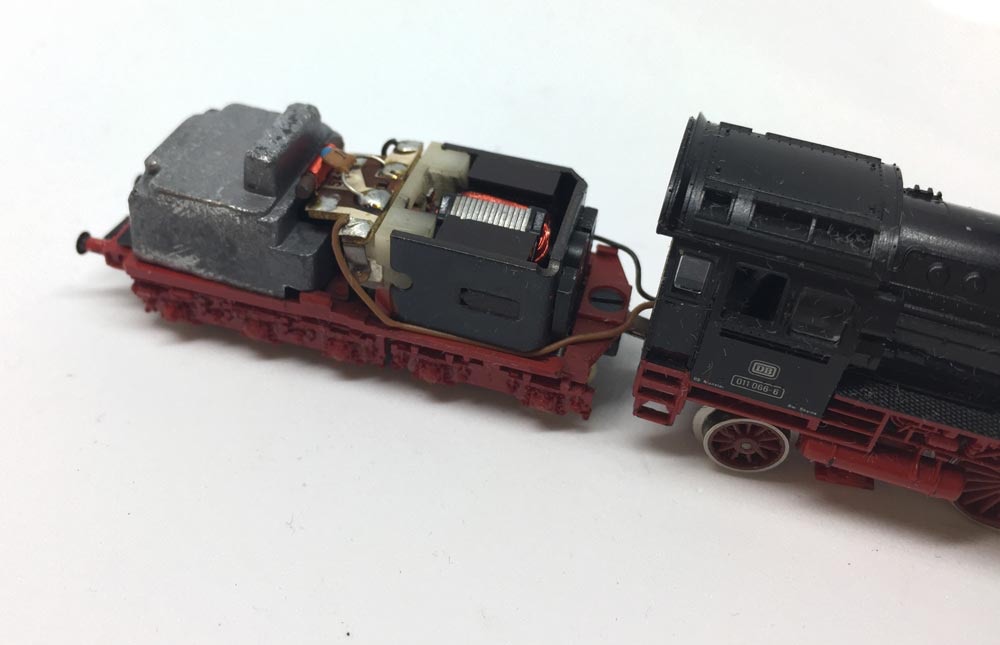
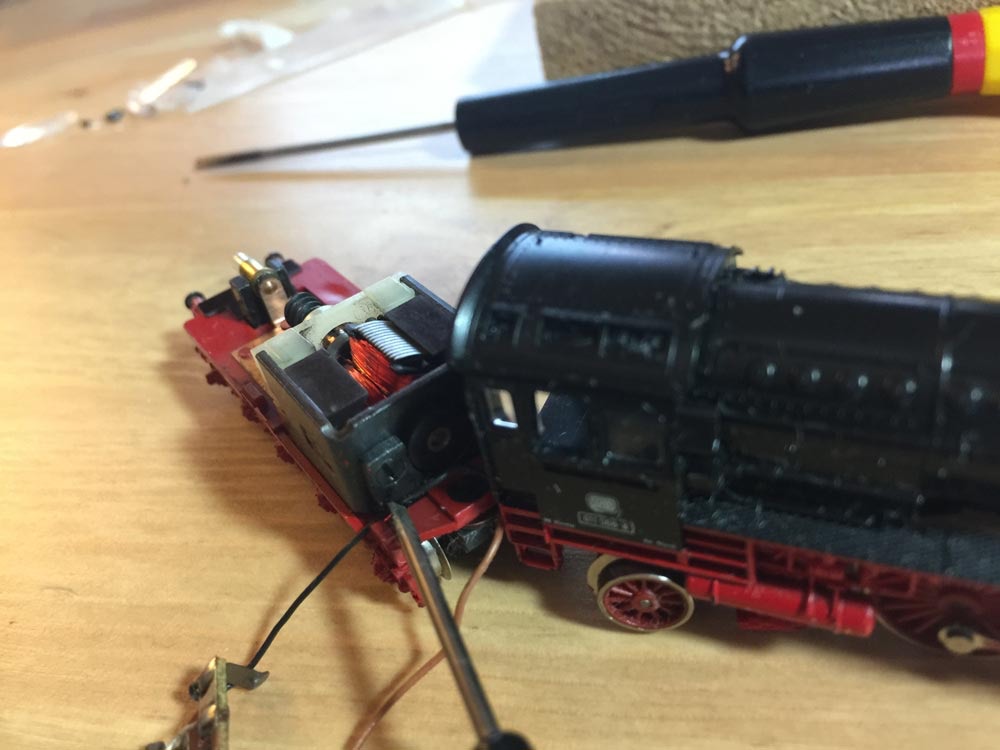
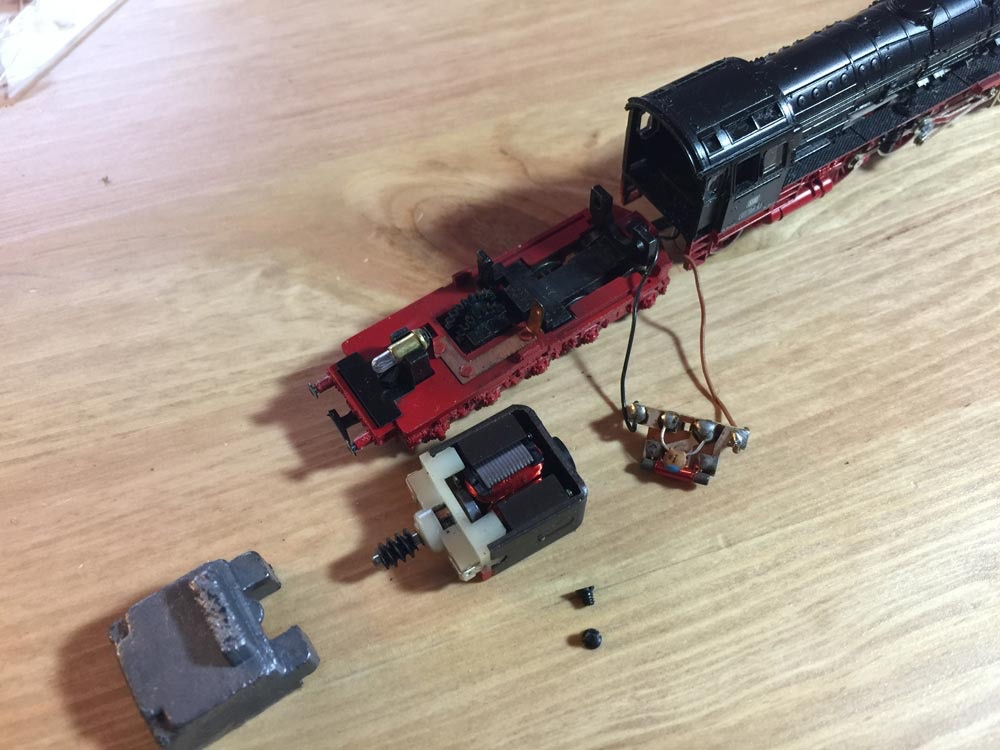
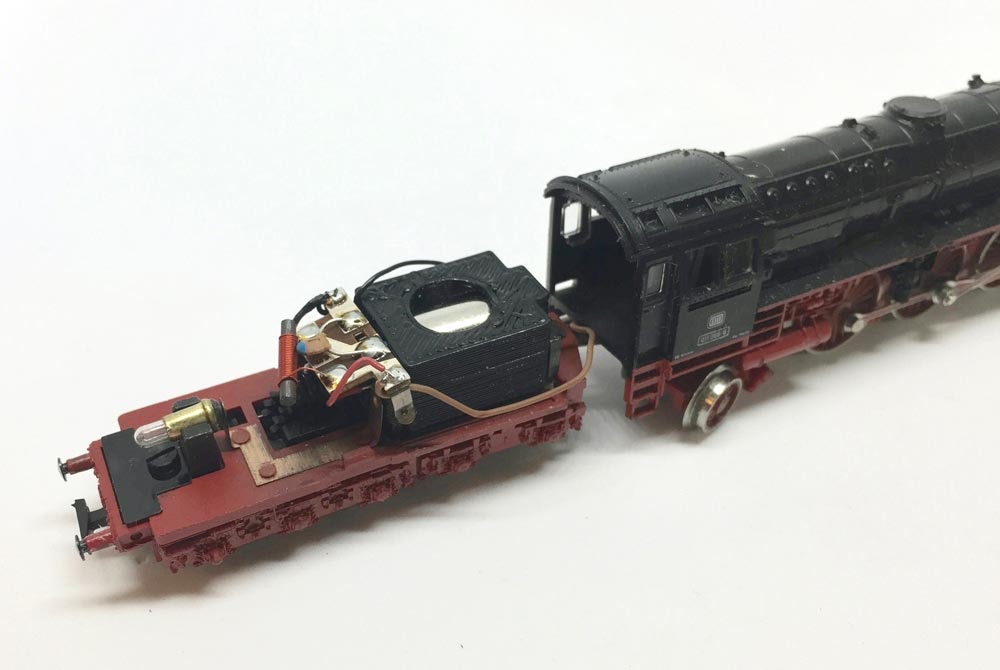
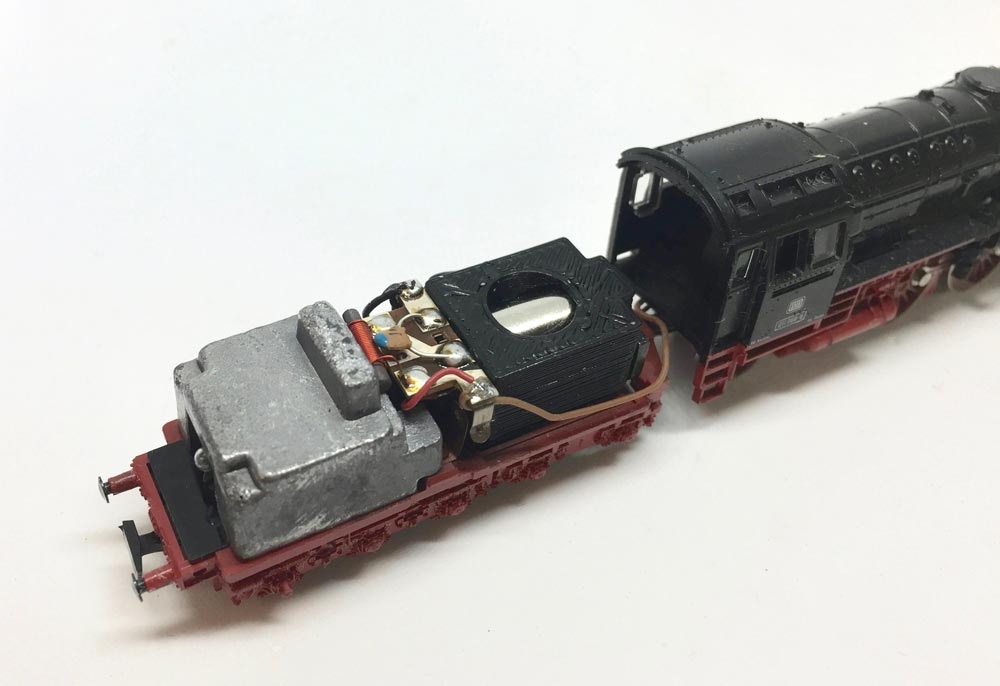
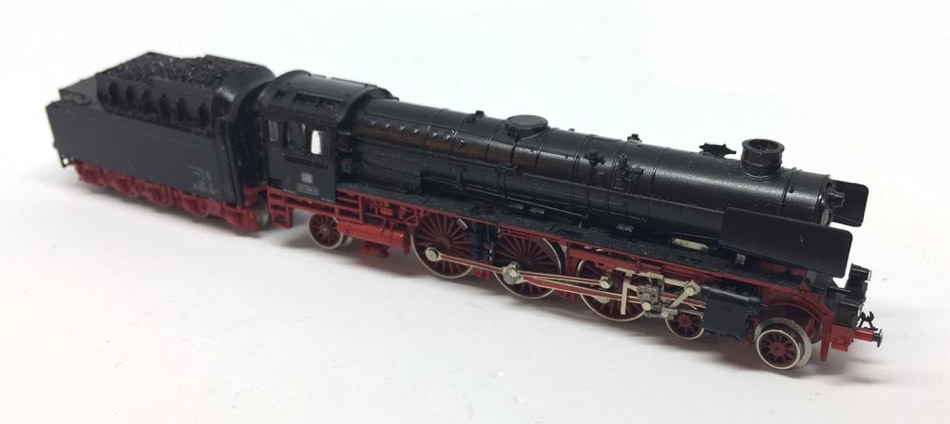
Conversion Fleischmann BR 011 (1:160)

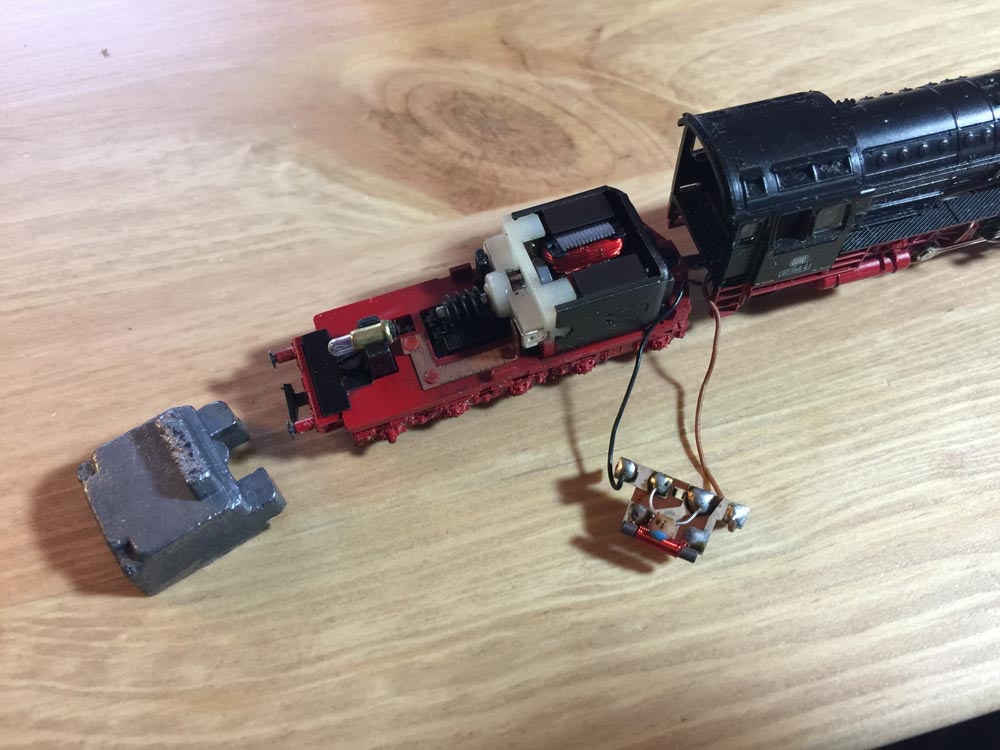
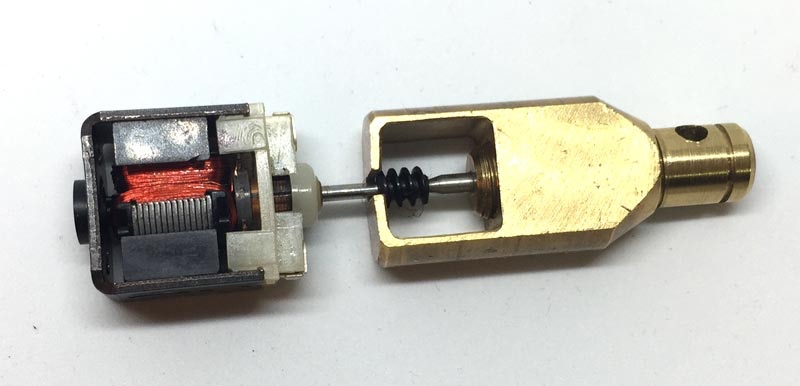
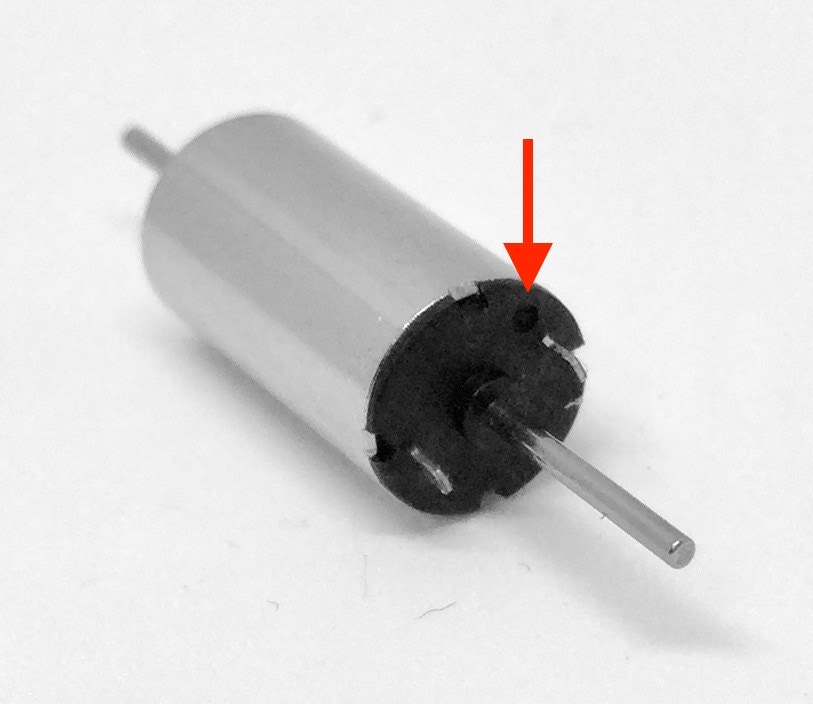
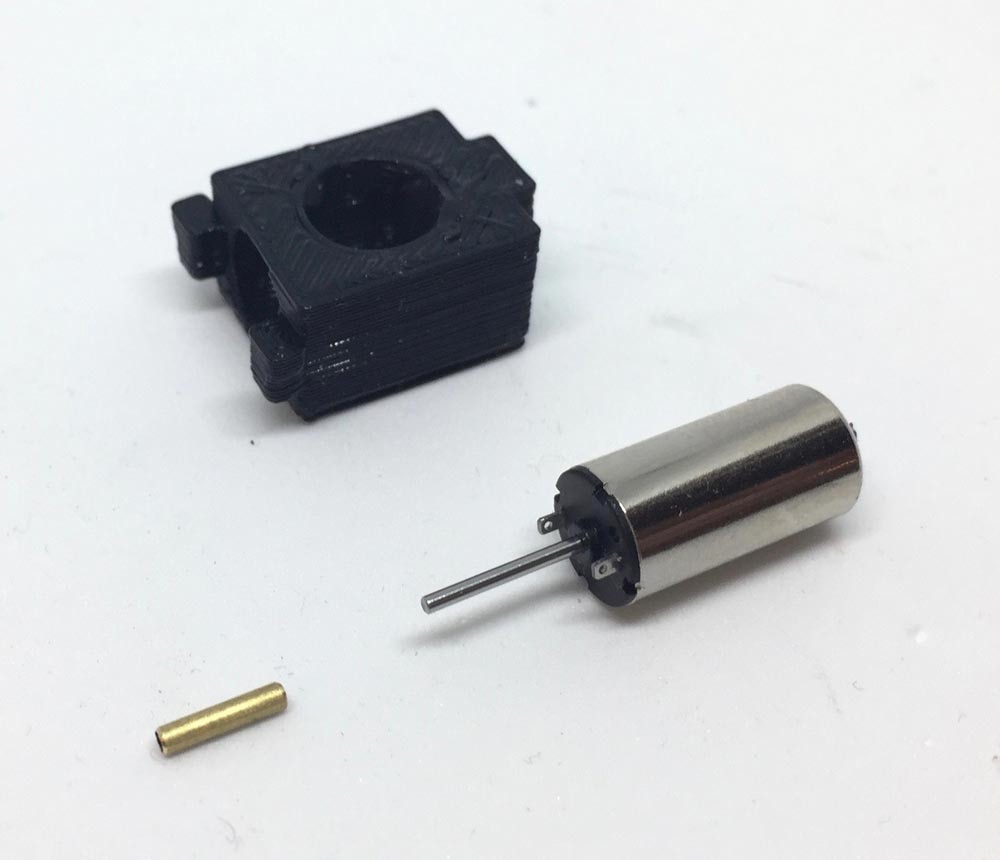
to coreless motor (also BR 38 Art. 7162)

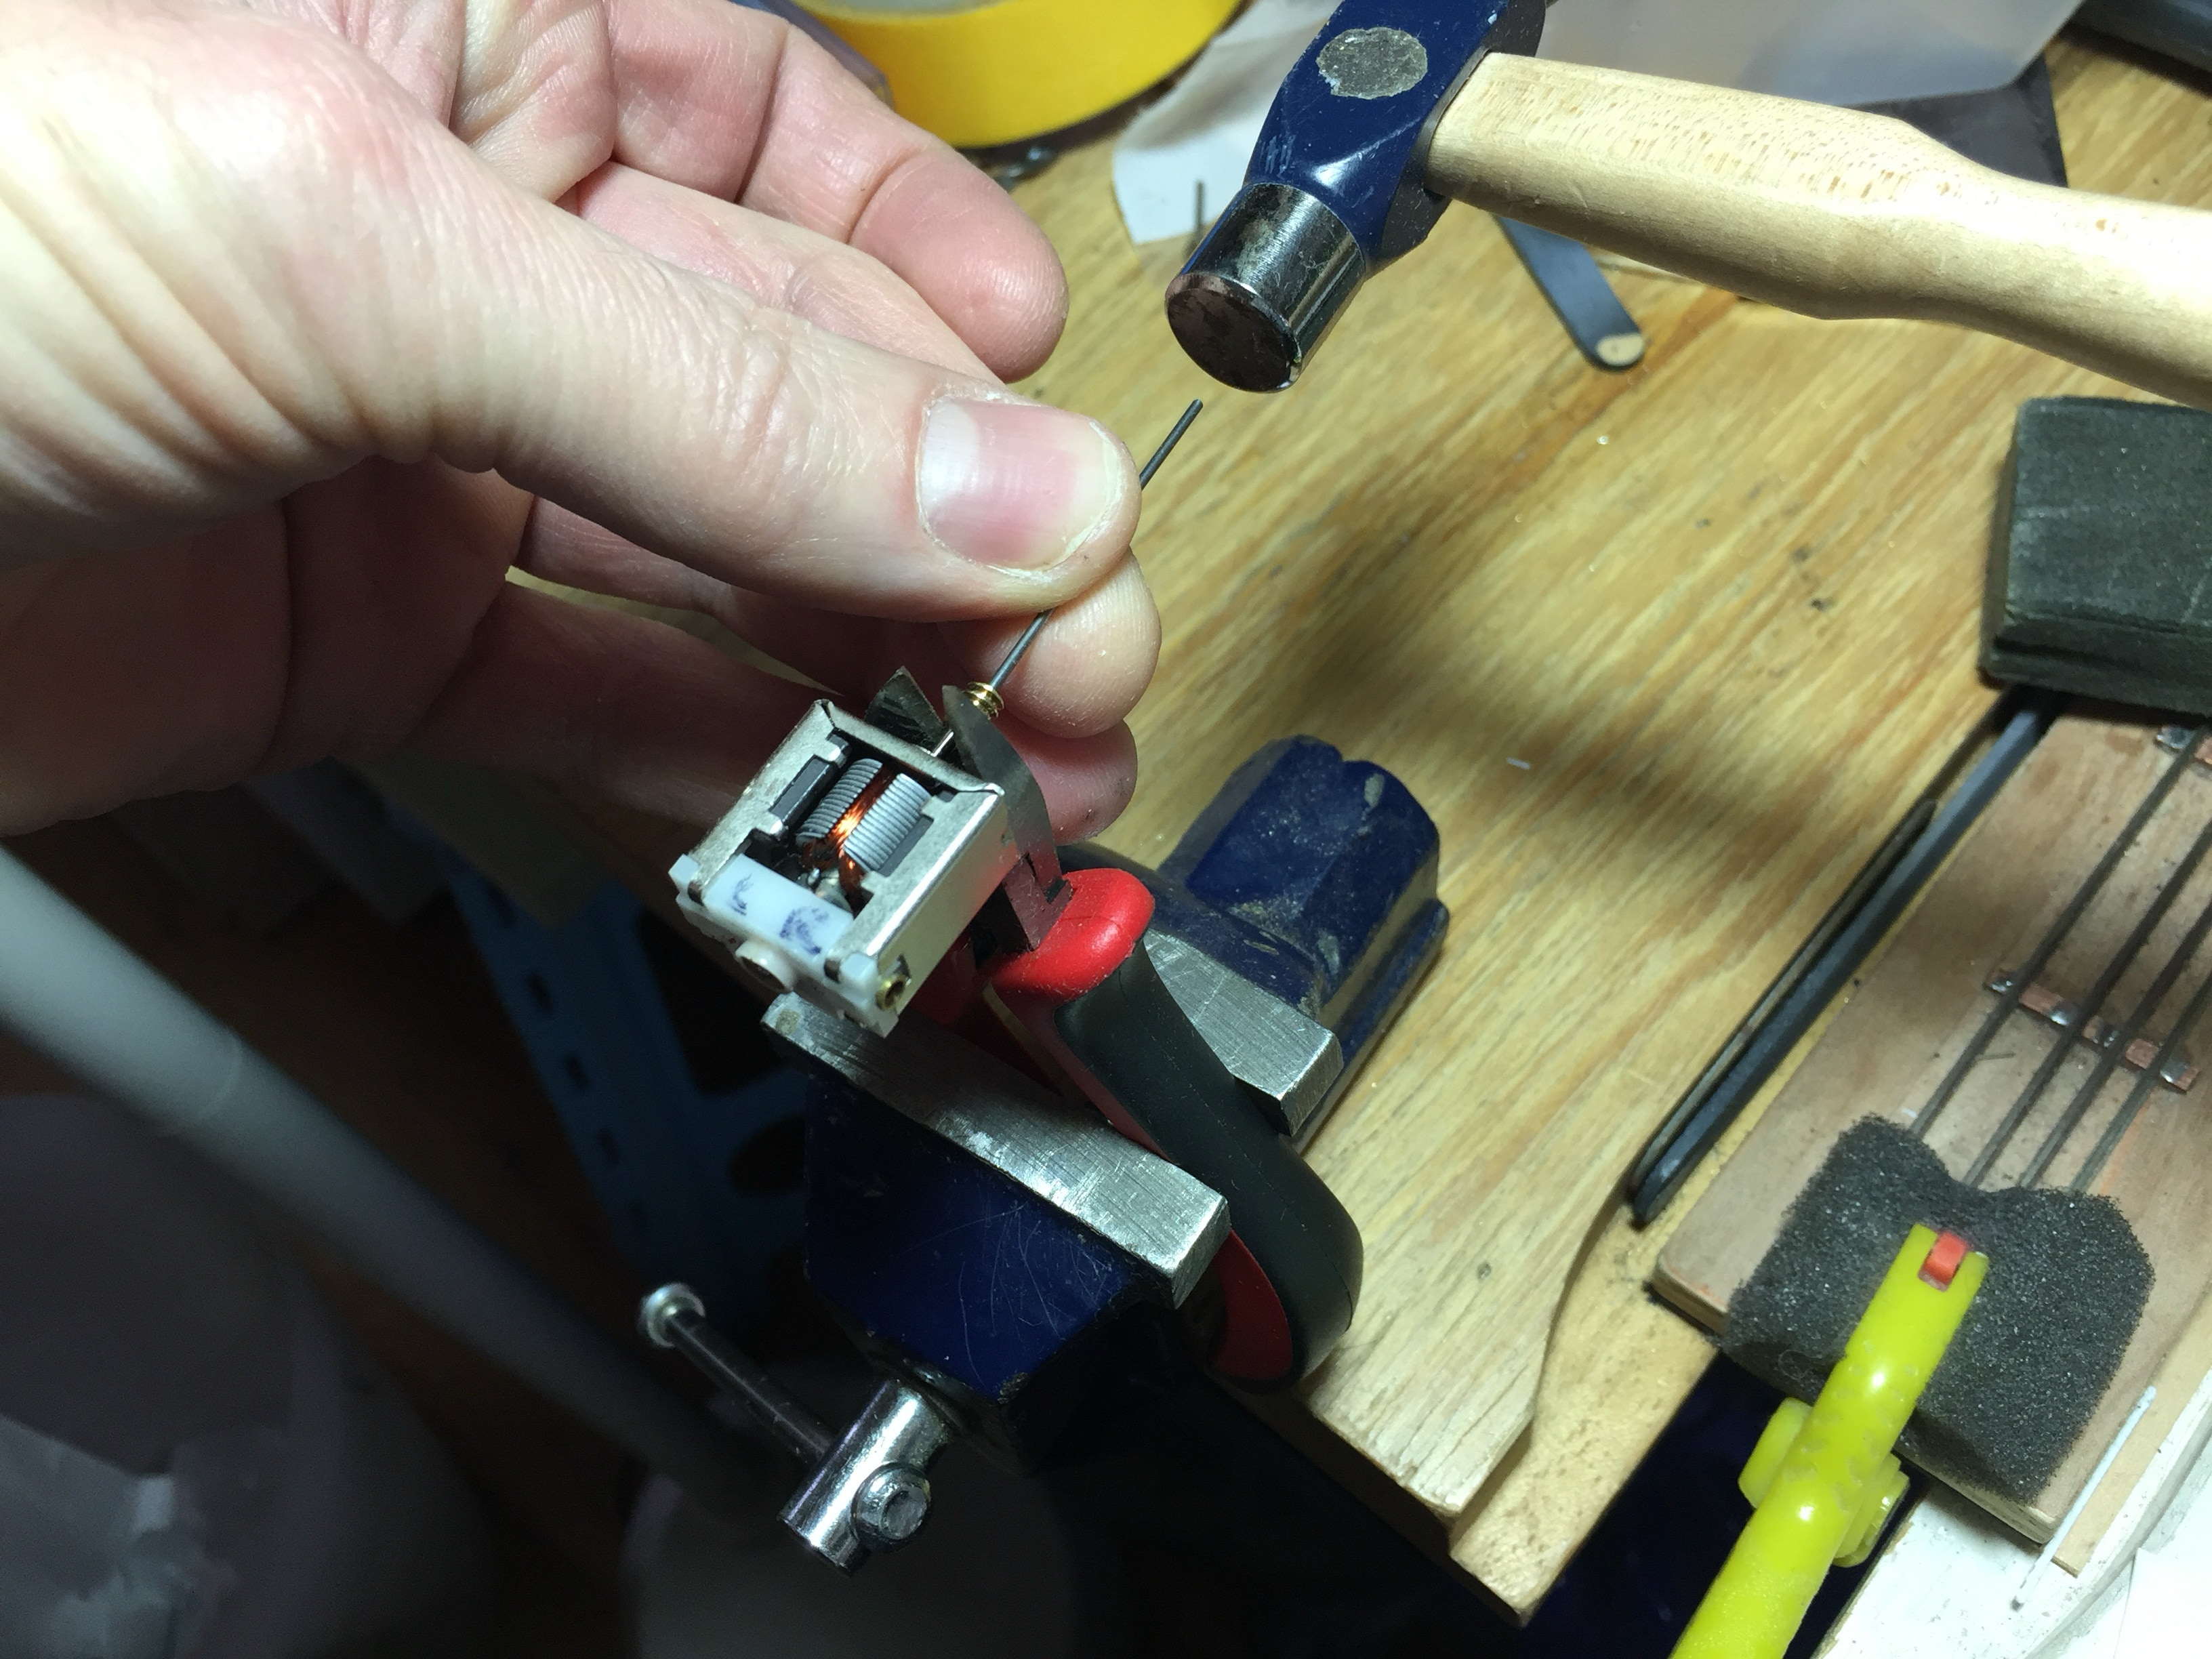
What you need for conversion set

- Steam locomotive by Fleischmann, type BR 011

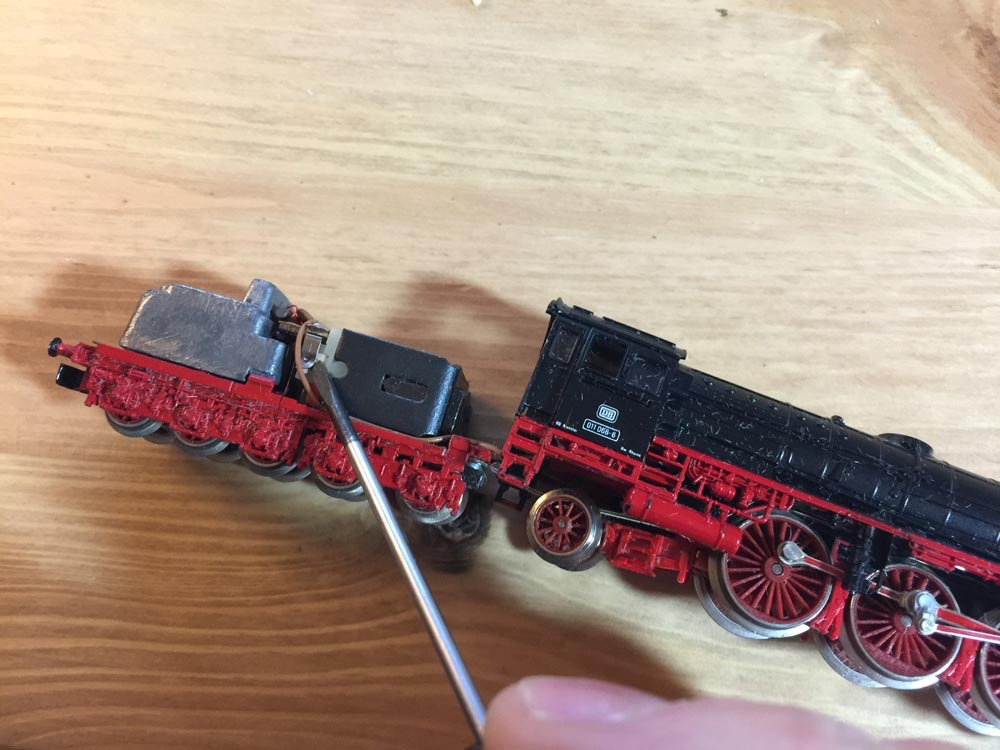
- Small flat screwdriver

- Soldering iron

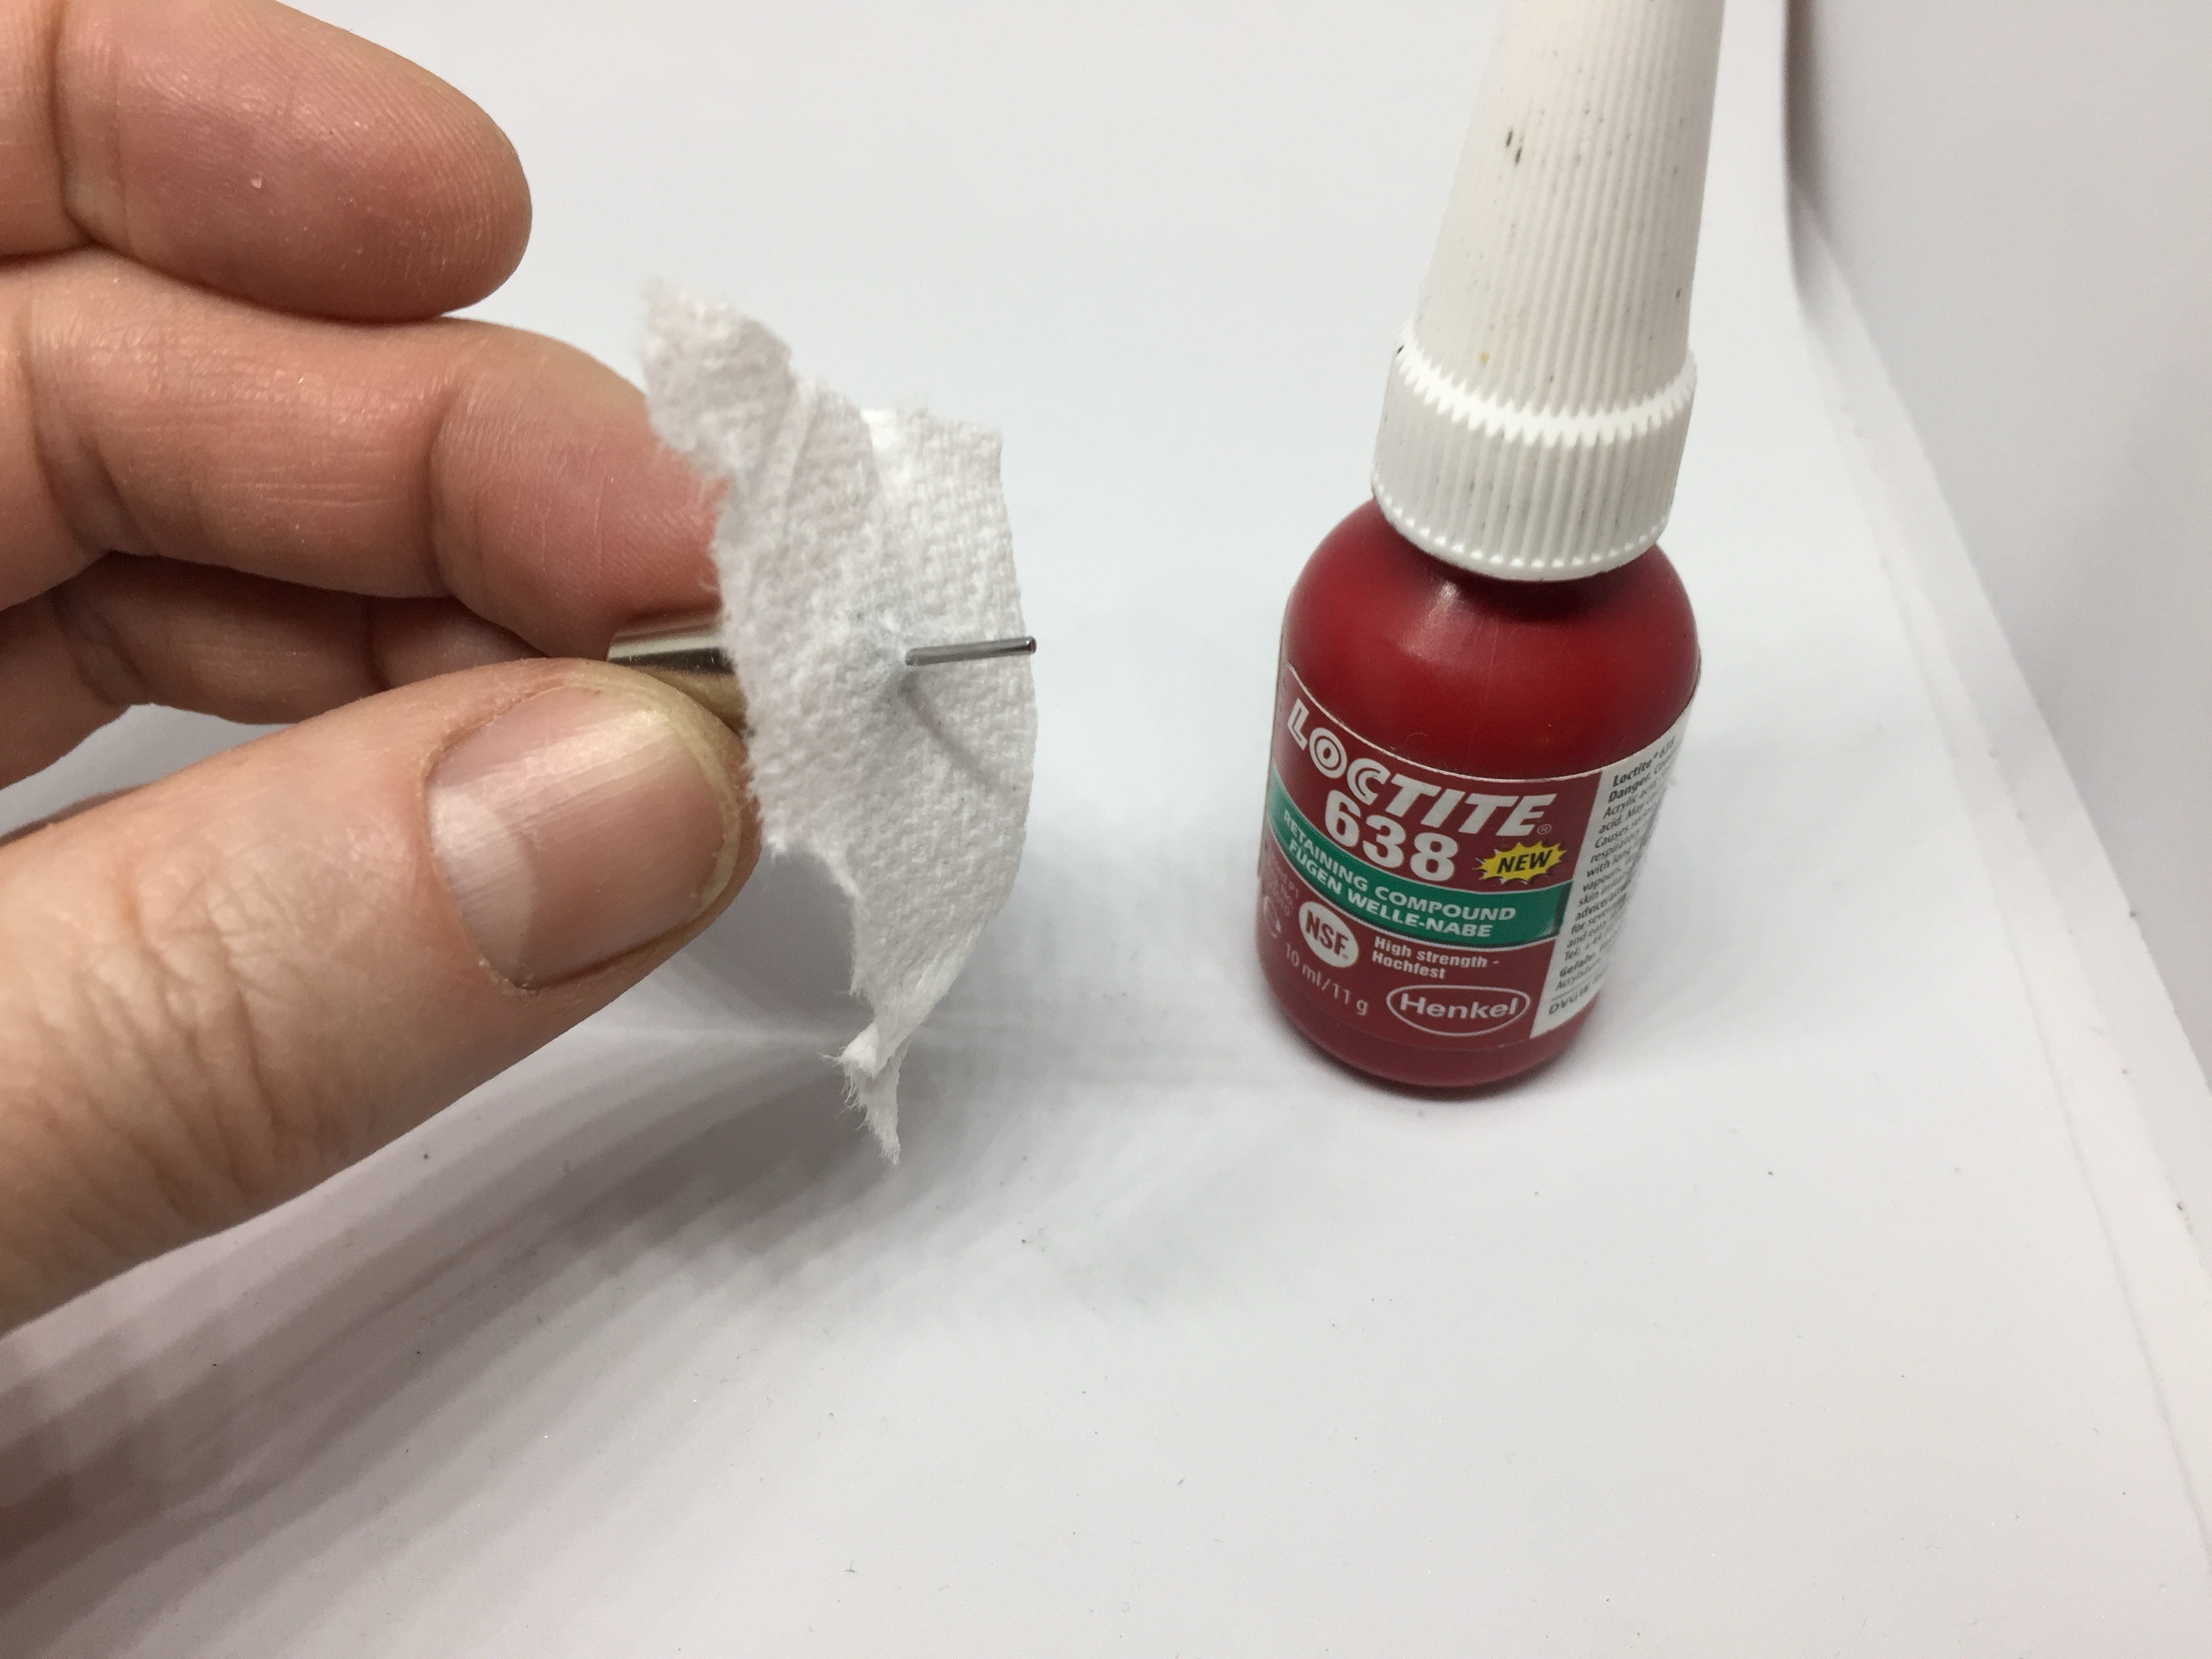
- Loc tite or superglue

- Epoxy two component


Installation time: 45 minutes

No milling in frame needed!

Question? Just contact Sven!

1

Remove plastic cover

On both sides, the whole top part of the tender is held on the bottom part with a tab on each side, see circle on image. Release the side from the tabs by pulling it to the side.

2

Remove motor clip

Put a screw driver under one of the brass power connectors to lift up the motor clip.

3

Remove weight

Remove the weight the rear and put aside. You might want to remove the rear light, so you don’t loose it during the motor upgrade process.

4

Remove motor

Unlock the motor by removing the two screws.

5

Take motor out

Just lift the motor out of its place. 

6

Take the worms of the motor axle

The worm on the axle of the motor can be pulled off by hand.  If it would be harder, there are two other option to remove them, see pictures. A gear puller is available here.

7

Please note: This motor in this kit has been replaced in 2022 by a wired motor. The blue is the plus wire of the motor.

Solder wires to the motor

There is a round mark next to the plus pole of the motor. This is traditionally a red wire. Solder a black wire to the other connector. You can use any colour you like, but as long as you remember which is plus and which is minus. 

8

Press the worm wheel on the brass adapter. Fit the whole thing with Loctite or superglue on the axle of the motor. The 

Fit the wormwheel and adapter

Be careful not to get glue in the motor shaft. I use a kitchen tissue over the shaft to get the Loctite or superglue that will be pushed towards the bottom when fitting the adapter. The end of the brass adapter should align with the end of the motor axle.

9

Solder wires and glue motor on chassis

Solder wires from motor to the motor clip. Red (Plus) should go on the right side (of driving direction). Test if it all works and then glue the motor in place with epoxy glue (I tried double sided tape, but that is just not stable enough, in case you thought about trying!).

10

Put model back together

Put light and the weight back on the model. There is another weight, not shown on this picture (fits inside the coal bunker).

Done! 

If you are going to attach a decoder, check here for the CV settings (link). I advise using a Zimo decoder. But you most likely need to do some milling in the metal weights for this.