UK based
Prices for UK customers are shown inc 20% VAT
Other countries, inc EU, prices shown are ex VAT.

KASTENLOK INDEX


UK based
Prices for UK customers are shown inc 20% VAT
Other countries, inc EU, prices shown are ex VAT.
KASTENLOK INDEX
What you need for conversion set
- The model and upgrade kit
- Small Phillips screwdriver
- Soldering iron 15W/25W
- Epoxy glue
- General model making tools
Installation time: Around 45 minutes
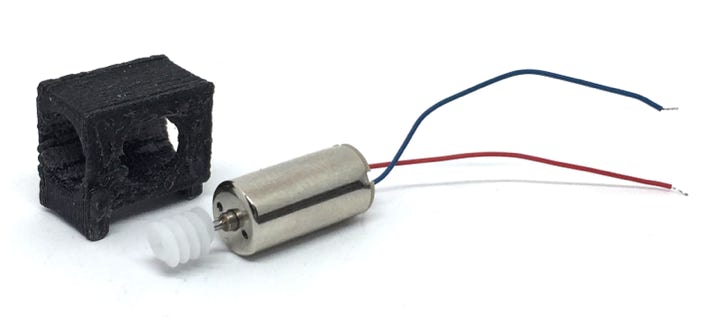
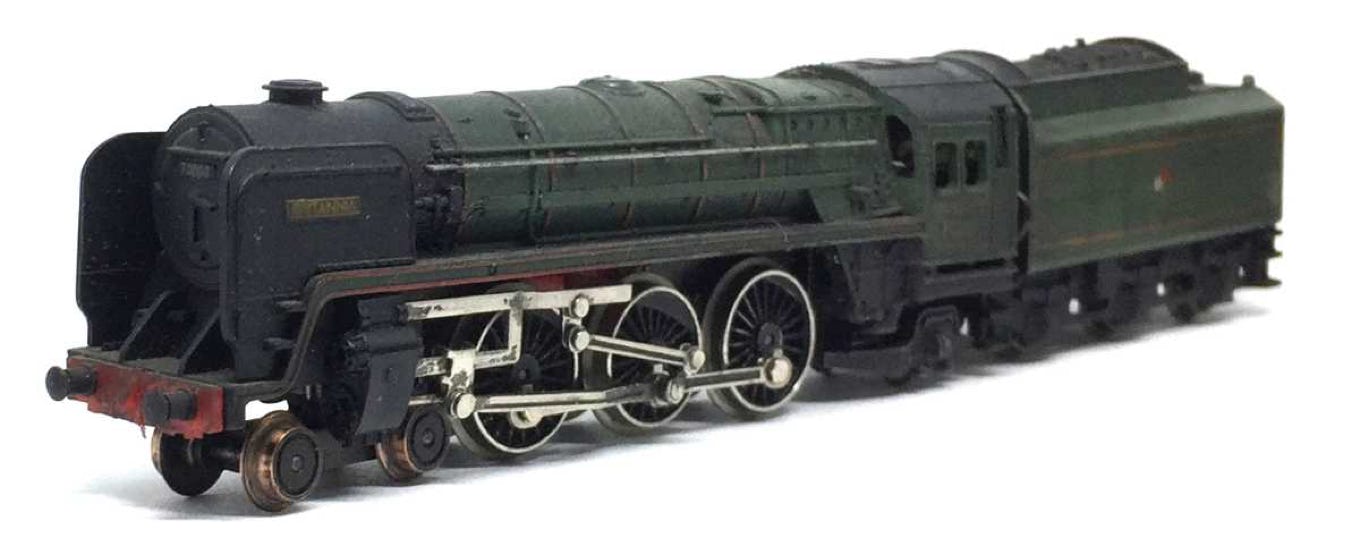
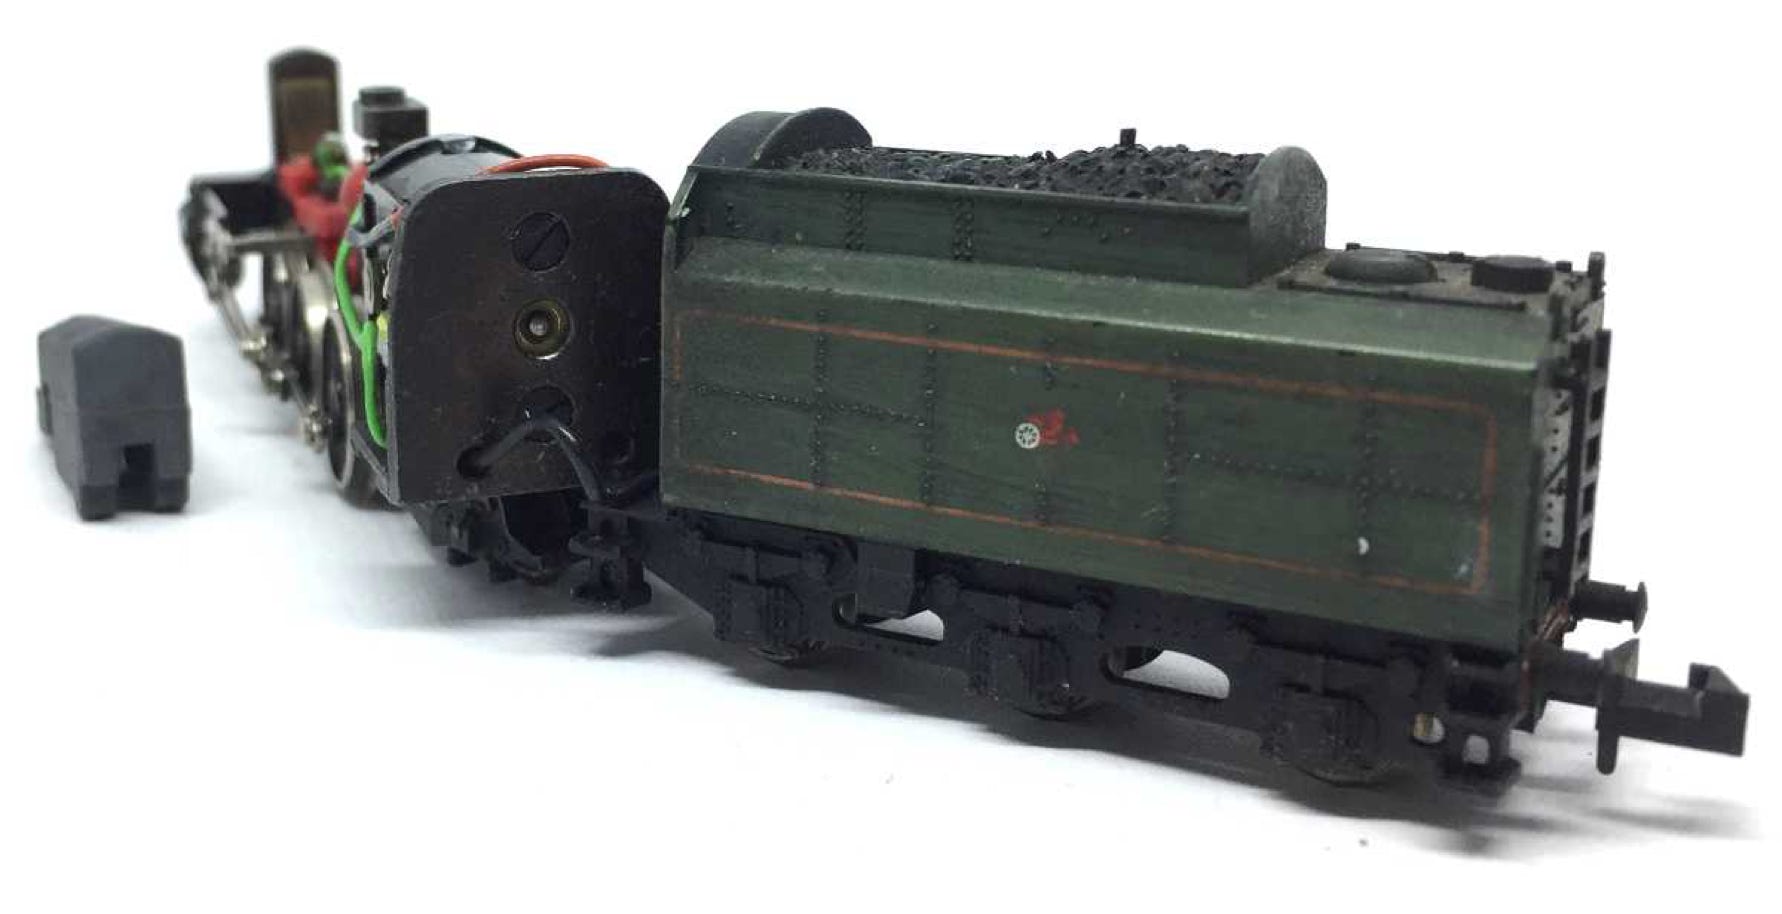
Contents of the kit.
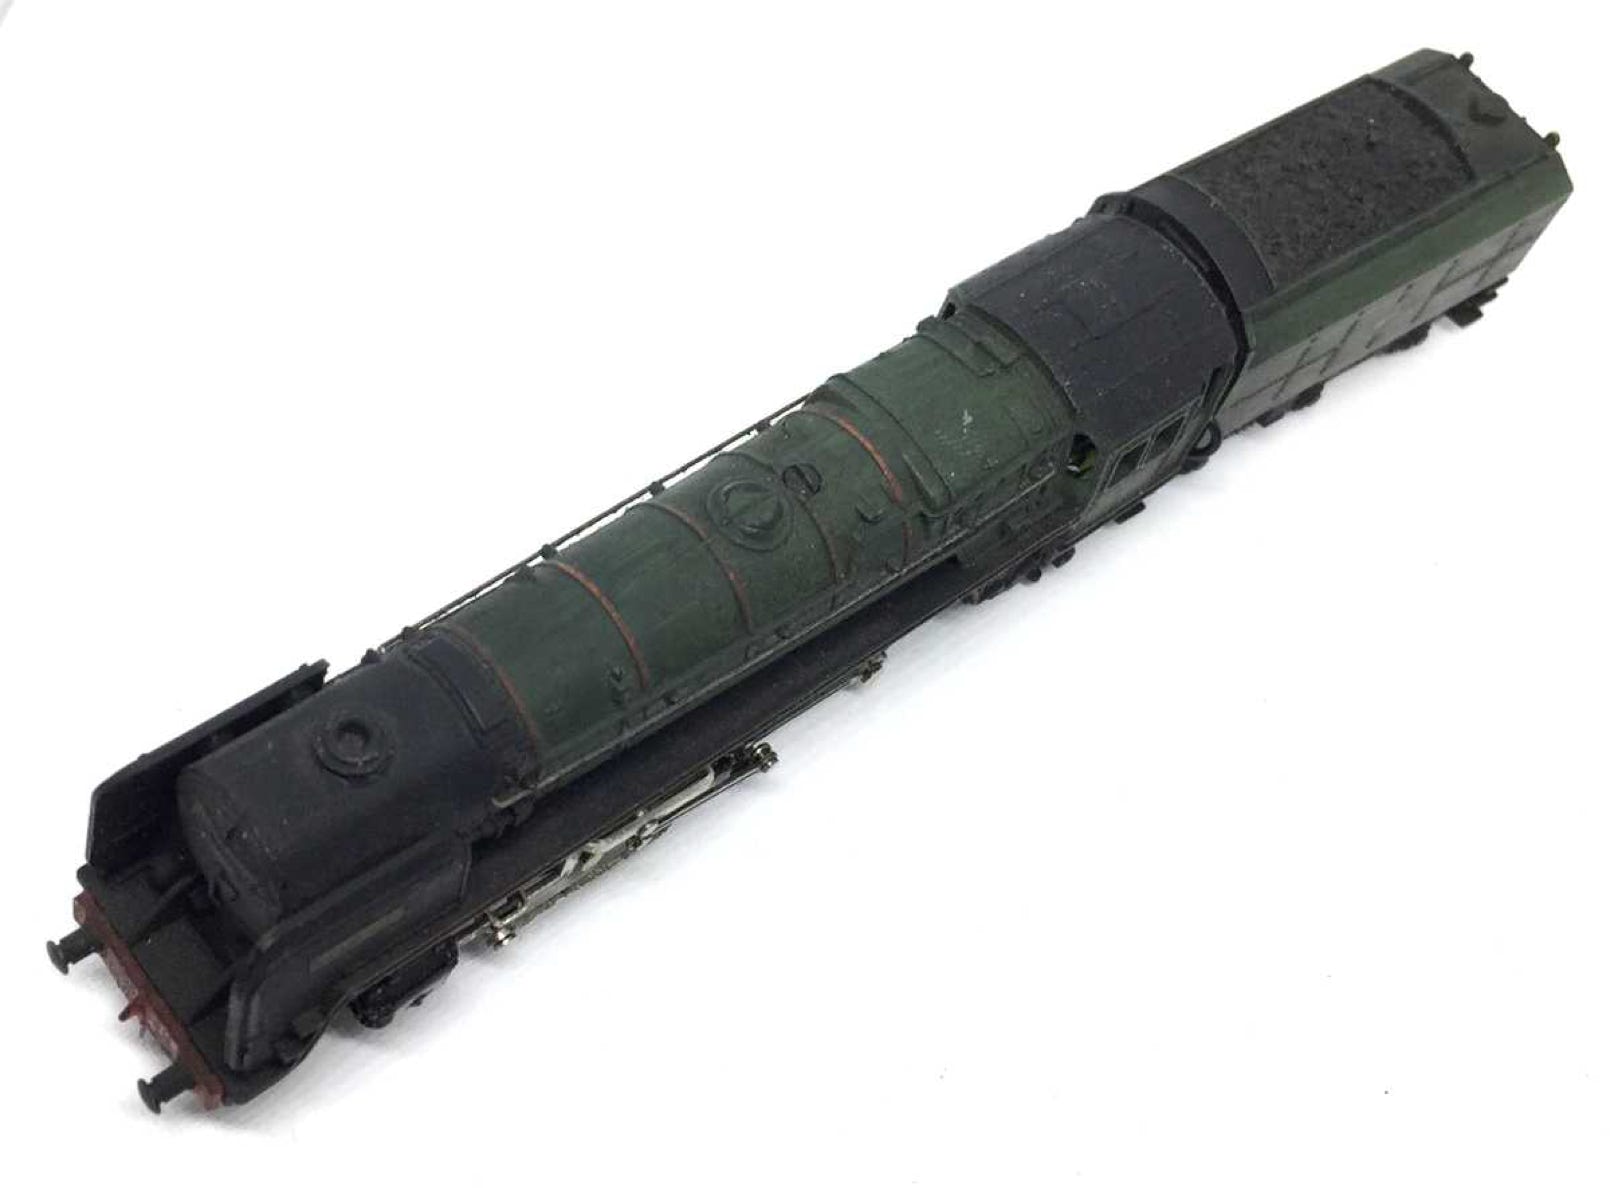
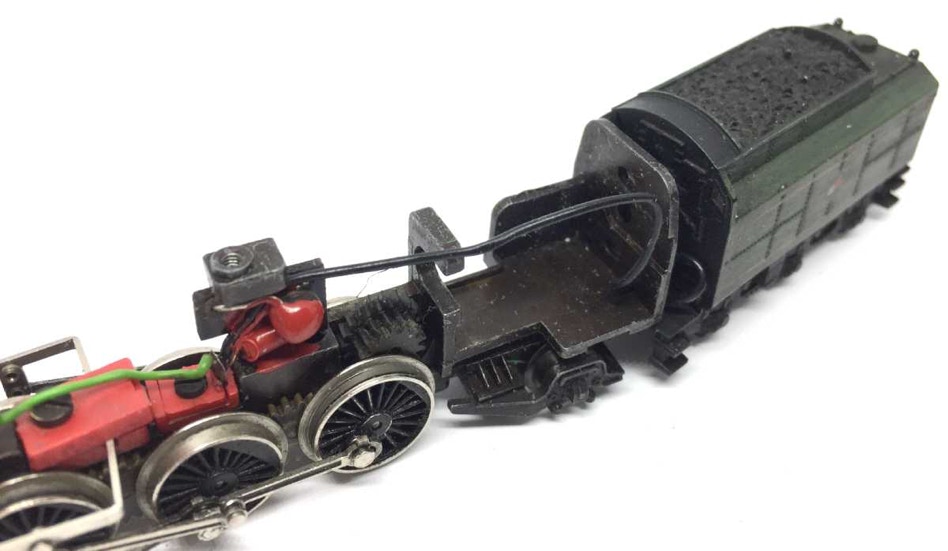
Take apart
1
Remove the M1.6 screw on the top.

2
Lift the housing off.
Put the housing, screw and the metal weight to the side.
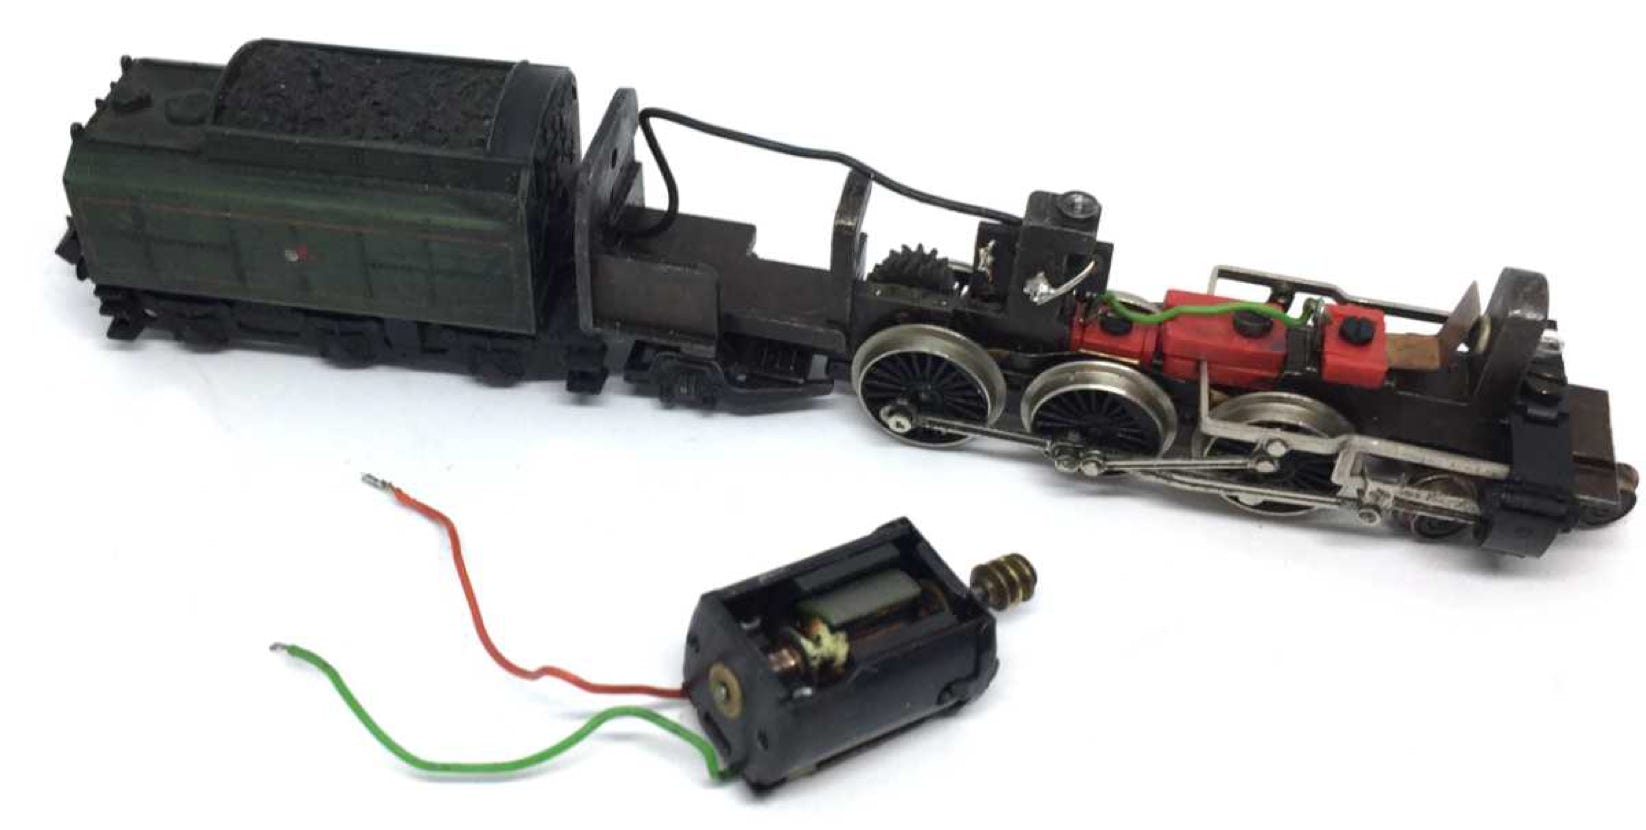
3
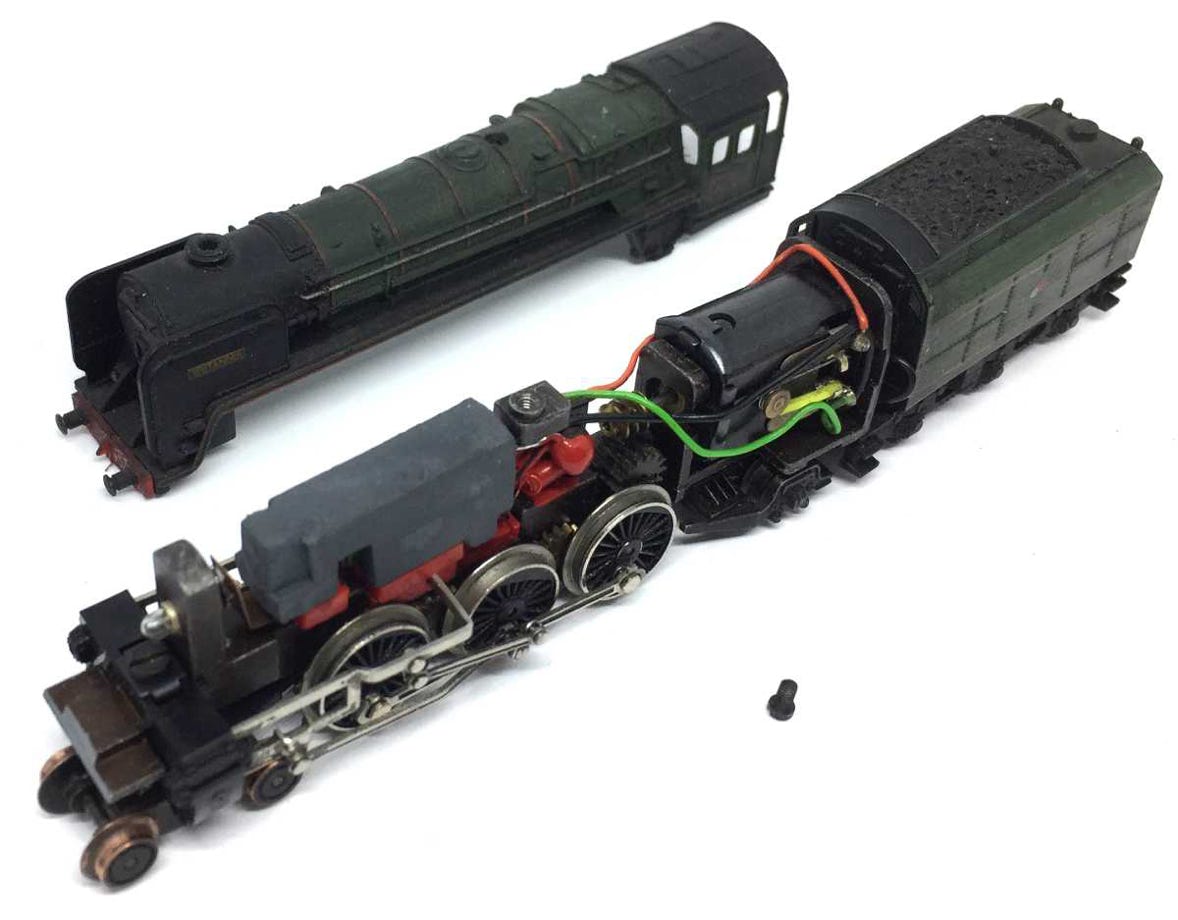
Remove the two screws that hold the motor in place and remove the motor.
4
The motor slides out of the chassis to one side.
5
Desolder the green and red motor wires and throw it in the neighbour’s garden. Now wait and see if something happens.
Then continue.
6
Make the footplate free from grease by rubbing a piece of fine grade sandpaper.
7
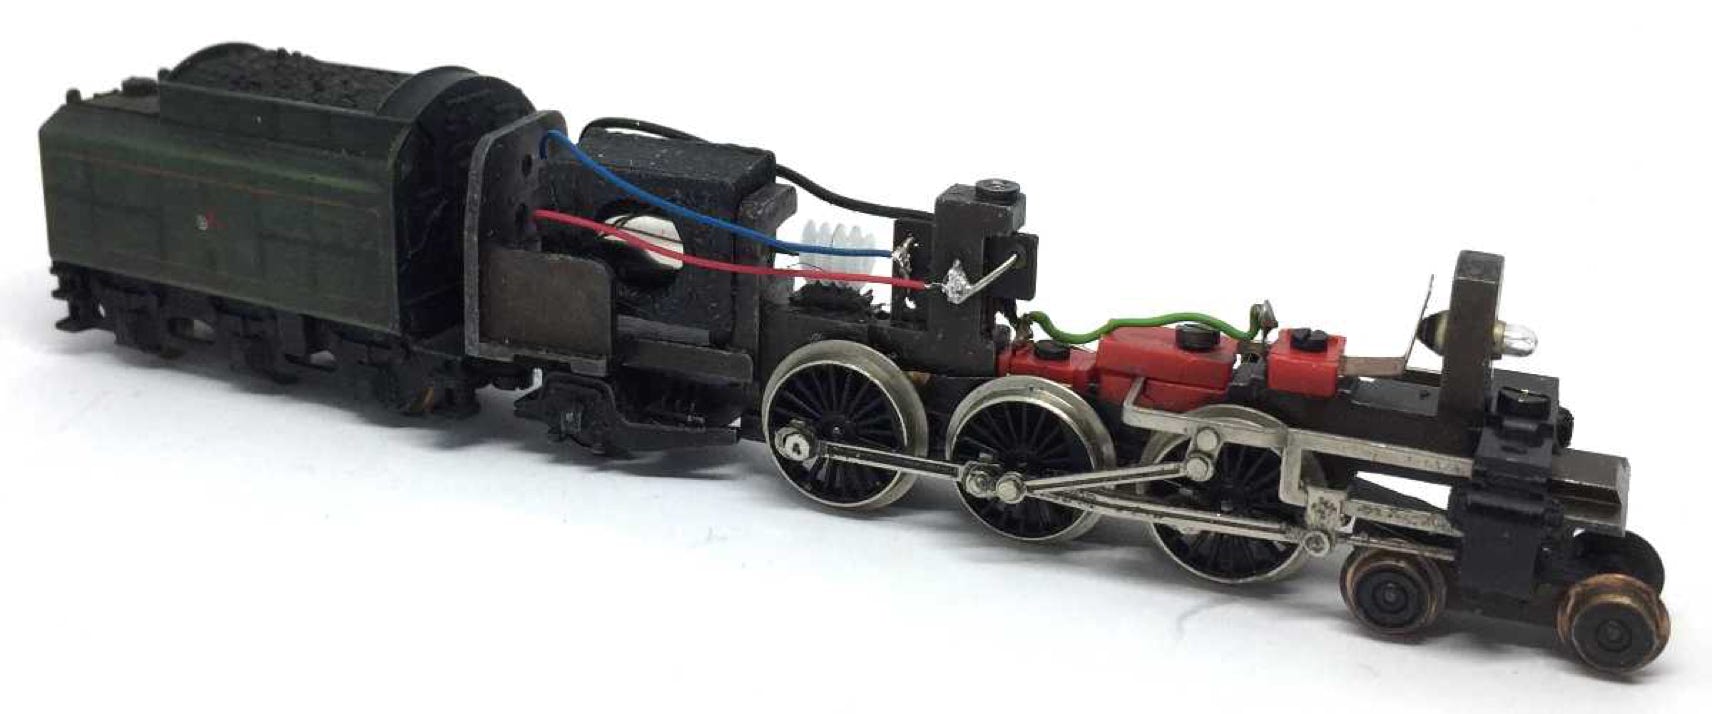
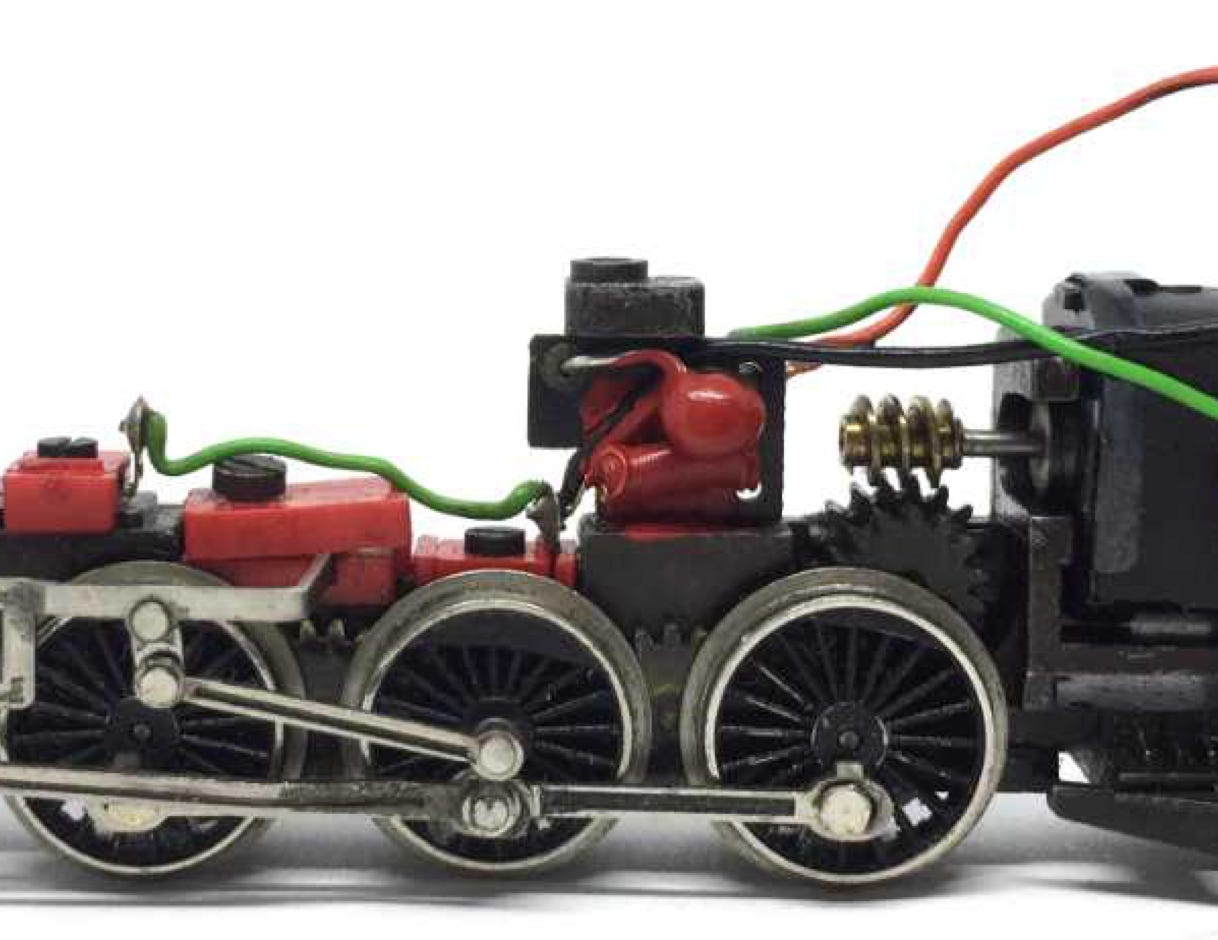
Slide the replacement motor in place. Check if the worm aligns well with the gear below. If not, slide the worm better into position.
When it fits well, take the casing out, put a dot of epoxy glue at each foot and put the motor assembly in position.


I advise Araldite Instant 90 seconds glue.
Check the below image right for the position and correct space between the worm and gear.
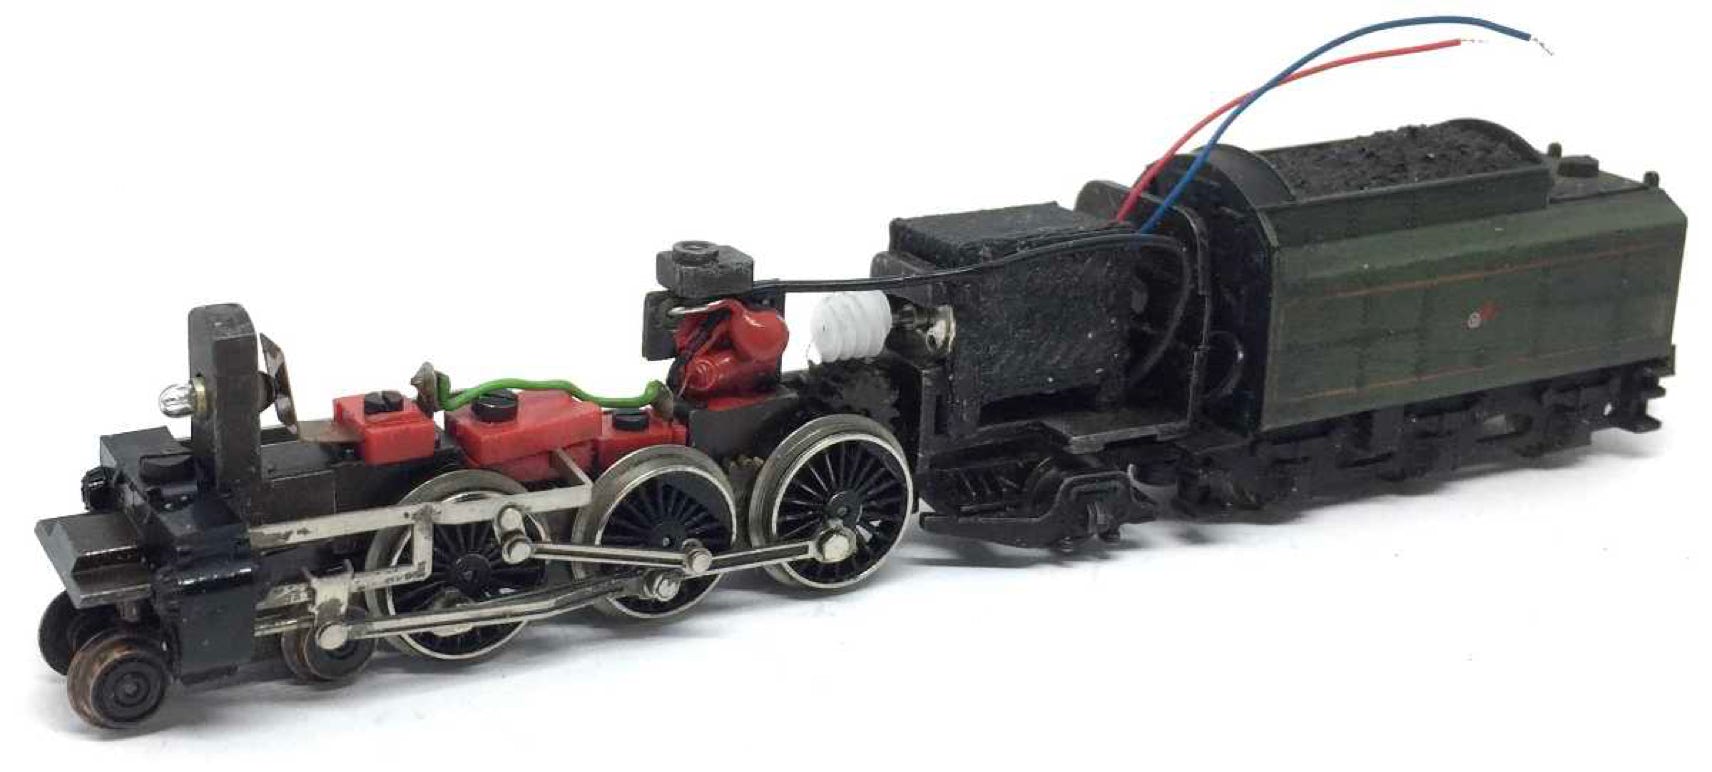
8
Solder the wires. Assure for the correct solder point. If you reverse this, the loco will run in opposite direction of your other models. If you run DCC, first check if the model runs fine with DC.
Now test the model and enjoy the abundance of the whining noise from the old motor and the improved driving capabilities.
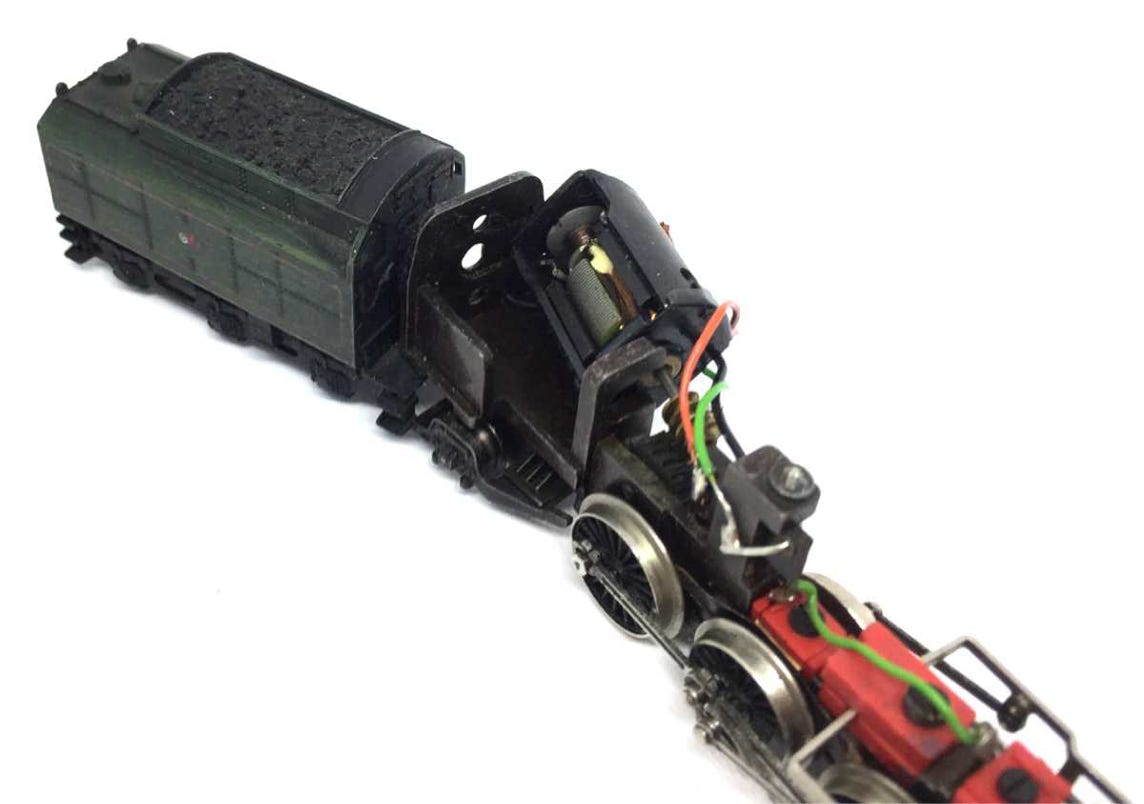
Digital
If it all works well, you can fit a decoder. A decoder would fit behind the replacement motor. Train-O-Matic makes excellent small decoder, available here from the Tramfabriek. Or, if you use the tiniest ones available, it would even fit under the motor frame. The space is there for it. For optimal performance, you need to change some CV settings on a decoder. For several decoder brands, the ideal CV settings can be found by clicking here.
END
•