

UK based
Prices for UK customers are shown inc 20% VAT
Other countries, inc EU, prices shown are ex VAT.

KASTENLOK INDEX


UK based
Prices for UK customers are shown inc 20% VAT
Other countries, inc EU, prices shown are ex VAT.
KASTENLOK INDEX
3
4
6
8
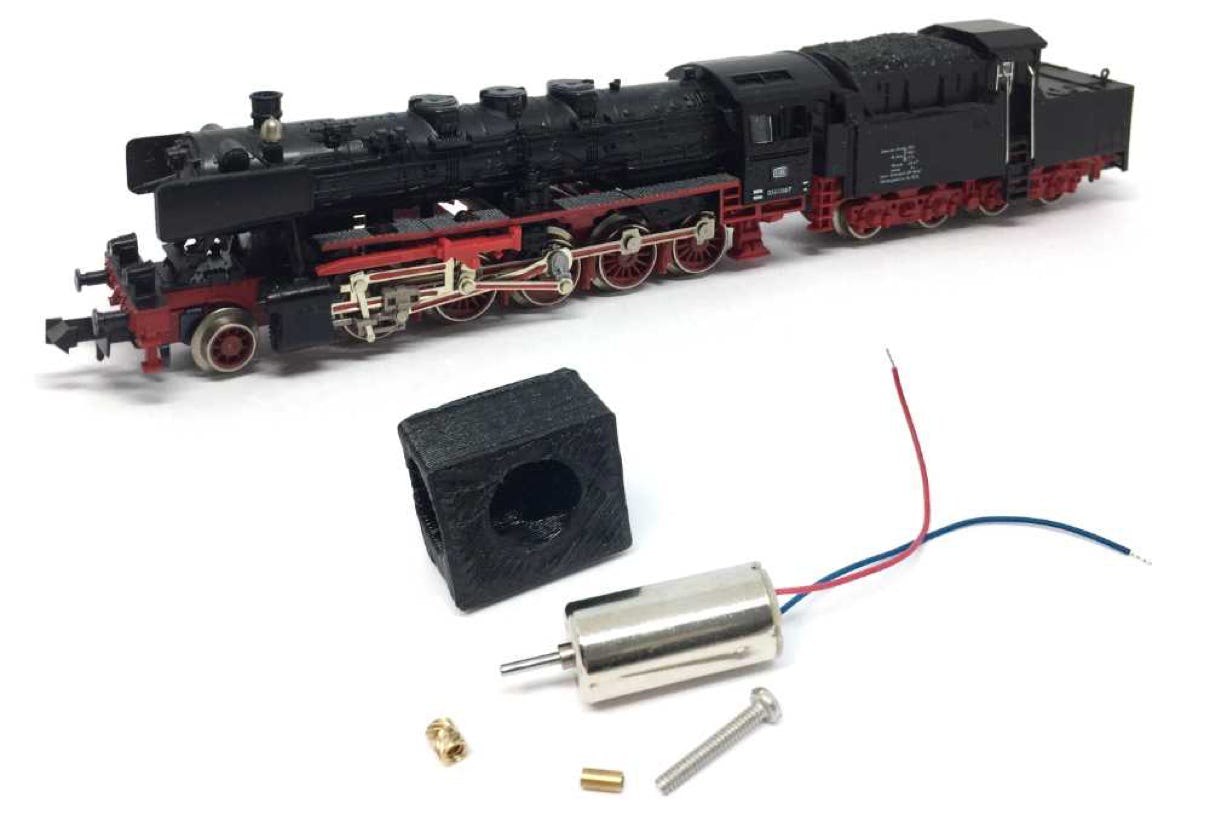
Digital conversion
(Art. 7175) to 12V coreless motor
Fits Fleischmann Art 7175
What you need for conversion set
- The model and upgrade kit
- Small flat screwdriver
- Soldering iron 15W/25W
- General modelling tools
Installation time: Around 30 minutes
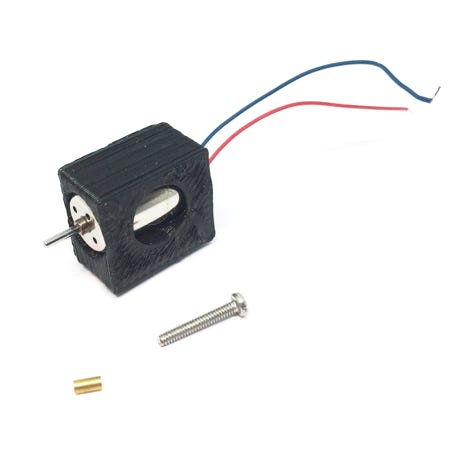
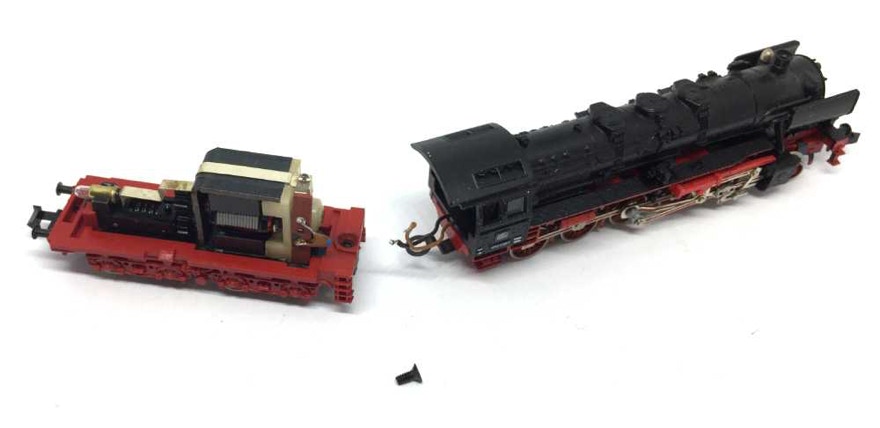
Contents of this offer with motor and screw holder pre-installed, as it comes from the Tramfabriek.
1
2
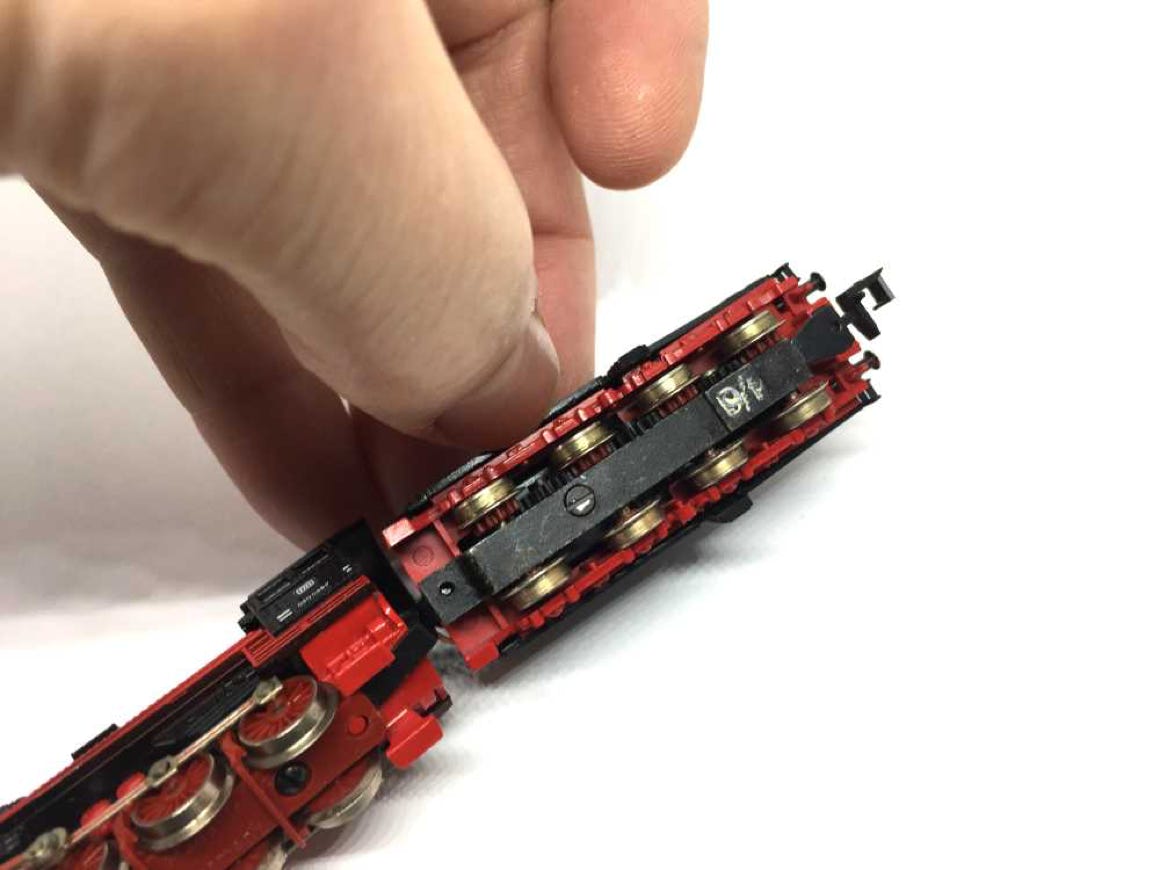
You might want to detach the tender, but it’s not essential.
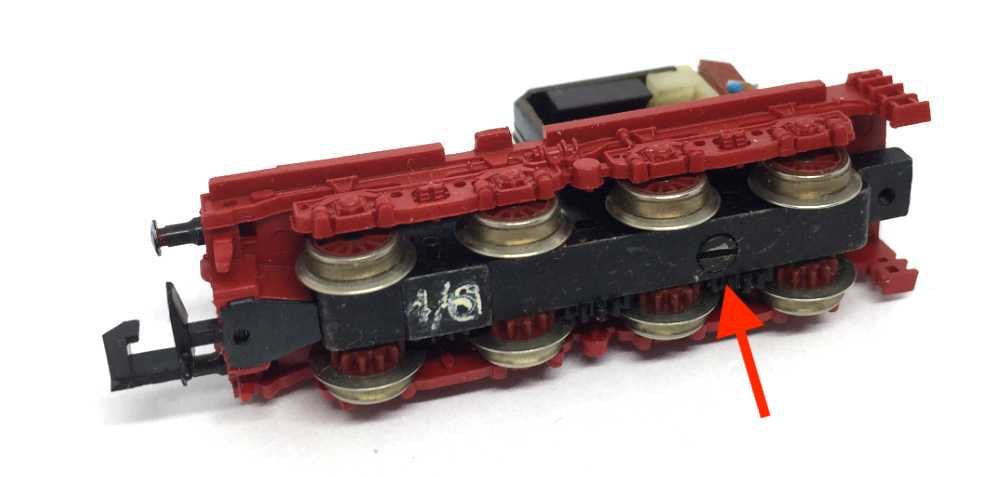
Remove the screw under the motor.
5
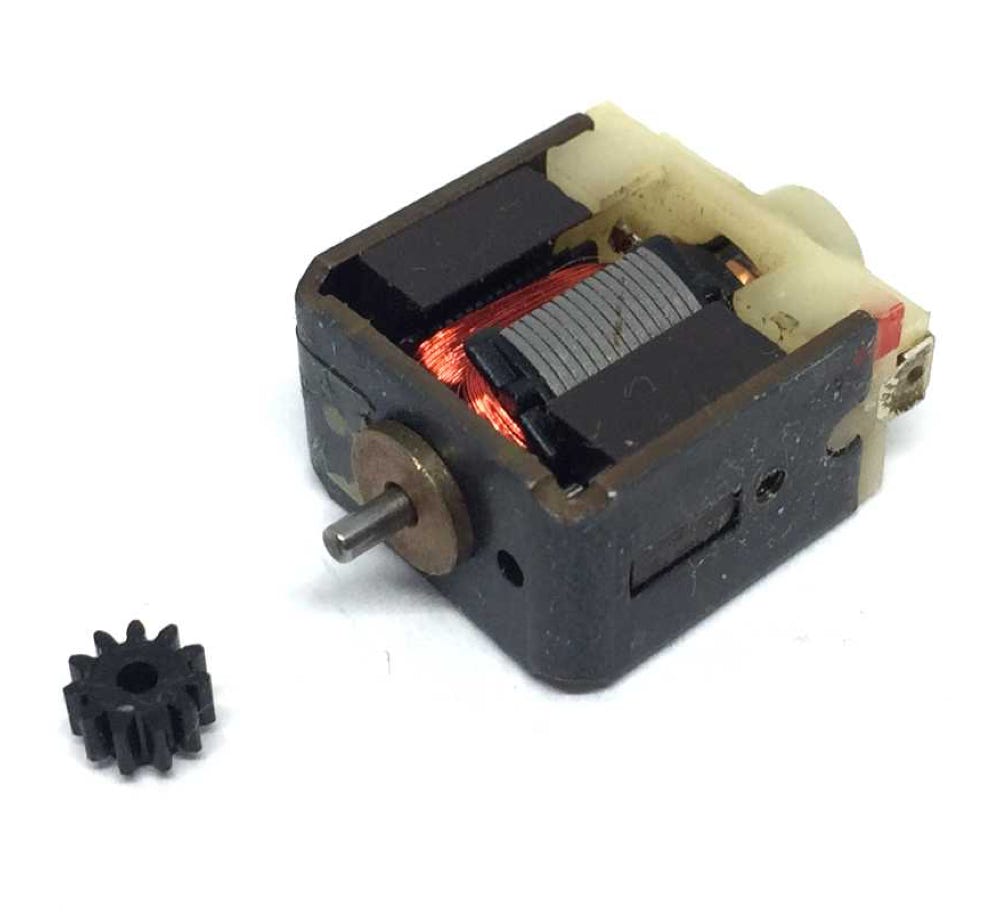
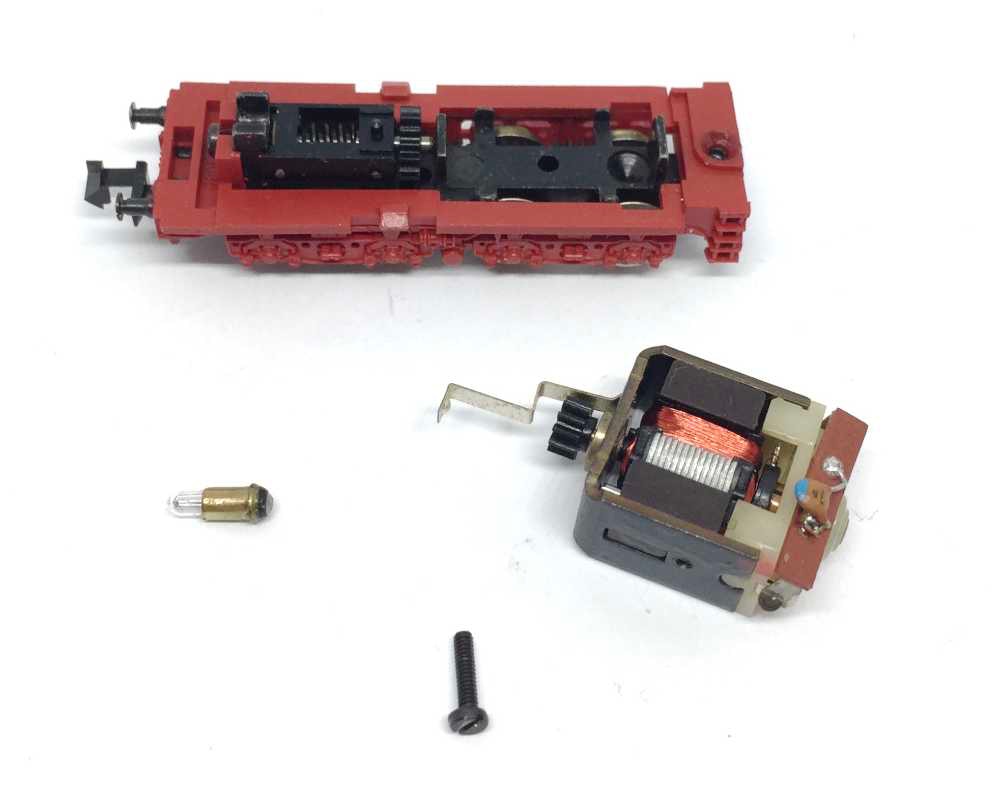
When you remove the motor, the lamp goes with it.
Remove the sprocket from the motor. You might be able to do this with your fingers, but with my motor, it was quite tight. I used the Tramfabriek gear puller, but twist two flat screw drivers carefully behind it should work as well.
7
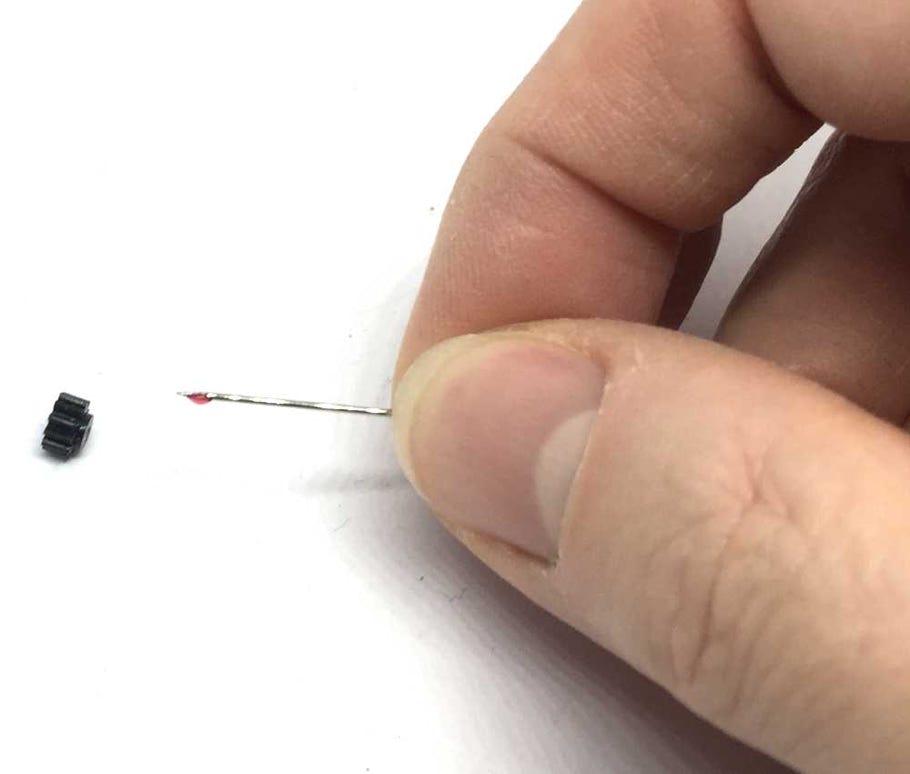
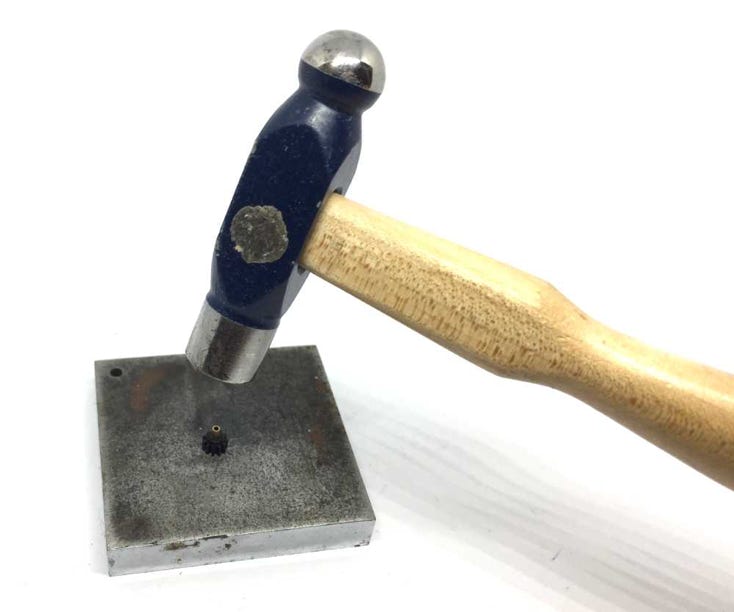
Take the brass adapter from the kit and hammer it straight in the sprocket.
Use Loctite or similar glue on a needle and smear it inside the sprocket/adapter assembly.
9
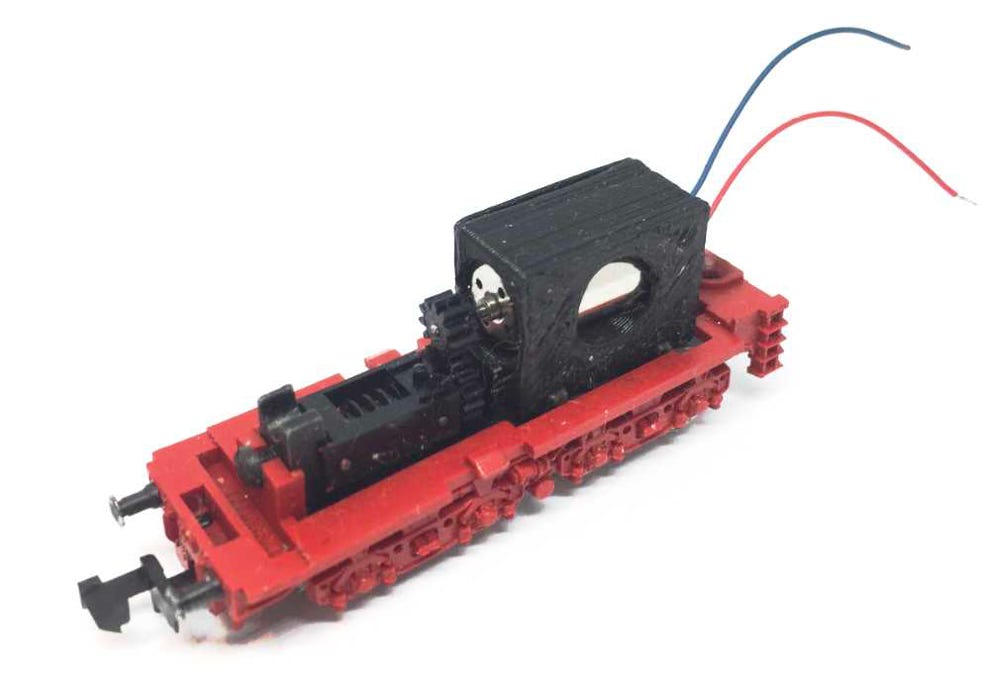
Fit the adapter on the motor and with the new screw, fit the motor on the chassis.
Fleischmann BR 50
Question? Just reach out!
Please note that this motor upgrade does not make the model much quieter, as the sprocket to sprocket gearing makes a lot of noise! That’s why undoubtedly Fleischmann changed to worm to sprocket gearing in their later models.
Left: With your nails (on both sides, but I could not make a picture of that, as you can understand), remove the housing from the tender.
Below: This is what you see when you also take the two metal parts out. Pay special attention to the black metal piece at the end of the train. This is, I assume, to prevent the light from shining through the bottom. It already may have fallen out when you opened the model, so know you know where it goes, when you reassemble the model.

This motor upgrade kit can very well be converted to DCC. See for suitable decoders here. Check the digital setting page, for many decoders, to get the best driving experience.
•