UK based
Prices for UK customers are shown inc 20% VAT
Other countries, inc EU, prices shown are ex VAT.


UK based
Prices for UK customers are shown inc 20% VAT
Other countries, inc EU, prices shown are ex VAT.
What you need for conversion set
- The model and upgrade kit
- Soldering iron 15W/25W
- General model making tools
Installation time: Around 45 minutes

Conversion Jouef Decauville
Ultimate Motor Upgrade
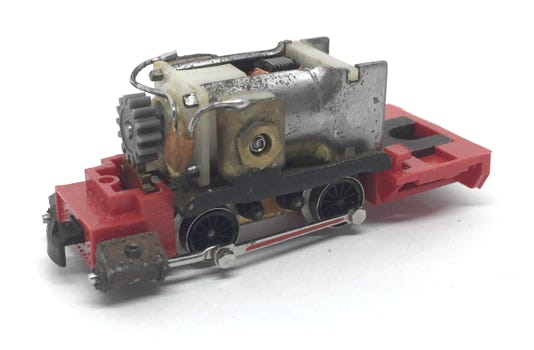
Original model
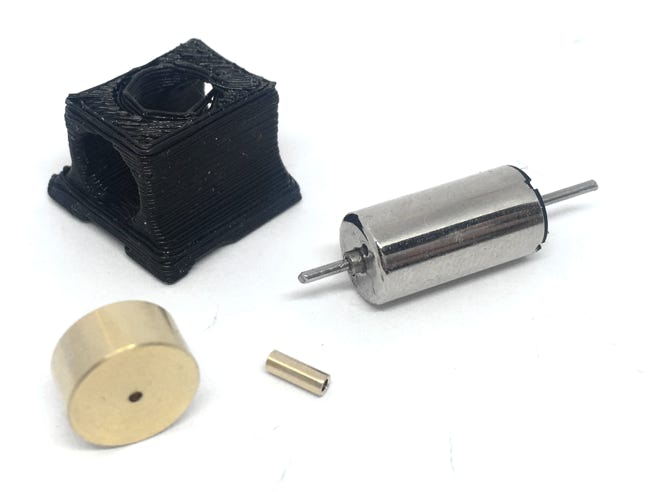
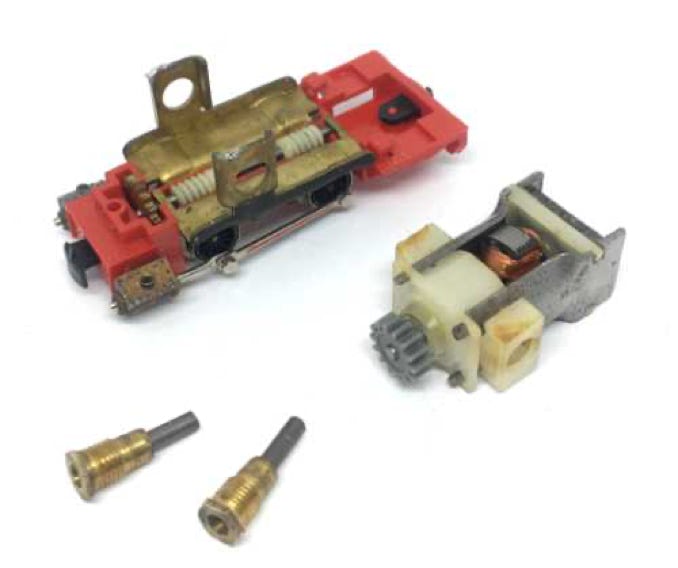
Contents of the kit.
Take apart
1
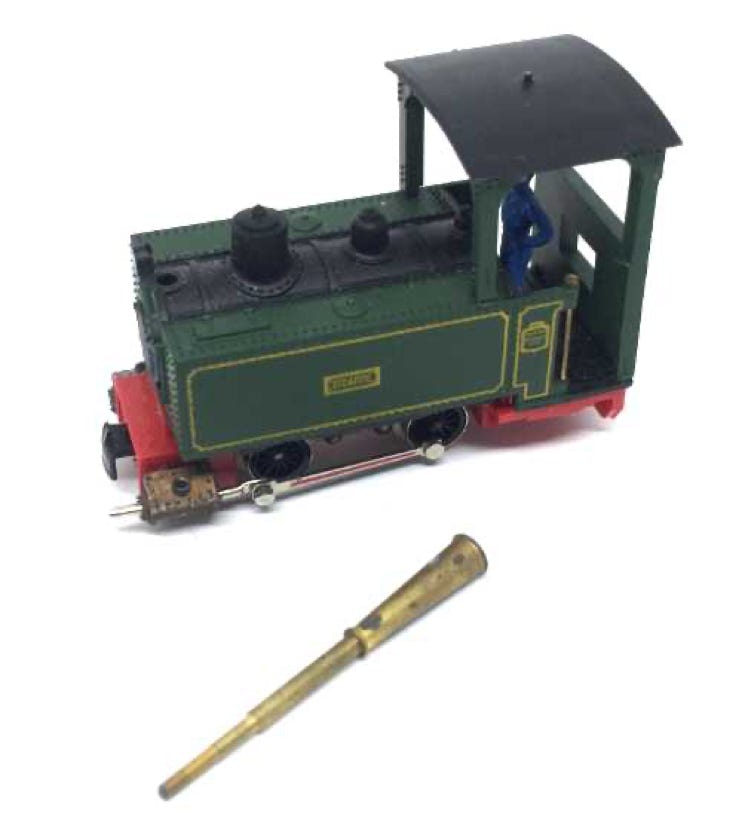
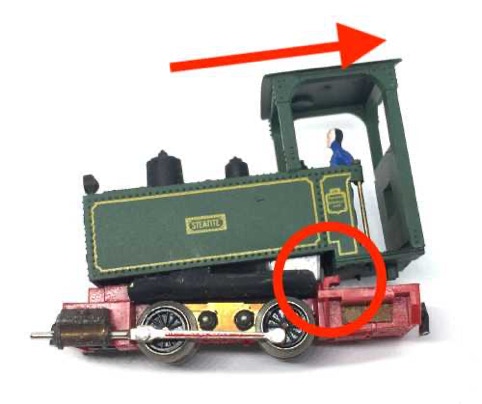
Unscrew the chimney.

2
3
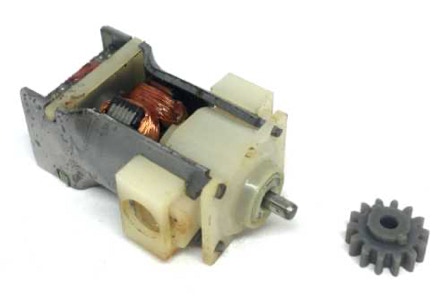
Take the gear off the motor shaft. Easiest it is to use the Tramfabriek Gear Puller. Alternative methods can be found here.
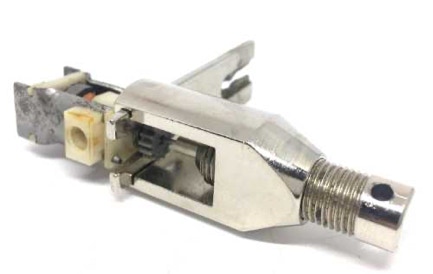
Release the nuts on both sides of the motor that hold the brushes in place. Then the motor can be lifted out.
Move the housing a bit backwards, until it comes off from the hooks (one on each side). Then lift the housing upwards to take it off.
4
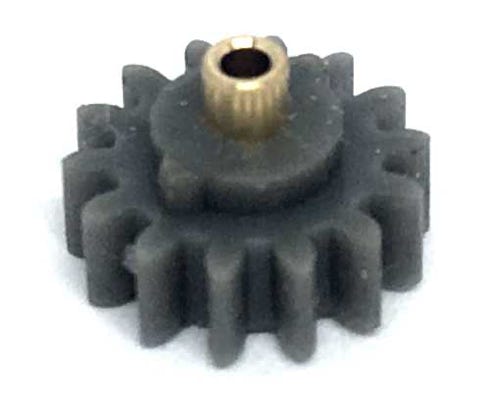
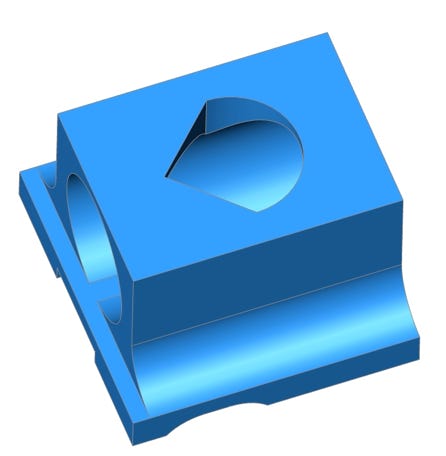
Take the brass adapter that comes with the upgrade kit and press it in the gear. This can easily be done with your fingers.
For that, hold the gear in place on a soft piece of material. Here I’ve used foam from a craft shop.
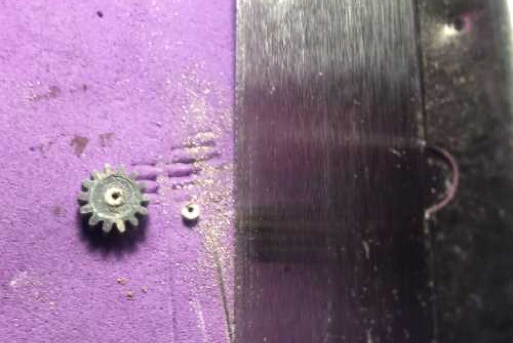
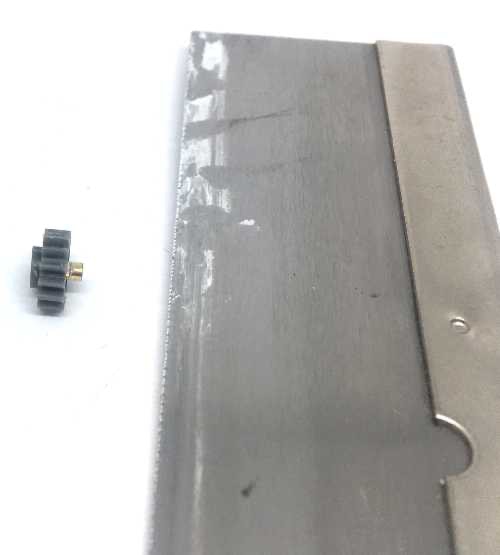
Using a saw with fine teeth, like a saw for cutting train track, cut off the part that sticks out.
5
6
7
8
9
Digital
Clean the casing where necessary. There might be some plastic residue left from the 3D printer, especially at the top.
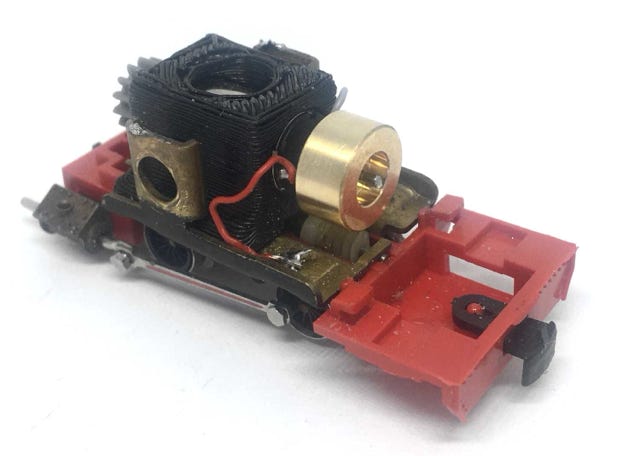
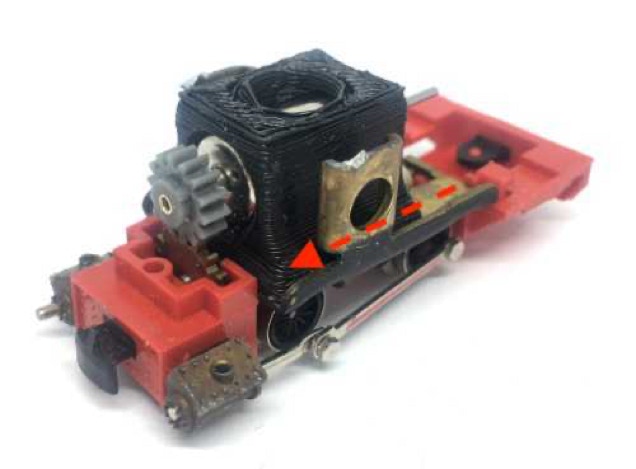
Slide the motor with casing from the rear in the chassis until you can’t push it further. It will slot in place.
!! Please note that the motor should not
be flush with the edge of the casing,
but sit about 1 mm deeper in the
casing. Otherwise the gear would
be too close and glue
will come in the motor when
glueing the gear in place.
You’ll see what is the
correct position when
you fit it
yourself.
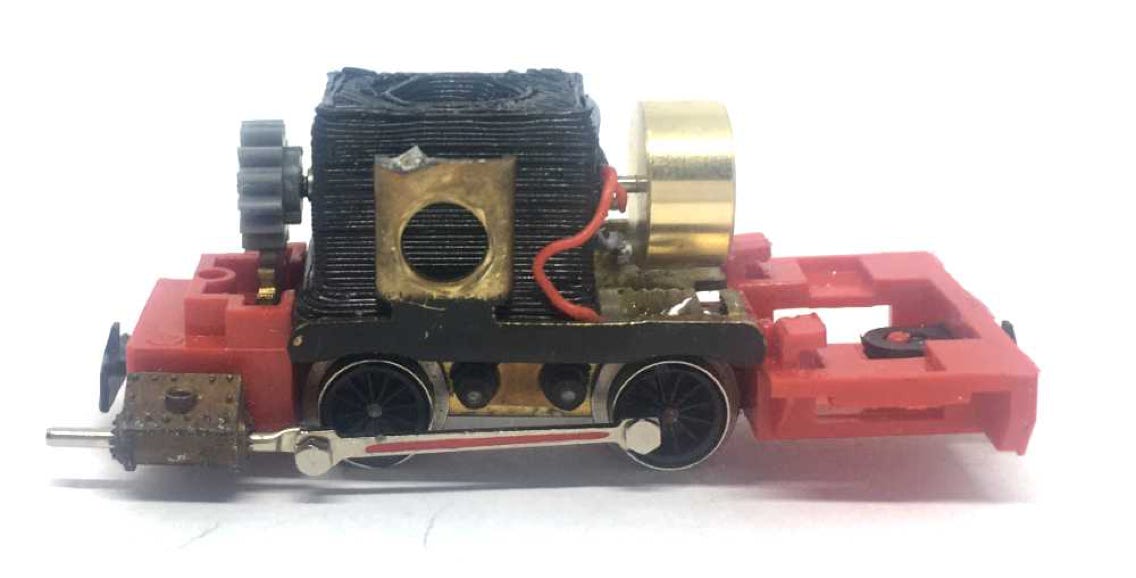
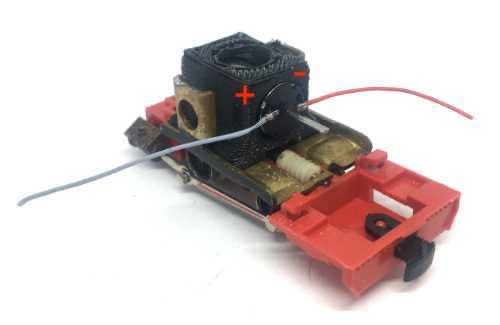
Solder the wires to the motor. Don’t get confused by the colours of the wires, initially I tend to guess wrong when deciding which side will be plus and minus. Here I have folded the contacts 90 degrees towards the motor, so there is more space to get the flywheel close to the motor.
Test fit the flywheel. When it all looks right, you can glue the gear and flywheel in place. Use Loctite or Granville glue for this. It is best to put the glue in the gear/flywheel and not on the shaft, as otherwise you push the glue inside the motor. Best not to use superglue, as you will have very limited time to adjust the place of the part, or more likely, you will not even be able to reach the right position before the glue settles.
Solder the wires to the brass plates below it and test the drive.

It would be a stupid idea to advise someone to use a hammer to fit something on a motor shaft. But I’ll do it anyway. The Tramfabriek the motor shaft to size. There might be sharp, not smooth edge, More pressure is needed to fit the flywheel and brass adapter over the edge. Some straight taps with the hammer will do the job. The motor shaft is surprisingly strong, so don’t be afraid.

If it all works well, you can fit a decoder. Train-O-Matic makes excellent small decoder, available here from the Tramfabriek.
For optimal performance, you need to change some CV settings on a decoder. For several decoder brands, the ideal CV settings can be found by clicking here.
END
•