


Prices for UK customers are shown inc 20% VAT
Other countries, inc EU, prices shown are ex VAT.
UK based
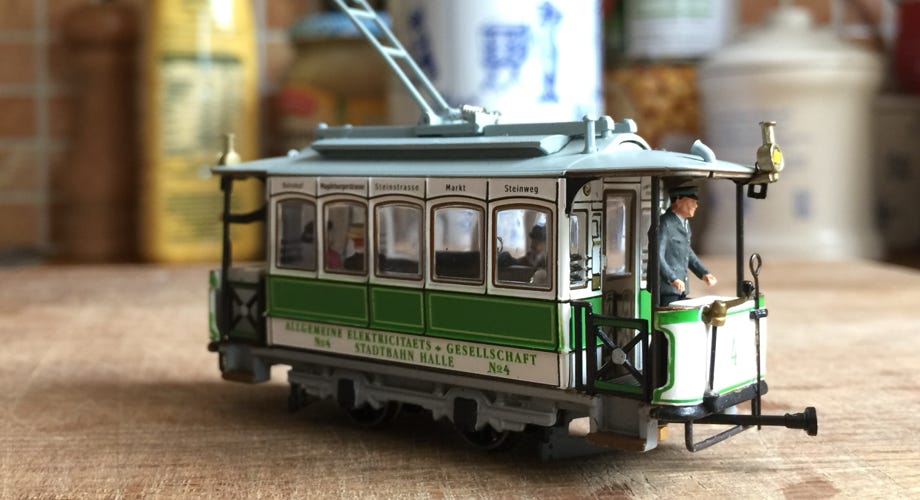
Atlas Halle TW4
ombouw naar klokankermotor
Prices for UK customers are shown inc 20% VAT
Other countries, inc EU, prices shown are ex VAT.
UK based
Atlas Halle TW4
ombouw naar klokankermotor
Wat je nodig hebt voor de Tramfabriek conversieset
- Atlas Halle Herbrand TW4 model
- Klokankerconversiekit van de Tramfabriek
- Modelbouwgereedschap
What you need for conversion set
- Atlas Halle Herbrand TW4 model
- Coreless motor conversion kit by the Tramfabriek
- Modelling tools
2
2
1
1
3
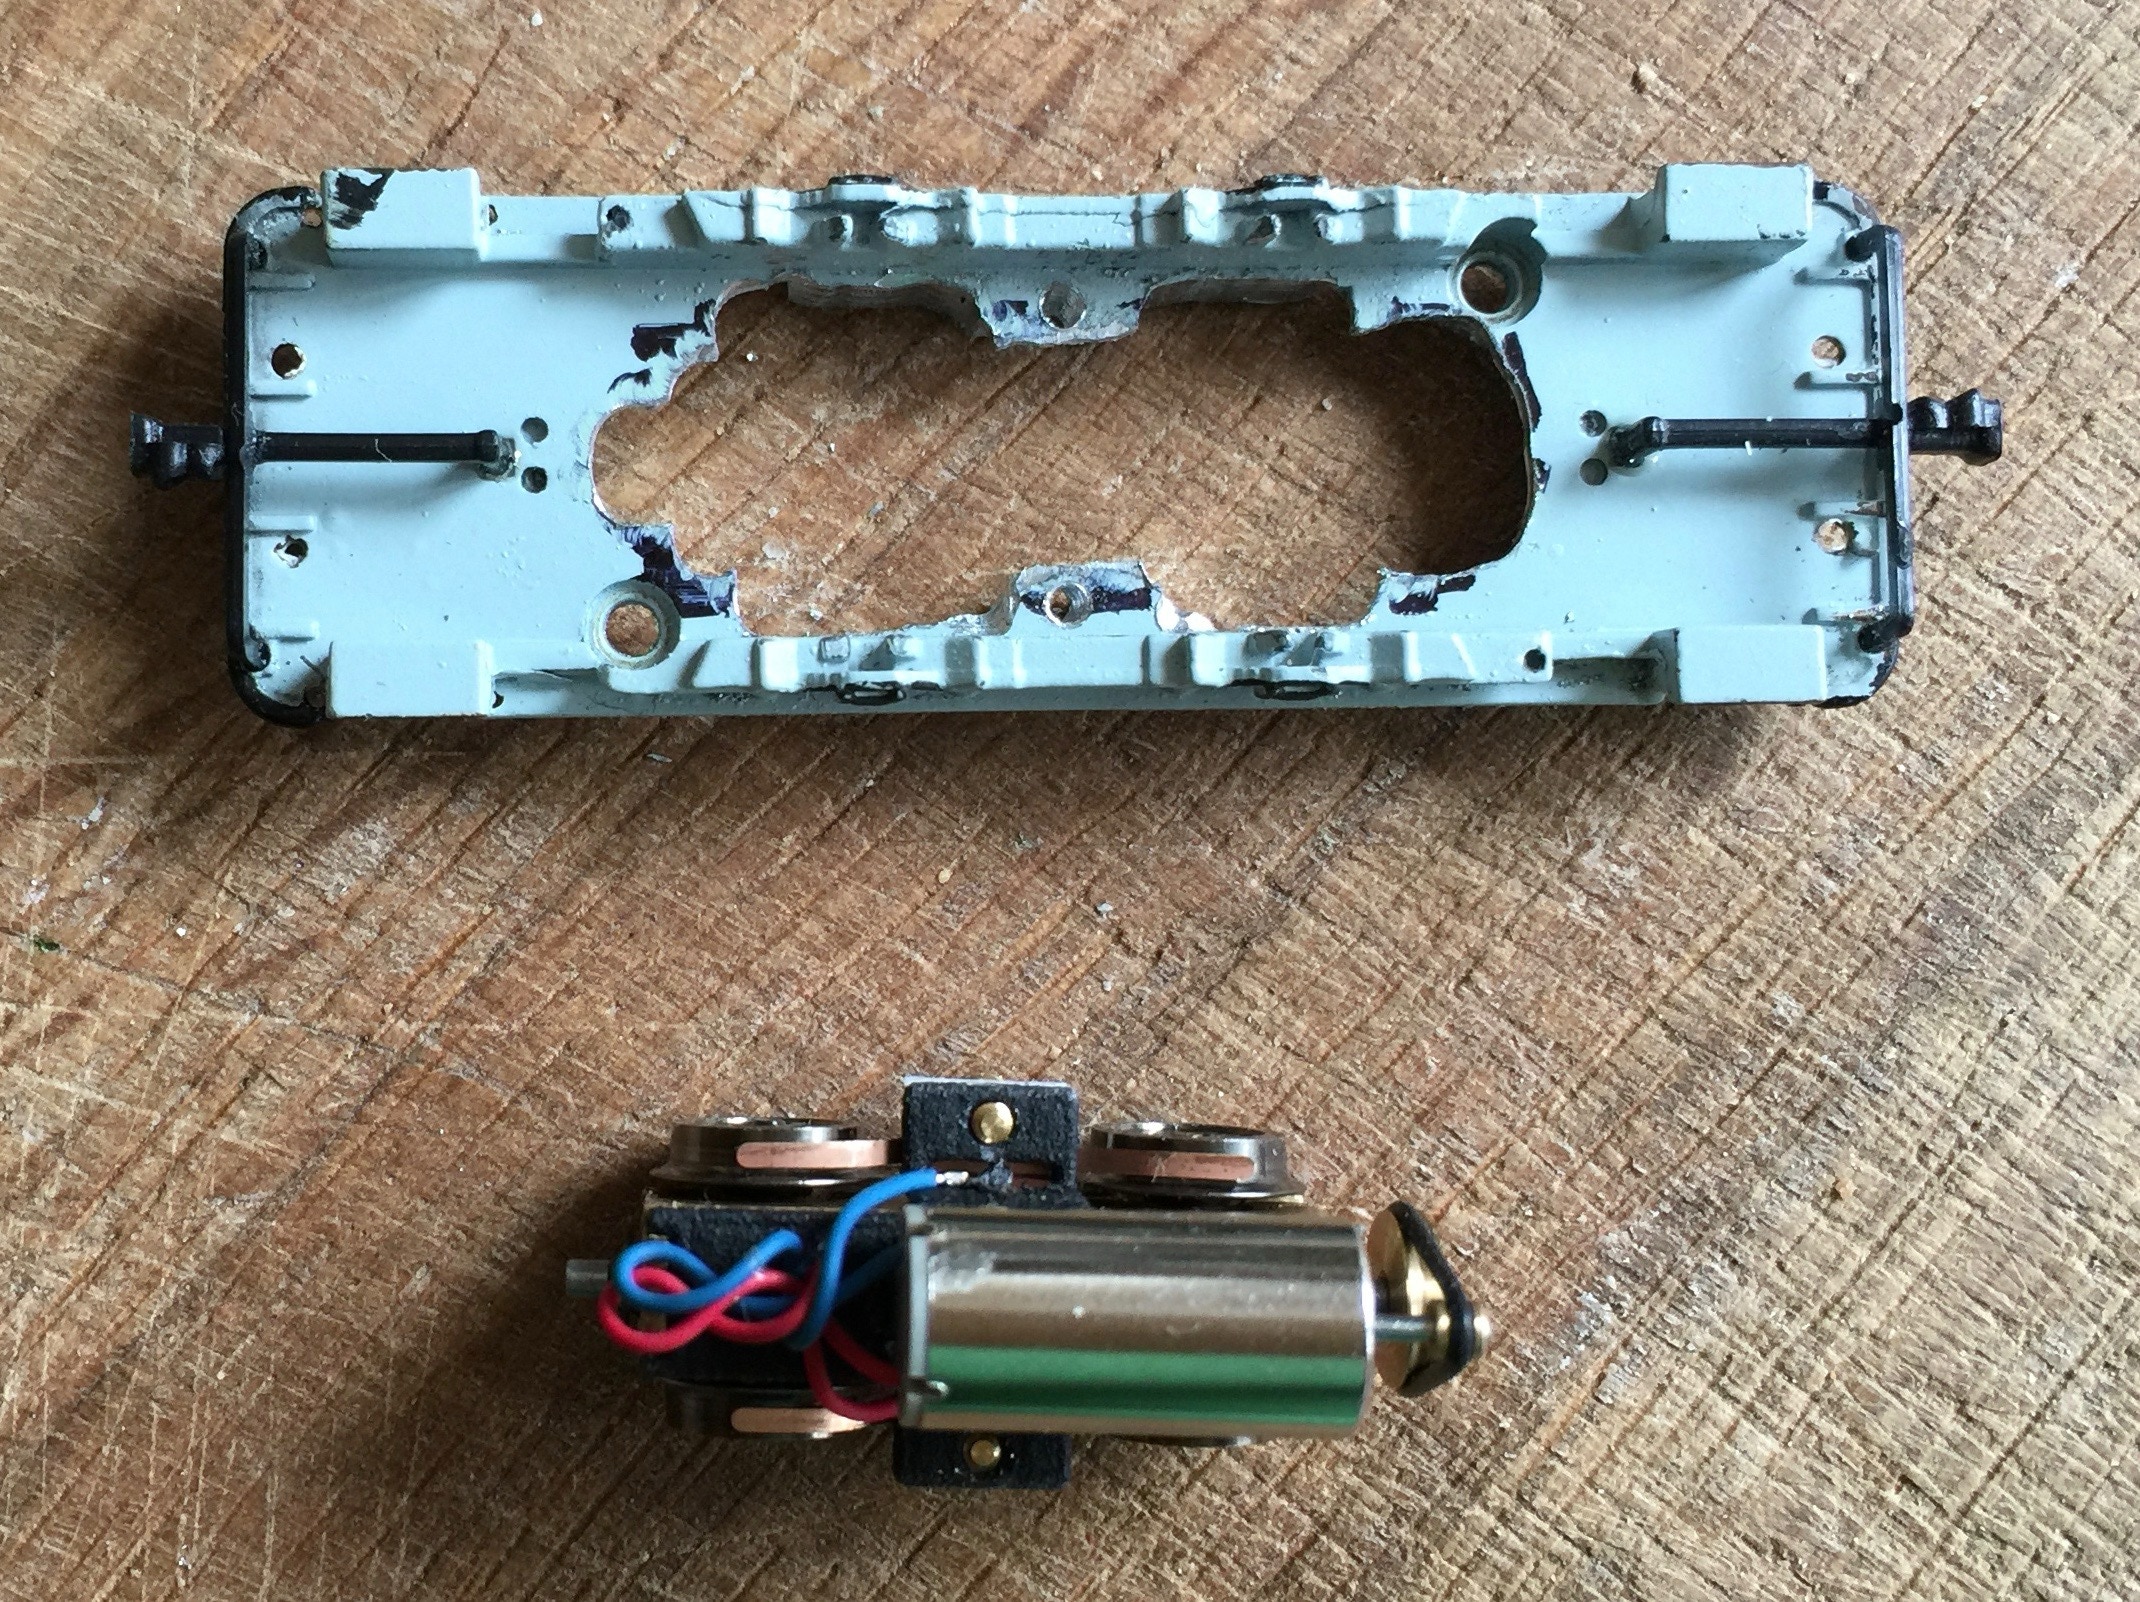
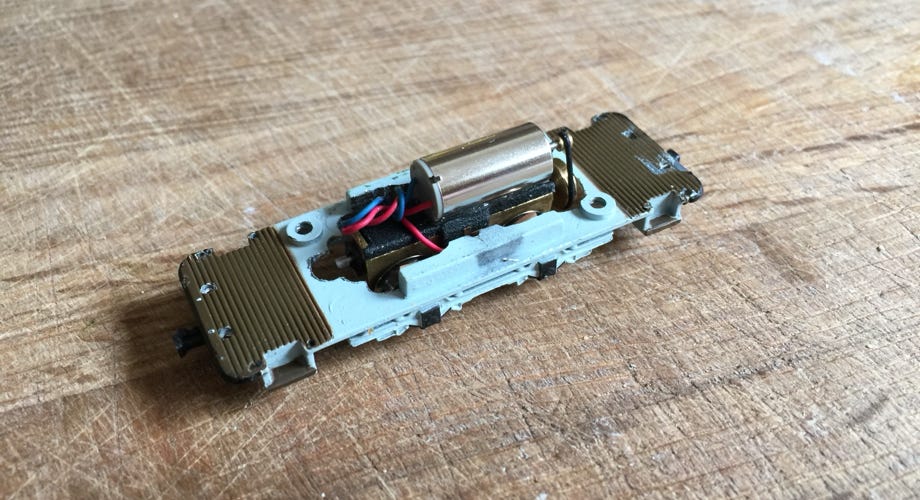
Gat voor motor maken
Gebruik de meegeleverde mal (of download en print deze) met een boor, frees en/of vijlen, om ruimte te maken voor de motor in de bodemplaat.
Create hole for motor
Using the supplied template (or download and print here), use a drill, mill and/or files to create space for the motor in the bottom plate.
Model uit elkaar halen
Verwijder de twee schroeven aan de onderkant en haal alle onderdelen van de bodemplaat. De tramkast wordt op zijn plaats gehouden met twee schroefjes, die worden afgedekt door beugels. Duw deze lichtjes aan de kant om de schroef te kunnen bereiken. De fronten, hekjes en palen zijn gelijmd, dus breek ze voorzichtig los.
Take model apart
Remove the two screws on the bottom and take all parts from the metal bottom. The tram body is held in place with two screws. Just push the bracket aside that is covering the screw. The front parts, gates and black poles are glued, so carefully break them off.
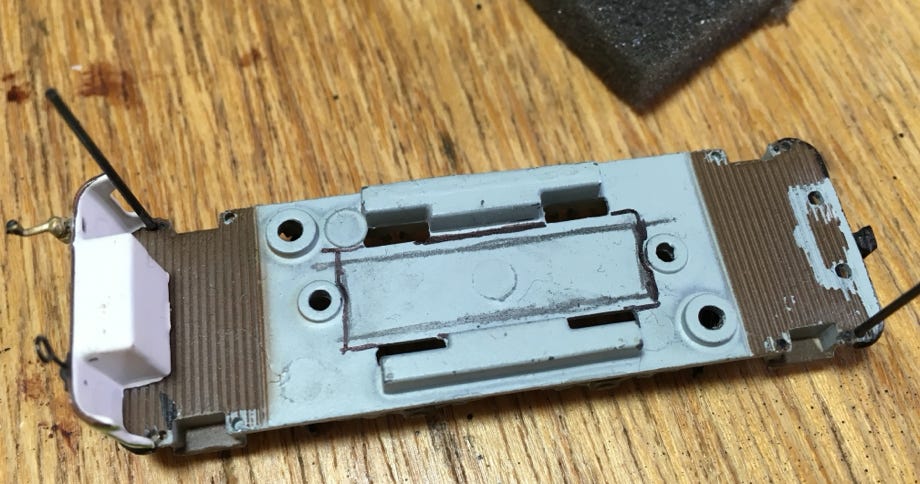
(optioneel) Maak de schroefgaatjes
3
De aandrijving blijft al op zijn plaats zitten dmv frictie. Maar je kunt kiezen om ‘m vast te zetten met schroeven. Als je een M1.6 tap hebt, boor dan een 1,4 mm gat met de gaten van de aandrijving als mal. Draai dan de schroefdraad met de tap.
The motor will stay in place with friction. But you can choose to fix it with screws. If you have a M1.6 tapping tool, drill 1.4 mm holes, using the hole in the motor as a template to drill the holes in the bottom plate. The use the tapping tool to make the thread.
(optional) Drill holes for screws
4
4
5
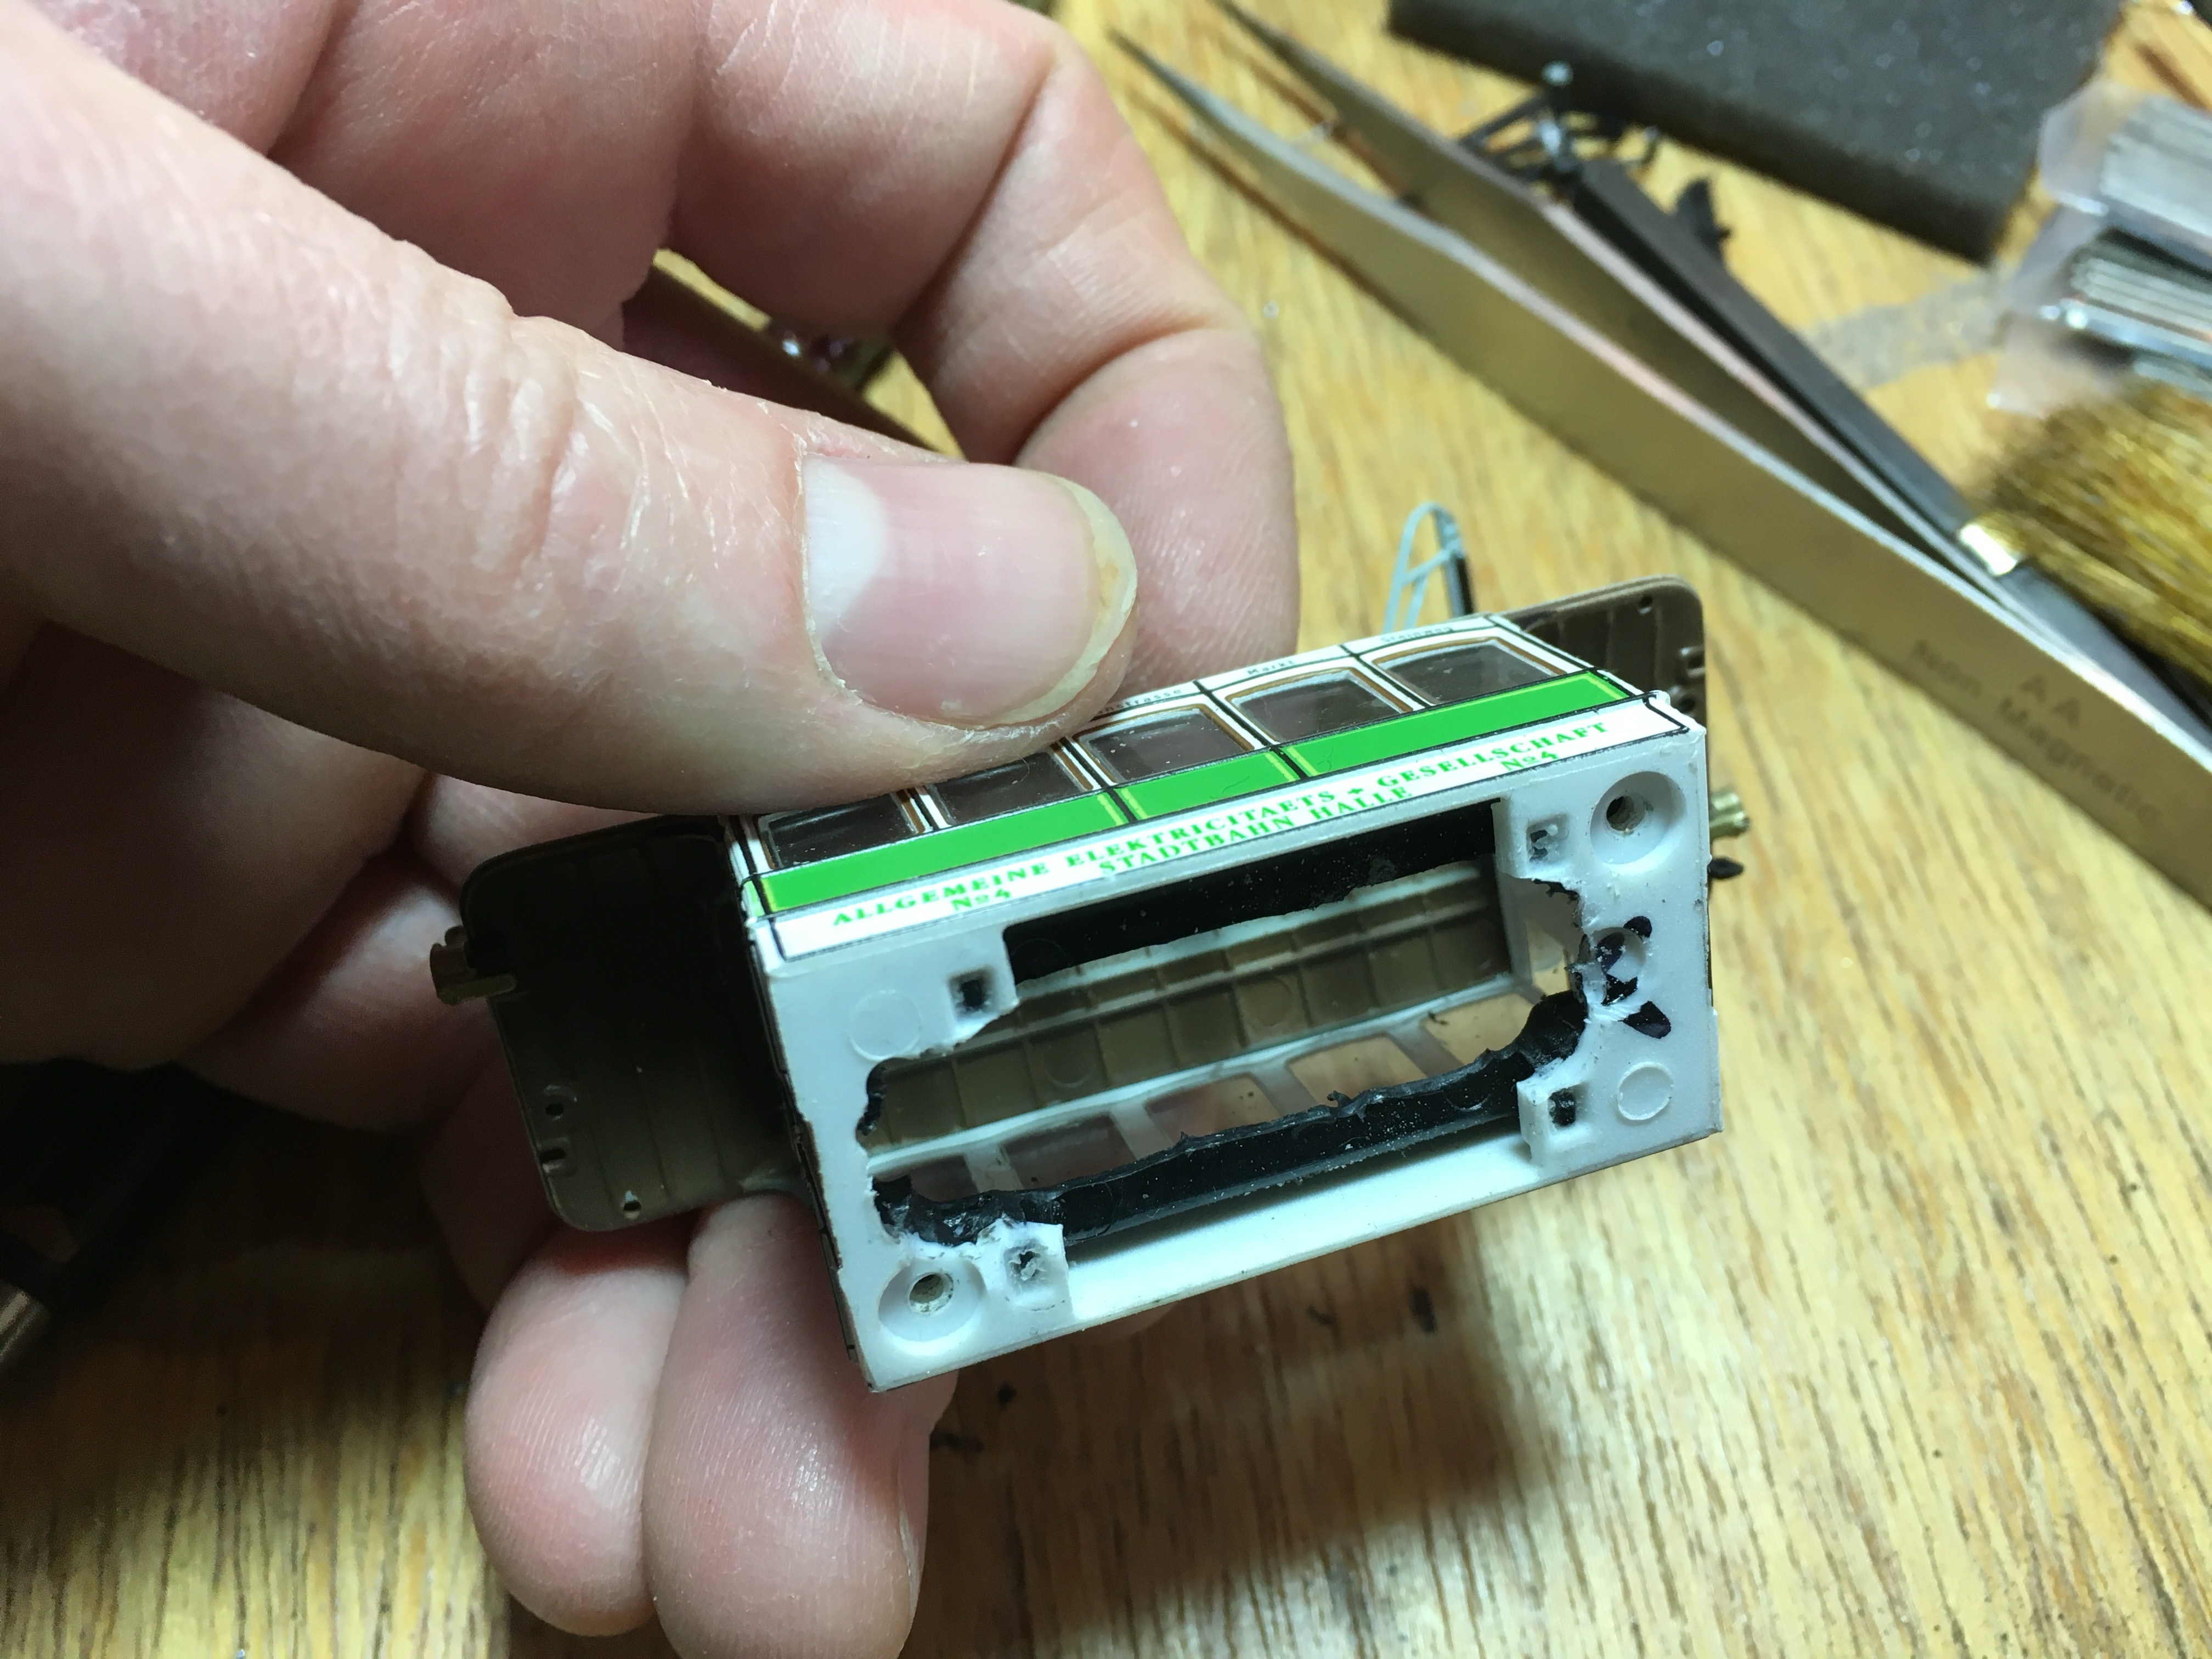
Kast vrij maken voor motor
Verwijder plastic van de trambehuizing, zoals je op het plaatje ziet. Hiervoor gebruik ik een diamantfrees. Voorzichtig, want het plastic smelt snel. Schoonmaken met een handvijl.
Clear body for motor
Remove parts of the plastic body, as seen in picture, to make space for the motor. I use diamond mill bits for this job. Careful, this will go quite fast. because the plastic is melting from the heat. Clean it up with a hand file.
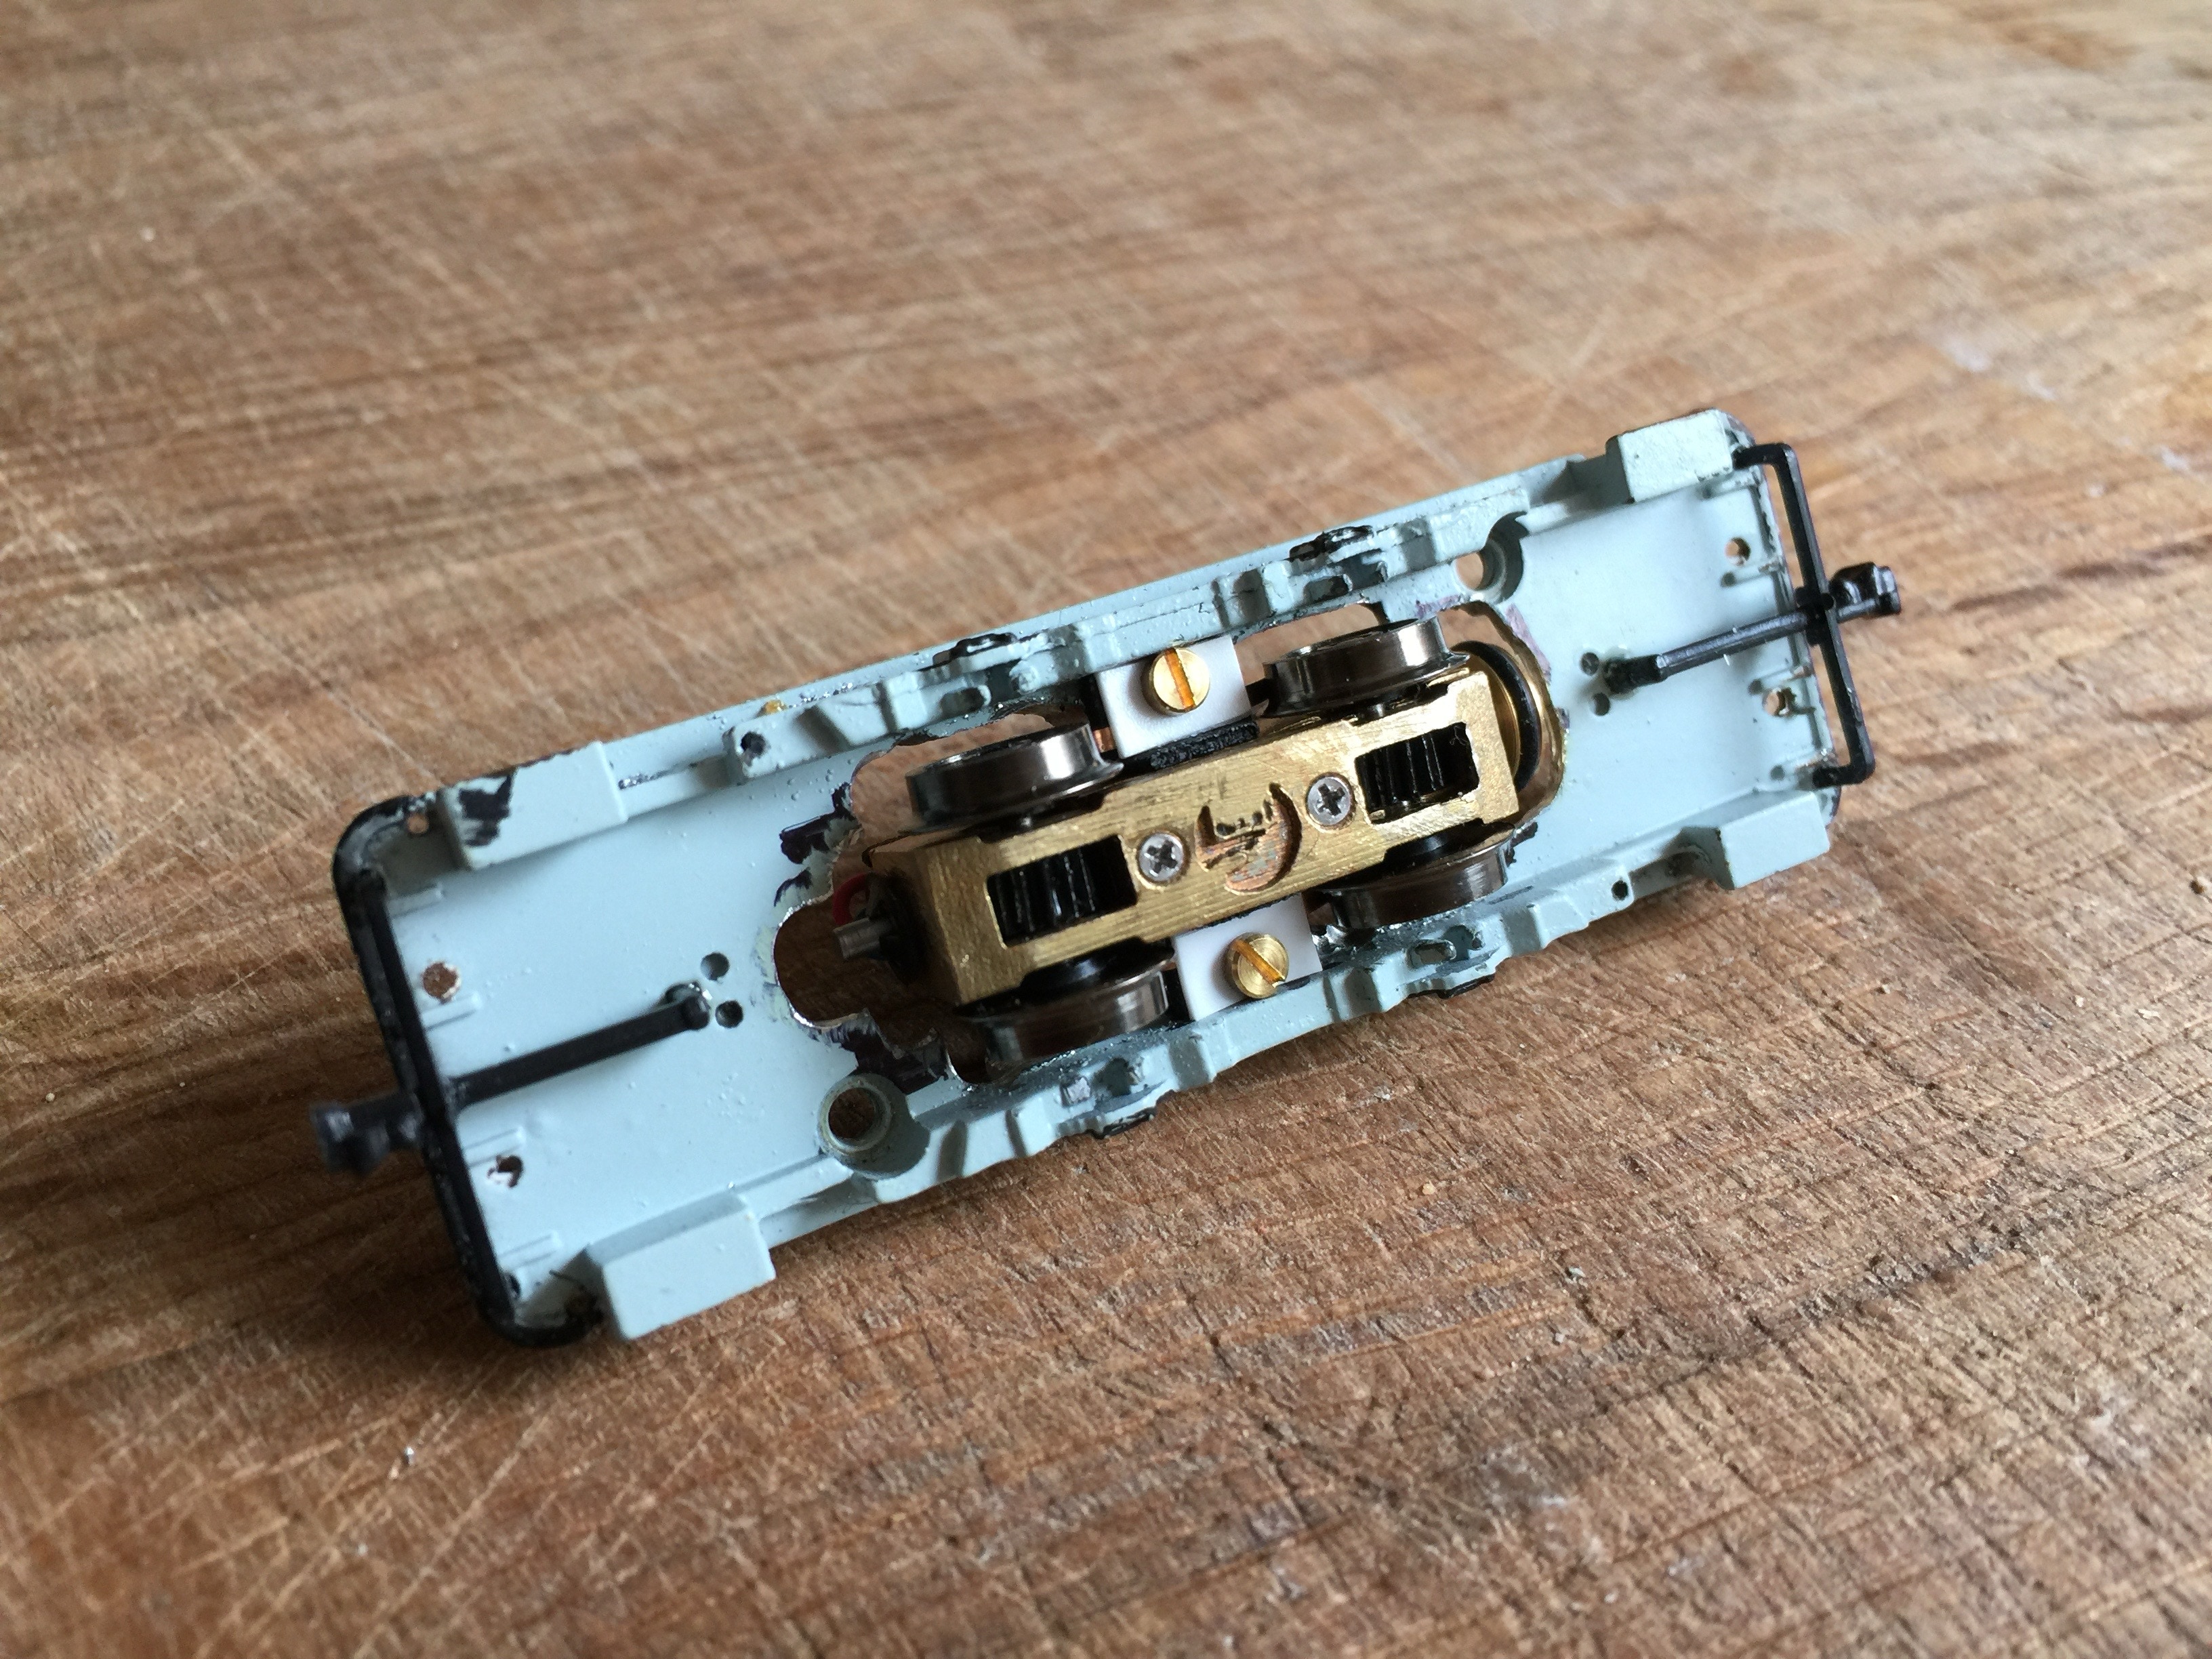
Onderdelen terugplaatsen
Zet de kast op de bodemplaat en schroef ‘m vast. Maak de eerder verwijderde onderdelen schoon van lijm waar nodig en plak ze op hun plek terug met secondenlijm.
6
6
5
Klaar!
Nu is je upgrade volledig uitgevoerd. De aandrijfriem gaat zeer lang mee, maar reserve riemen zijn meegeleverd.
Finished!
The upgrade has been completed. The belt will last very long, but spares have been supplied.
Replace parts
Place the tram body on the bottom plate and fix it with the two screws. Clean the earlier removed parts of remaining glue and use superglue to place them back.

Als u hulp of advies nodig hebt, neem dan gewoon contact met mij op.
If you need help or advice, please don’t hesitate to contact me.
•


